
Tools and Materials
Tools
Product costs, availability and item numbers may vary online or by market.
Why Use Composite Decking?
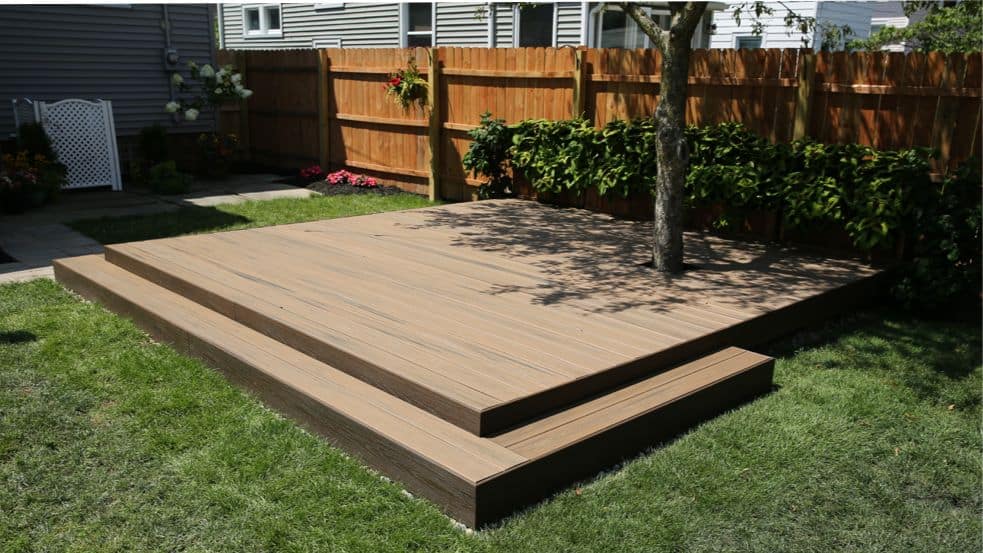
For this project, we’re using composite decking rather than treated wood decking boards. Composite boards are a low-maintenance alternative to wood decking. They have the appearance of wood but are made with recycled material. This water-resistant decking also resists mold and stains but doesn’t require sealing or painting. See our Deck Planning and Materials Guide to learn about different types of decking.
Wear eye protection, hearing protection and a dust mask when cutting lumber or composite material. Follow the tool manufacturer's instructions for use and safety.
This is the third and final part of our How to Build a Floating Deck series. To watch the decking installation, see the decking portion of our floating deck video. To learn how to plan the deck and to watch a video of the entire project, see the first part of the series, Planning a Floating Deck. To learn how to build the deck frame, see part two, Framing a Floating Deck.
Installing the Decking


The boards we’re using have a groove along each edge that allows you to use concealed fastener clips to secure them to the frame. These hidden deck clips will give the deck surface a clean look and set a drainage gap between the deck boards.
The decking might require an expansion gap along the perimeter. Follow the installation instructions for your decking.
Instructions


Finishing Touches

With the deck complete, you can begin dressing it up. We added a table and chairs to create a comfortable and inviting place for the family to gather. You can also consider adding umbrellas, an outdoor rug and even outdoor lighting to get the most out of your deck, day or night. Don’t forget to have a grill or smoker nearby for the family barbecue.