
Tools and Materials
Tools
Product costs, availability and item numbers may vary online or by market.
Before Beginning


In the location we’re building this floating deck, because it’s not attached to the house and will be less than 200 square feet, we don’t have to go below the frost line — the level at which water in the soil typically freezes — for our foundation. Check with your local building department to see the requirements for your area and your deck. In addition to requirements for foundations and placement, you’ll find out about factors like any permits and inspections that are required, size limitations and more. In addition, find out if your homeowners association has any rules or guidelines that could impact your plans.
Before beginning any excavation, call 811 to check for underground utilities.
Building a floating deck involves working with heavy, unwieldy materials. Enlist a helper.
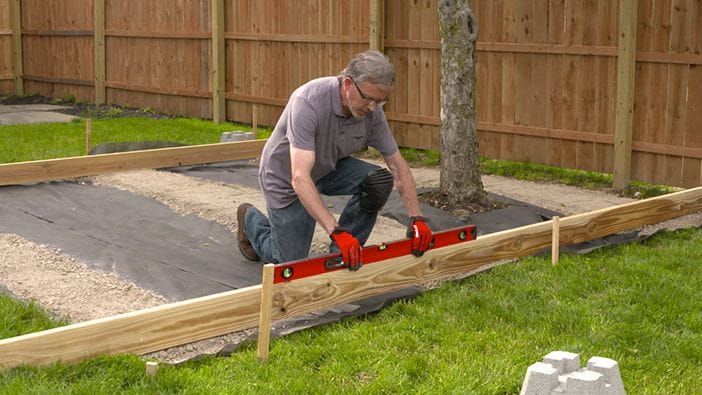
Floating Deck Plan and Layout

The plan for this deck is to use paver base and concrete deck blocks for the foundation. The 2-inch-by-6-inch joists will rest on top of the blocks. Cap blocks on paver base will support the step section. This deck will have composite decking with fascia boards around the perimeter to cover the frame and give it a finished look. The deck is going to be low-lying — it’ll be about 12 inches above the ground when complete.
If you already have your deck laid out, you can move to the next part of the How to Build a Floating Deck Series: Framing a Floating Deck.
Instructions


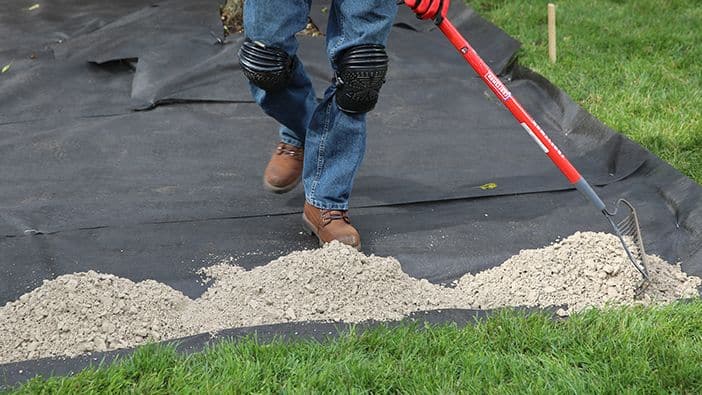
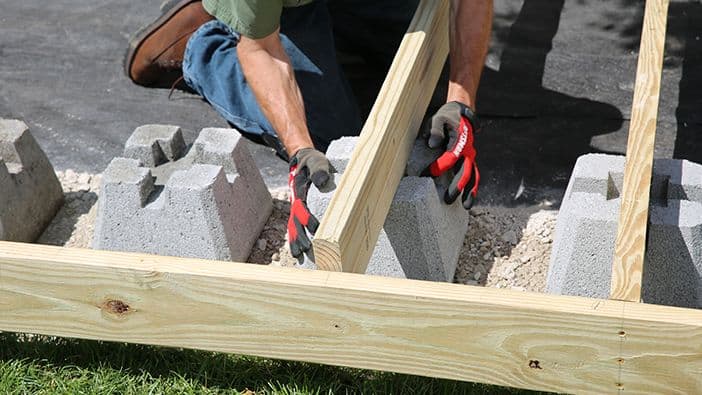
Creating the Deck Foundation
Now that the deck is laid out, you can begin clearing the deck area and setting your concrete deck blocks. For our deck, we’ll use blocks near the end of each joist and a few to hold up the center beam. You can also go without the center beam and use more blocks under each floor joist for additional support.
Concrete deck blocks are great alternatives to concrete foundations. They support the deck frame above the ground and can hold your framing members horizontally, or they can vertically support posts for a higher deck. Always check your local building codes for foundation requirements.
Instructions


Next Steps: Building the Deck Frame
With the layout complete, you're ready to begin constructing the frame for your floating deck. The frame will be constructed of 2-inch-by-6-inch pressure-treated lumber. See the next part of the How to Build a Floating Deck series: Framing a Floating Deck.