
Tools and Materials
Product costs, availability and item numbers may vary online or by market.
The Benefits of Insulation
Your home's insulation is what helps keep you warm in the winter and cool in the summer, keeping you and your family comfortable year round. That's the obvious benefit of having insulation in your home. There are additional benefits as well.
- Insulation can reduce your heating and cooling bills with proper installation.
- Insulation acts as a sound barrier, absorbing noises that bounce off the floors and walls.
- Insulation reduces air leaks, keeping humidity levels low and reducing the growth of mold and mildew.
- Insulation can improve the indoor air quality by reducing the entry of outdoor dust and allergens.
Before Installing Insulation


When installing home insulation, always follow the manufacturer's instructions. Here are some things you need to do before you begin:
- Check your local building code for R-value (insulation level) recommendations and any vapor barrier requirements that apply to your area.
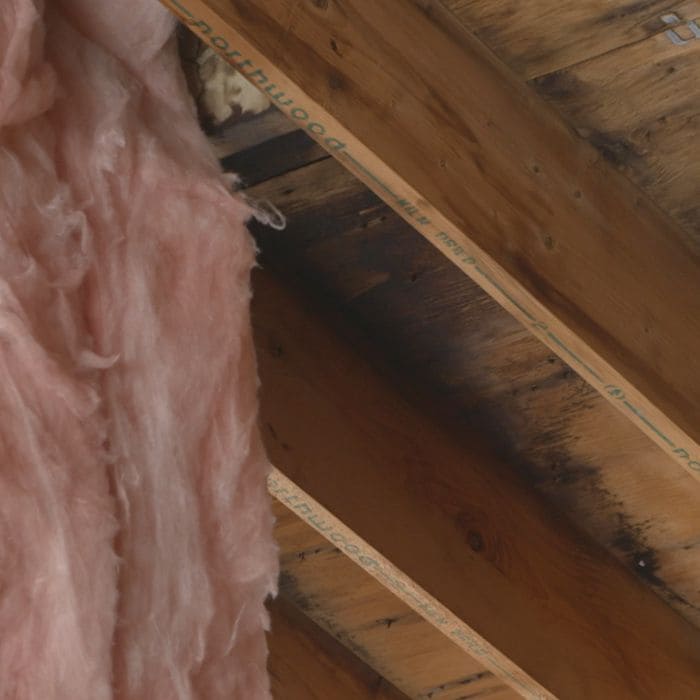
- Seal gaps that allow unconditioned air into the space you're insulating. Pay attention to areas where plumbing, ductwork or wiring enter the space. See Do-It-Yourself Spray Foam Insulation and How to Caulk. In crawlspaces and basements, make sure there are no cracks in the foundation.
- Measure between joists (if insulating a floor or attic) or studs (if adding insulation to walls that are unfinished) to find the correct width for the insulation. If you're insulating framed walls, make sure the insulation is the correct thickness for your wall studs.
- Use our Roll Insulation Calculator to estimate how much roll or batt insulation you'll need.
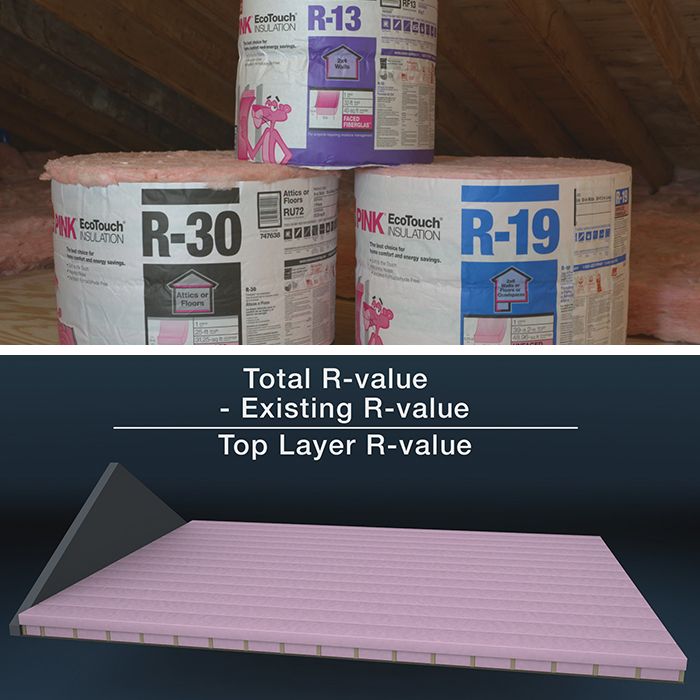
Home insulation is available in faced (with a vapor retarder) and unfaced rolls and pre-cut batts. Blown-in and foam board insulation are also available. The R-value of each product indicates how well it insulates. See our Insulation Buying Guide for more information on determining the type of insulation and R-value you need for different applications.
The paper side of faced insulation is flammable and must not be left exposed. Cover it with a finishing material such as drywall. Watch our video How to Hang Drywall for step-by-step instructions.
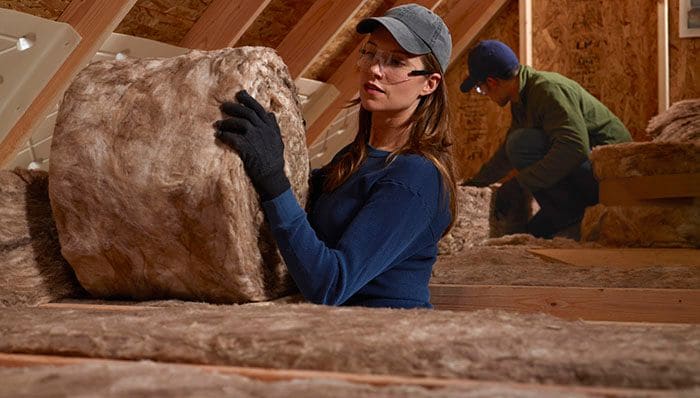
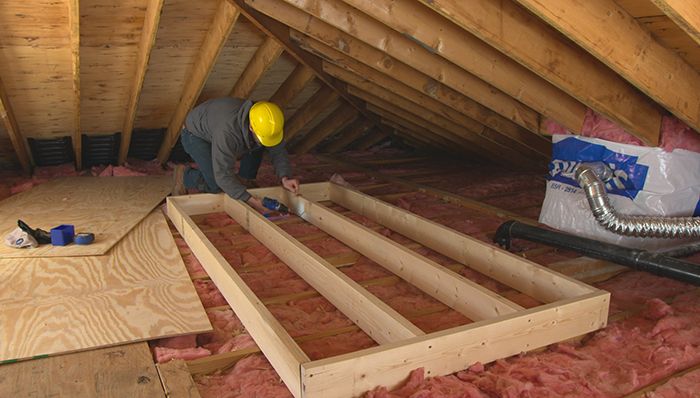
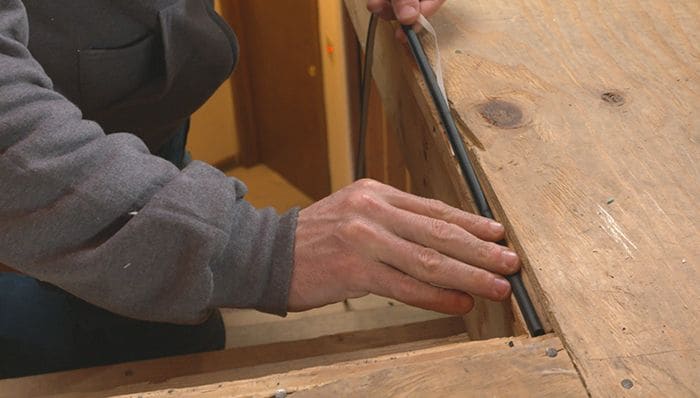
Insulating an Attic With Roll or Batt Insulation
Follow these steps to insulate an attic with roll or batt insulation.
Instructions


Insulating the Rest of Your Home
Follow these steps on how to install insulation for the rest of your home.
Insulating Stud Walls

Insulating an Unconditioned/Vented Crawlspace

Insulating a Conditioned/Unvented Crawlspace
Insulating Basement Walls
Working With Insulation
- Wear an old long-sleeved shirt and long pants or disposable coveralls. Check the insulation instructions for recommended safety gear such as eye protection, gloves and dust masks. If you're working in a crawlspace or attic, you may want to wear knee pads for comfort. A hard hat is helpful when working in tight spaces or around exposed roofing nails.
- Open insulation packages carefully and only as needed. Insulation expands quickly when you open the packaging.
- Don't compress insulation or double it over. Folding and compressing the material changes the R-value.
- Once you've filled a space with roll or batt insulation, fluff it to its full expansion by pulling it forward to fill the cavity.
- Cut the insulation on the unfaced side against a safe backstop such as an unfinished floor or another smooth, flat surface. Don't cut near wiring.
- You may need to split or cut the insulation to fit it carefully around obstacles such as bracing, ducts, electrical boxes, wiring and pipes.
- If you live in an area where frozen pipes are a concern, make sure the insulation protects the pipes from cold air.
- Where necessary, make sure ductwork is insulated to help your heating and cooling system operate more efficiently.
Don’t have time to do this project yourself? Check out our professional blown-in insulation installation service.