
Tools and Materials
Tools
- Shovel
- Garden Rake
- Hand Tamper
- Rubber Mallet
- Tape Measure
- 2-ft Level
- Line Level
- Speed Square
- Circular Saw with Wood and Concrete Blades
- Clamps
- Utility Knife
- Wheelbarrow
- Broom
- Leaf Blower
- Garden Hose and Nozzle
- Work Gloves
- Eye Protection
- Hearing Protection
- Dust Mask
- Wet / Tile Saw and Concrete Blade (Optional)
- Mason's Chisel (Optional)
- Drilling Hammer (Optional)
- Knee Pads (Optional)
- Plate Compactor (Rental)
- Plate Compactor
Product costs, availability and item numbers may vary online or by market.
Planning for a Paver Walkway

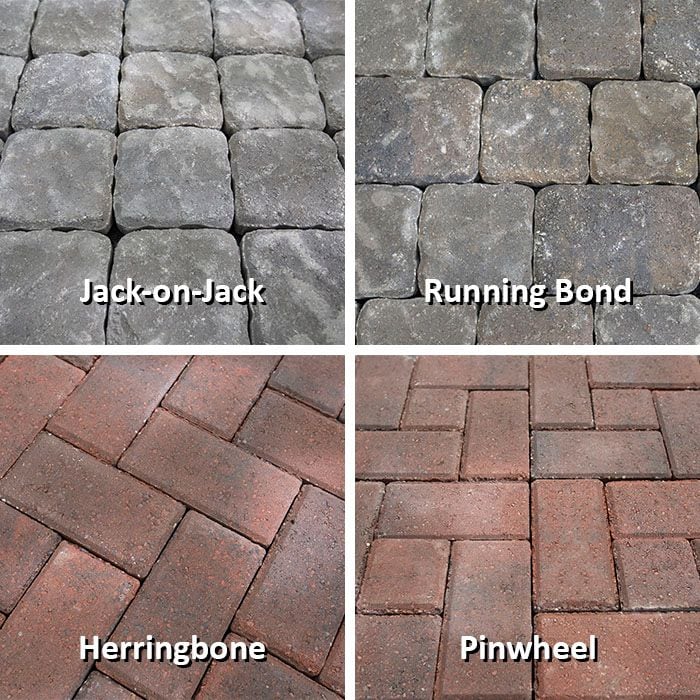
Start by deciding on a pattern and style. Traditional, basic patterns include jack-on-jack or running bond. Patterns, such as herringbone or pinwheel, are more advanced and require more cutting. If you want a decorative look that's easy to install, consider stamped pavers that look just like stone. Our Wall Blocks, Pavers and Edging Stones Guide can give you more details on paving stones. Read Planning for a Paver Patio or Walkway and learn how to estimate the materials needed for your project.
When it comes to the width of your walkway, 48 inches is comfortable for two people walking side by side, but a 36-inch width is standard. A wheelchair needs a pathway that's at least 36 inches wide with a 60-inch-wide turnaround area.
Before you buy materials or begin work, check local building codes and your homeowners association to see if there are any restrictions or requirements you need to follow. A permit may be mandatory in some areas. You can also estimate your material needs with our paver calculator.
Pavers can be heavy. Enlist a helper and have your materials delivered.
Before beginning any excavation, call 811 to check for underground utilities.
Paver Walkway Basics

A traditional paver walkway consists of several layers:
- A 6-inch layer of gravel paver base
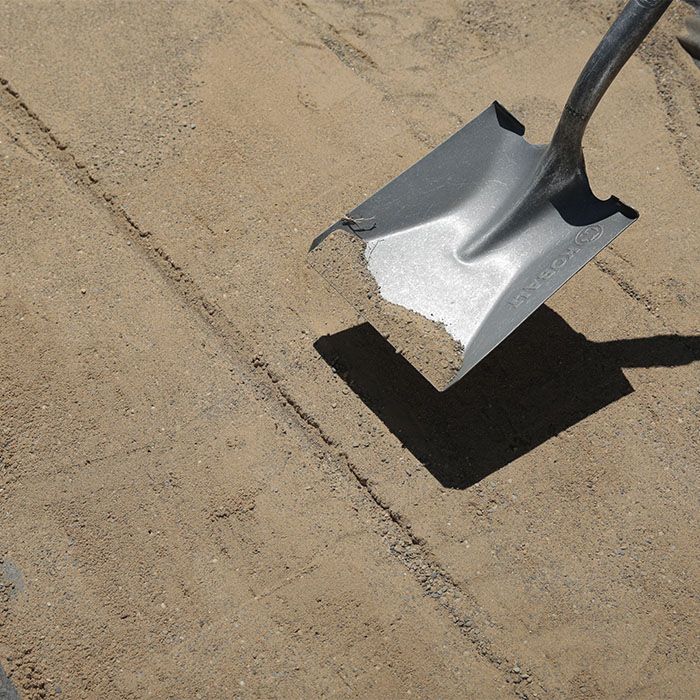
- A 1-inch layer of sand
- Pavers
- Polymeric or jointing sand in the joints between the pavers
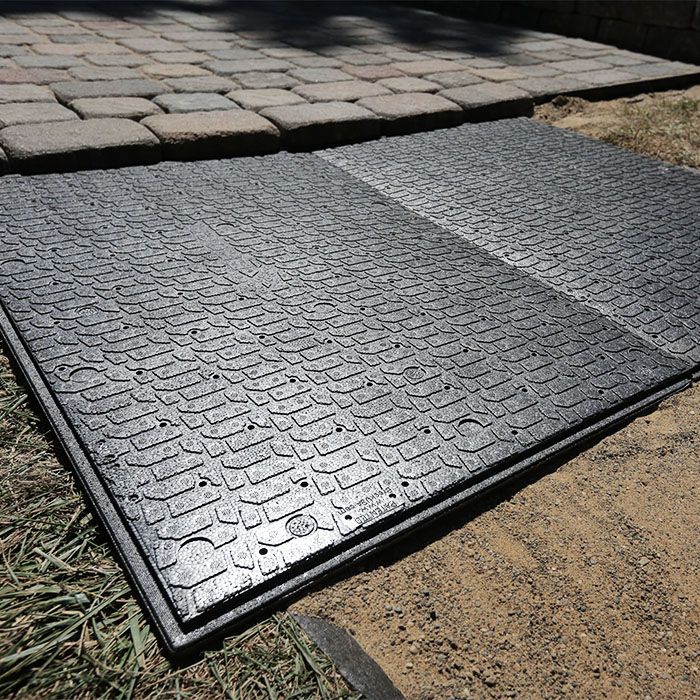
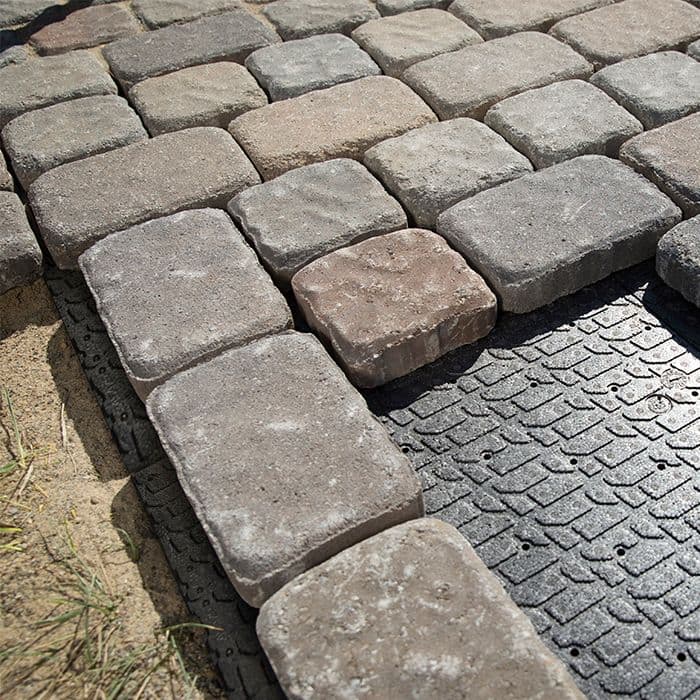
For this walkway, we're using interlocking paver base panels (illustration above) instead of the gravel base. They're lightweight, require only 1/2 inch of sand underneath, and the pavers sit directly on top.
If you choose to use a gravel base rather than the panels, see How to Design and Build a Paver Patio for instructions.
Preparing the Area
It's time to apply your plan.
Preparing the Area for Paver Installation


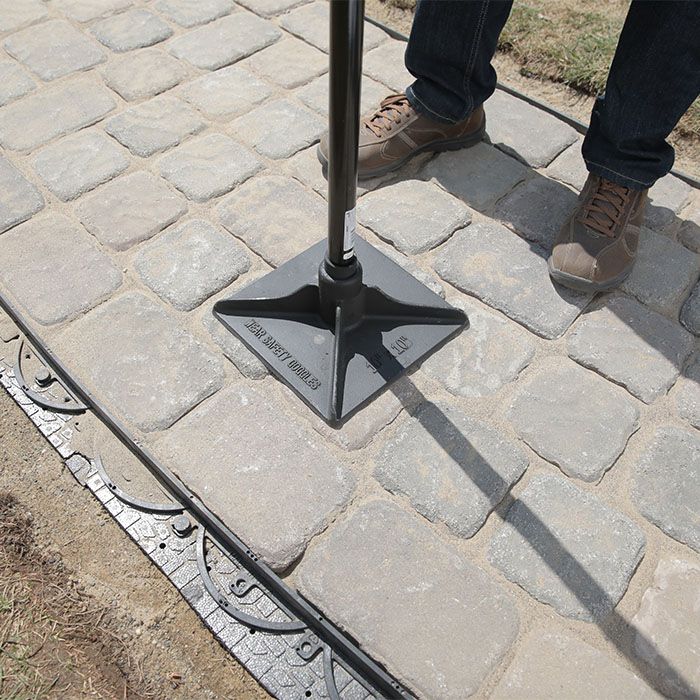
Installing the Walkway Foundation
The base layers are important for stability and overall looks.
Establishing the Foundation


Installing the Pavers
Take your time with this part of the project.
Beginning Paver Installation


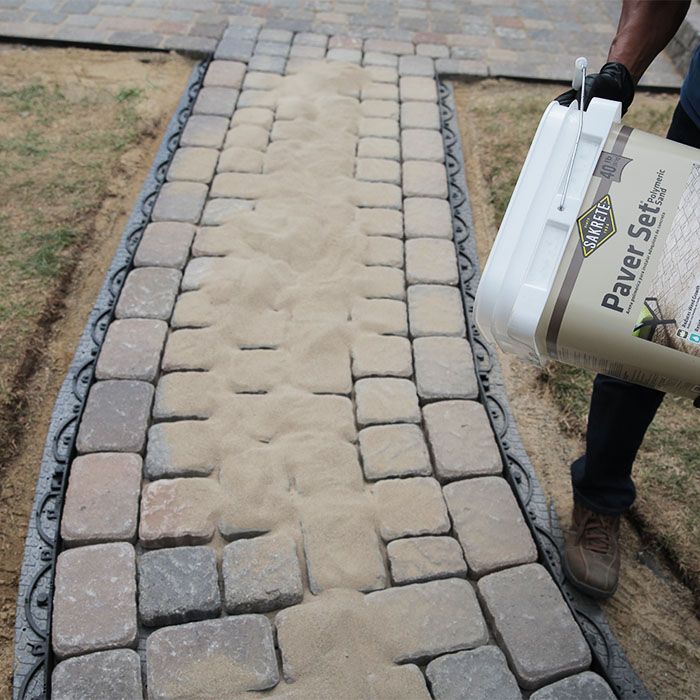
Adding Jointing Sand
Adding sand is relatively simple, but critical. This is another set of steps to follow carefully.
Filling Gaps With Sand


Finishing Touches

Finish up with features to make your walkway the perfect path to a beautiful backyard:
- Put down mulch to separate the walkway from your yard.
Landscaping With Mulch - Add garden beds for colorful borders along your walkway.
Add a Planting Bed to Your Home Landscape - Install lighting along the walkway to enhance the look of your landscape and light the path at night.
Install Landscape Lighting