
Tools and Materials
Product costs, availability and item numbers may vary online or by market.
Deck Design and Layout Key Steps
- Check with your local building authority to make sure you have the necessary permits and to plan for inspections.
- Check with your homeowners association for any requirements that impact your project.
- Decide if your deck will be freestanding or attached to the house by means of a ledger board.
- Use Lowe’s deck design tool to plan your deck.
- Choose between pressure treated lumber or composite deck boards.
- Your deck will include posts, beams, joists, bracing, decking, stairs and railing.
- Lay out the deck area with strings, stakes and batter boards.
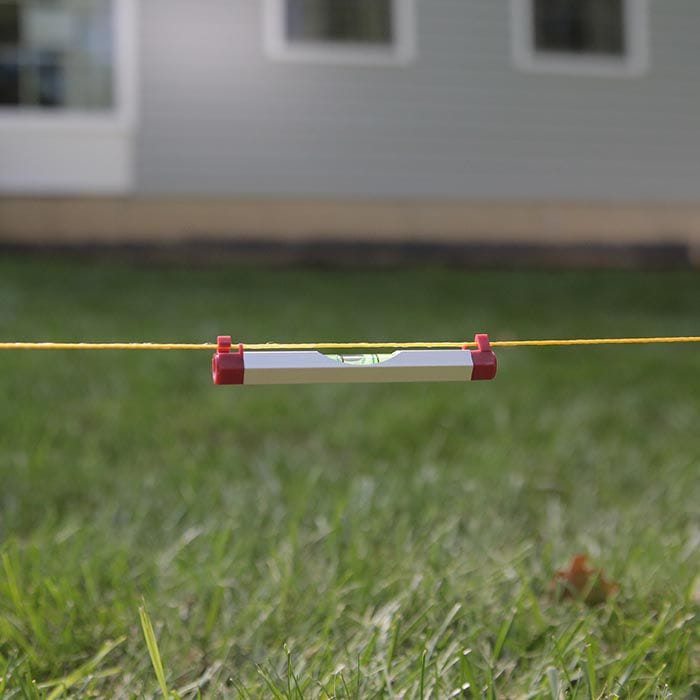
- Level the strings and ensure the layout is square.
- Remove the sod from the layout area and mark post hole locations.
- Determine a post height that accounts for the frame and decking and that positions the deck surface beneath your door threshold.
Planning for a New Deck
Before you begin to build a deck:
- Check with your local building department and homeowners association regarding permits and building requirements. Note the elements of the project that require inspection and plan your work accordingly.
- You’ll need to dig holes for the deck footings that will support the structure, so call 811 to have underground utilities marked.
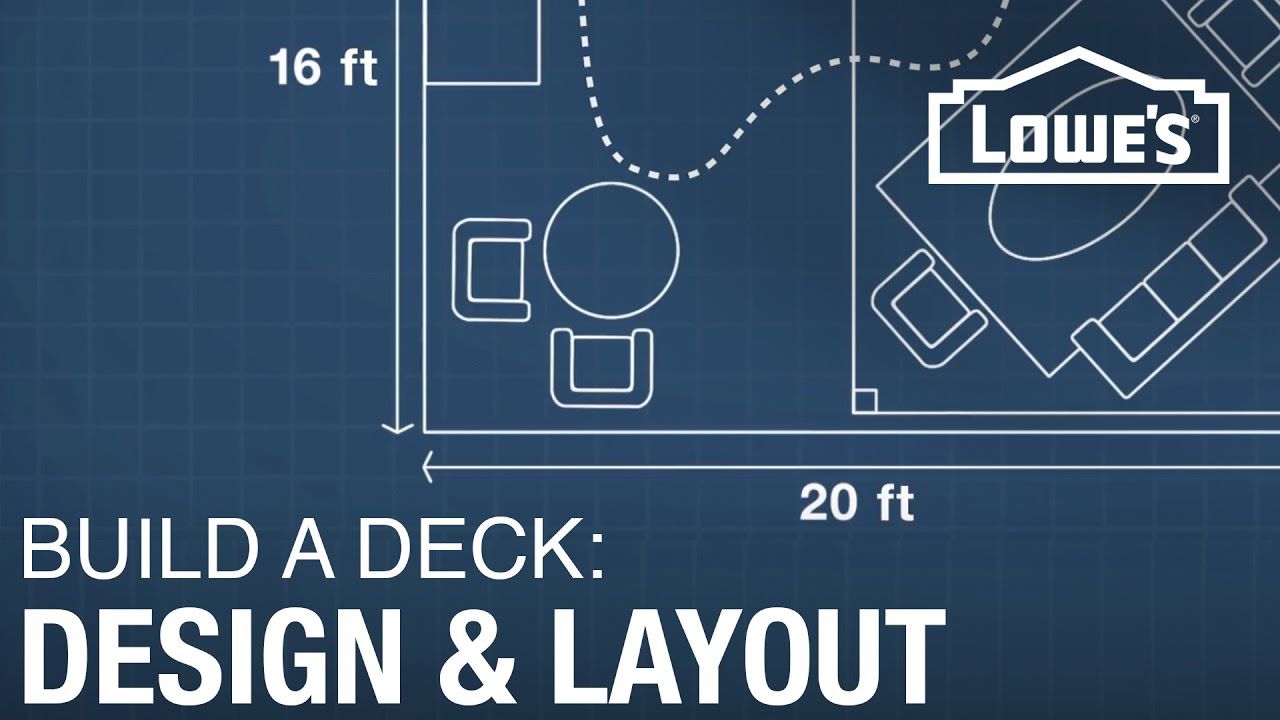
You can use our online Deck Design Tool to create your deck plans, get a cost estimate, build a materials list and more. Keep these factors in mind:
- When planning your deck’s size, make sure you’ll have enough room for your outdoor furniture and to move around.
- Think about size in terms of the decking as well. Deck boards are typically 5-1/2 inches wide, so try to plan a deck size that won’t leave narrow pieces at the ends.
- The plans you create will be the blueprints for the deck, so take your time when reviewing them. Follow these deck blueprints, and you’ll slowly see your plans unfold.
- Create your design so that the railings are clear of windows and out-swinging doors.
If you're not ready to do the installation yourself, Lowe’s can install your deck for you.
The cost to build a deck depends on various factors, including the type of wood used, how large the deck will be, labor, the features you want incorporated into the deck and more.
Decking Materials

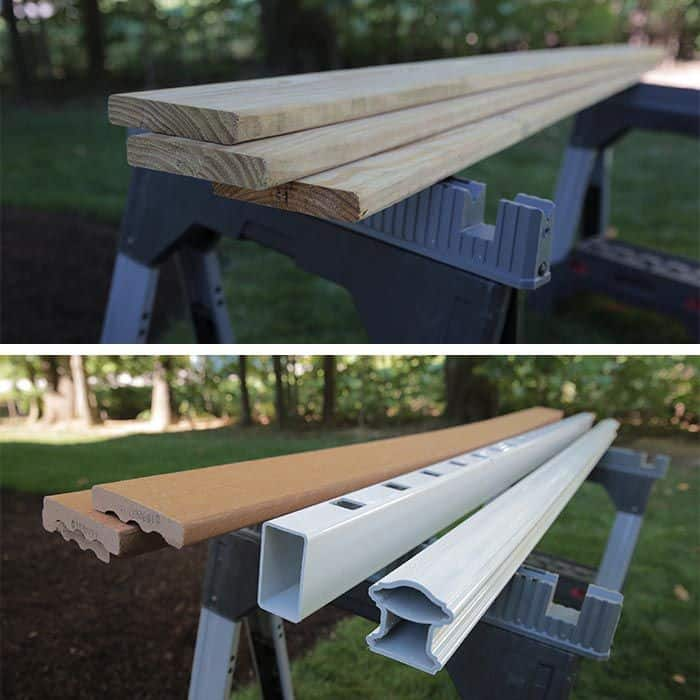
One of the first steps of designing and building a deck is deciding between a wood deck or a composite deck. Pressure treated lumber (first image) is the standard material because it withstands weather. Most pressure treated lumber is wet when delivered directly from the store, so you’ll need to let it dry before staining — sometimes up to six months. As an alternative, consider upgrading the decking and railings with composite decking (second image) and vinyl railings. Read our deck materials guide to get details on different options and look at the steps for building a wood deck and building a composite deck.
Even if you plan to use composite decking for your deck building project, you’ll typically build the underlying structure (beams, floor joists, rim joists, posts, etc.) with pressure treated lumber.
Deck Construction

- The foundation and 4-inch-by-4-inch posts
- 2-inch-by-10-inch beams
- 2-inch-by-4-inch diagonal bracing
- 2-inch-by-8-inch framing and joists
- 5/4-inch decking
- Stairs
- Railings
Building codes in your area might specify different framing elements, such as 6-inch-by-6-inch posts. Follow codes for your area.
For larger decks, you can install parting boards — also called pattern boards — in the middle of the decking. These decking boards run perpendicular to the rest of the decking, creating an eye-catching design. They also allow you to use shorter deck boards and can eliminate the need to butt boards together to span the width of the deck. You can typically reduce the number of support posts you need if you attach the deck to your house by means of a ledger board. However, this method can cause problems later if you don’t do it correctly, don’t use the correct structural fasteners and don’t install the proper flashing. It’s a job usually best left for the pros. Our deck is freestanding, so it won’t be attached to the house. A freestanding deck should have a small gap between the deck and house to prevent moisture problems. Check your local codes for details.
Decking boards have a common (or nominal) measurement of 5/4-inch thick. While you might think of this as 1-1/4 inch, the standard reference is 5/4 inch. Note that the actual thickness of a 5/4-inch board is usually 1 inch. The common 5/4-inch measurement indicates the thickness of the board before trimming, drying and planing at a sawmill. The actual measurements indicate the final dimensions. You’ll see these measurement references when you’re shopping for dimensional lumber.
Laying Out the Deck Area
When you have a solid plan, you can mark the layout with strings, stakes and batter boards made from 2-foot furring strips and screws. See Making and Using Batter Boards for assembly instructions.
Instructions


Working With Pressure-Treated Lumber
Guidelines
- Use fasteners and hardware labeled for treated lumber — stainless steel or hot-dipped, galvanized screws.
- If the lumber is wet — it typically is when delivered from the store — butt it together tightly when building. Pressure treated wood shrinks as it dries.
- Drill pilot holes in the ends of boards to prevent splitting when you nail or screw them together.
- Use wood rated for ground contact when necessary for the project.
Safety
- Wear a respirator, hearing protection and eye protection when cutting wood.
- Wash your hands after working with treated wood.
- Dispose of sawdust and waste according to local regulations.
- Don’t burn pressure treated wood.
- Don’t use pressure treated wood as mulch.
Get Ready for Your Deck Project
The next stage of the project includes setting the posts and building a deck frame. See How to Build a Deck: Post Holes and Framing and take a look at the entire deck series to see all the stages of building a wood or composite deck.
Shop Lowes.com for the tools and materials you need for your project and start browsing outdoor furniture, exterior lighting, plants and more. We can help you turn your new deck into a favorite spot for relaxing or hosting an outdoor dinner party. Stop by your local Lowe’s and talk to a Red Vest associate about your plans. They can make sure you have everything you need to start and finish your deck the right way.
Deck Design and Layout FAQ
Use the answers to these questions to help you plan your deck and layout.
Do I Need a Permit to Build a Deck?
Yes, you typically need a permit to build a deck. Always check the building codes for your area before beginning a deck project. You might need to supply information like the deck plans and project value estimates. In addition to a building permit, you typically also need to schedule inspections. If you live in a neighborhood with a homeowners association (HOA), check for any restrictions and find out if you need to have the plans approved by the HOA.
How Far Apart Should Footings on a Deck Be Spaced?
Check local building codes to find spacing requirements for deck footings in your area. Footings are typically 6 to 8 feet on-center (from the center of one post to the center of the next), but spacing can vary by factors like the type of soil in your area, the size and wood species of the deck beams and the joist span (the unsupported length of the deck joists).
How Big Should My Deck Be?
Keep these factors in mind when planning the size of your deck:
- Plan space for the furniture and other items you’ll have on your deck, as well as room to comfortably move around the deck.
- Plan a size that works with the decking so you don’t have a narrow row of deck boards at one end.
- Make sure the deck size doesn’t conflict with the property line setback, the required distance from your property lines.
- Estimate the cost of materials and get quotes on installation so you don’t plan a deck size that exceeds your budget.
What’s the Difference Between a Freestanding Deck and an Attached Deck?
A freestanding deck is one that is not attached to a house or other building. The deck posts and footings fully support the load of the deck, or the weight it supports. A freestanding deck requires more support components, but you have more options for the deck location, and a freestanding deck can be a good option if you can’t attach the deck to your house.
An attached deck is connected to a house or structure by means of a ledger board. The ledger board helps transfer some of the load of the deck to the structure, so an attached deck often requires fewer support posts. However, if the deck isn’t connected to the structure correctly, it can create moisture and structural problems.
How Do I Make Sure a Deck Layout Is Square?
There are a couple of easy ways to make sure your deck layout is square:
Diagonal Method: Measure diagonally from one corner of a square layout to the opposite corner. Compare this measurement to the diagonal measurement between the other corners. If the diagonal measurements are equal, the layout is square.
3-4-5 Method: Starting at a corner of the layout measure 3 feet along a layout string and mark. Measure 4 feet from the corner along the adjacent layout string and mark. Measure the distance between the two marks. The corner is square when this measurement equals 5 feet. Repeat for the other corners.