
Tools and Materials
Tools
Product costs, availability and item numbers may vary online or by market.
Window Replacement Options


You have two choices for vinyl replacement windows: full-frame windows and insert windows.
Full-Frame Replacement Windows
- Replace the entire existing window down to the house frame
- Replacing windows and frames is necessary when existing window frames are old and deteriorating
- More advanced project because you have to remove interior and exterior trims and sometimes the siding
Insert or Pocket Replacement Windows
- Replace only the existing sashes with smaller windows that fit inside the existing frames
- Existing frames must be in good condition
- More DIY-friendly than full-frame replacements because your current trims and siding aren't removed
If you’re wondering how windows are replaced, this project provides step-by-step instructions. You can learn how to replace a window insert or pocket window from the exterior of a house. Some replacement windows can be installed from either the interior or exterior, so be sure to check the manufacturer's documentation to get specific instructions for your windows.
See Types of Windows: Replacement Window Buying Guide to learn about the different styles of replacement windows.
How Do You Measure Windows for Replacement?

- Determine the height and width of the pocket opening using a tape measure.
- Measure inside the existing frame rather than between the stops that hold the sashes in place (you'll have to open the lower sash to get the measurement).
- Measure the height at the left, middle and right of the window.
- Measure the width at the top, middle and bottom.
- Use the smallest height and width measurements when ordering your windows.
- Don't proceed until you have your new window and glass replacements and have measured them all to make sure they'll fit.
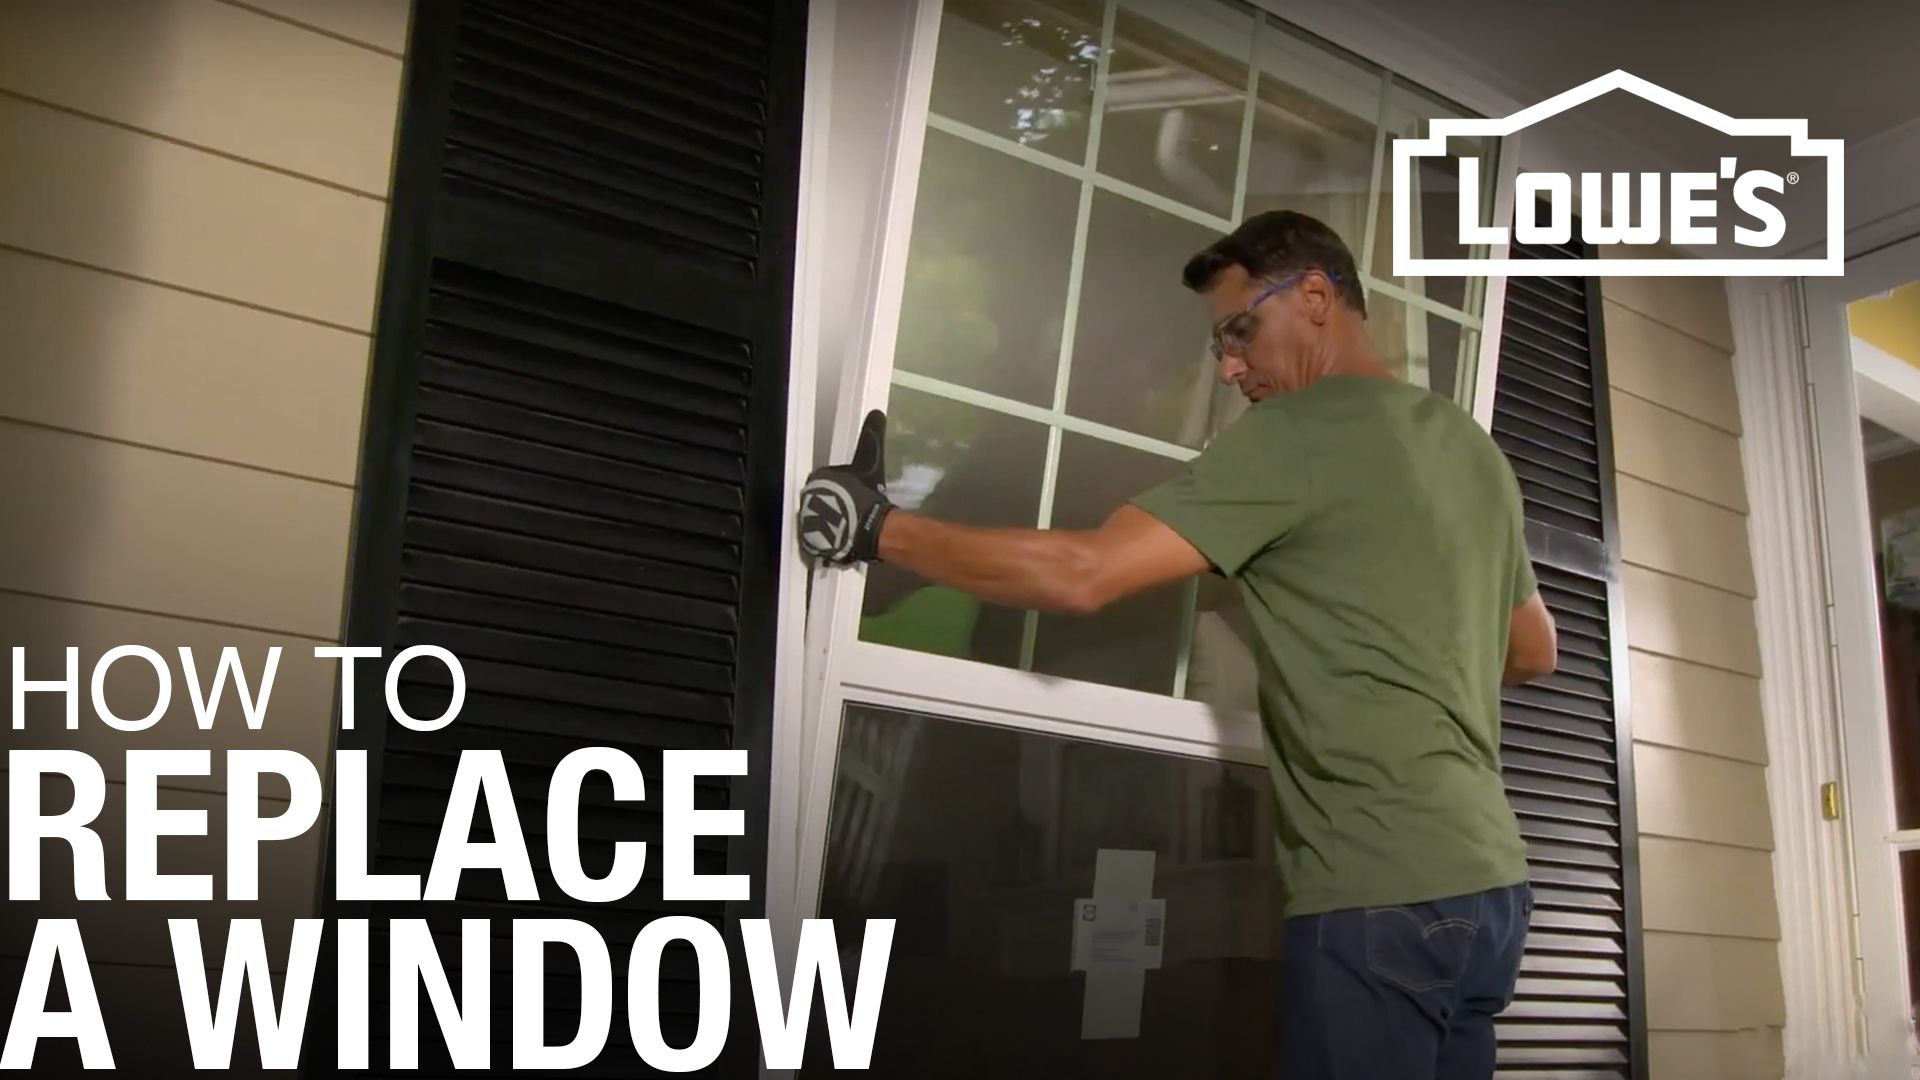
How to Remove the Old Window
Before replacing windows in a house, you’ll need to first remove the existing ones. There are different window designs, so the steps needed to remove yours may vary. Sometimes it's best to remove the sashes from the inside, but for this project, it'll be easier to remove the existing windows from the outside.
Homes built before 1978 may have lead paint. Contact a professional for help.
Remove Storm Windows
If you have a storm window, remove it first. Some storm windows can be removed by lifting them out of their channels. Others might require removing screws that hold them in place.
Score the Window Edge

Score along the edge of the storm window frame with a utility knife and then remove the screws and use a pry bar or putty knife to remove the frame. A paint multi-tool (sometimes called a 5-in-1 tool) is also helpful for this step.
Remove Sash Weights or Springs

Older windows may have sash weights or sash
springs that you need to remove.
- If your window has weights, cut the cords and let the weight fall inside the frame.
- If your window has sash springs, carefully remove them. Raise the sash near the top of the window. The springs might have plastic covers. If possible, cut and remove them. If you can't remove them, they'll break off when the springs are detached. Remove the screws holding the springs in place.
Sash springs are under tension and might snap into the window sash track. Watch out for the springs and plastic covers.
Identify Stops

Identify any stops on the existing window. Older
wooden windows have stops holding the sashes in place: interior stops, parting
stops between the two sashes, and exterior stops. If you're
installing from the inside, remove the interior stops and leave the exterior
stops in place. If you're installing from the outside, as with this project,
remove the exterior stops but leave the interior stops in place.
Score and Remove Stops

Use a utility knife to score where the stops meet the frame. You might be able to pry them off. If you can't pry the stops off cleanly, they're probably embedded within the frame and need to be cut using an oscillating saw. Let the saw blade do the work and be aware of nail locations. Remove the top sash and then remove the parting stop and the lower sash.
Fill Holes and Attach New Pieces for Stability
Fill any holes with wood filler and make sure you have solid wood where you'll screw the new window into the frame for stability. If you find damaged or rotting wood, remove it and cut new wood to replace it. Attach new pieces with screws and wood glue.
If your window frame has weight chambers, fill them with insulation before installing the new window.
How to Install the New Window
Follow these detailed instructions on how to install replacement windows.
Clean the Window Opening and Apply Flashing Tape

Clean the window opening. Use a shop vacuum if needed to remove any dust and debris. Apply flashing tape to the sill. It should fit the length of the sill and extend up the vertical leg of the stool (the bottom ledge of the interior side of the window). Be sure to work it into the corner of the stool.
Make Sure the Sill is Level
Check the sill for levelness and to make sure there's no bowing. If necessary, use shims to make the sill level. Ensure they're placed correctly for proper leveling and secure them with screws and flashing tape to prevent any movement.
Dry-Fit Your New Window

Dry-fit the new window into the opening. You should have a small gap around the frame. Set the window aside.
Large windows can be heavy. Get help moving and supporting them during installation.
Apply Caulk

Apply a 3/8-inch bead of silicone caulk at the interior head (the top of the frame), the stops and the sill. See How to Caulk to learn to lay a bead of caulk.
Place the Window and Secure
Place the window in the opening, resting it against the interior stops and pressing it firmly against the caulk. Use shims to secure the window, placing them at the pre-drilled frame screw holes. From the inside, drive screws into the holes and through the shims.
Check the Sashes

Check that the sashes sit evenly in the frame. If needed, use additional shims at the meeting rails (the horizontal frame elements on the sashes that meet when the window is closed) to adjust the frame of the new window.
Ensure the Window Is Even

Check for plumb (straight up and down), level and square, and ensure the window operates properly. You can make any necessary adjustments with shims. When everything is right, cut any shims that are still sticking out.
To check for square, measure the diagonals of the new window frame, not the interior trim.
Fill In the Gaps

From the outside, apply spray foam insulation recommended for windows into the gaps around the window. Don't overfill the gaps. Refer to the manufacturer instructions and see Do-It-Yourself Foam Insulation for tips. You can fill larger gaps with backer rod insulation to make sure your house window replacement is airtight and waterproof. Avoid batt insulation, which can absorb water.
Measure Height

Measure the height from the bottom of the window to the sill to size the sill adapter.
Cut the Sill Adapter

Use a sharp utility knife to cut the sill adapter to the appropriate width.
Drill Weep Holes
Weep holes are small openings that help water drain out. Drill two weep holes at the bottom of the adapter and then lock it onto the window.
Use a piece of scrap wood to protect the sill adapter while you tap it in place with a hammer.
Install the Trim

Install exterior trim around the window frame with finish nails, and use a nail set to finish driving the nails to prevent denting the trim. Seal the edges of the trim with latex caulk, making sure to avoid covering the weep holes. Fill any noticeable nail holes with wood putty and paint the trim as needed.
Caulk the Interior

Apply latex caulk along the interior trim to complete the installation.
Lowe's Can Install Your Windows

Don’t have time to tackle this Do-It-Yourself window replacement project? Check out our professional window replacement and installation service and see how affordable window replacement can be.