
Tools and Materials
Product costs, availability and item numbers may vary online or by market.
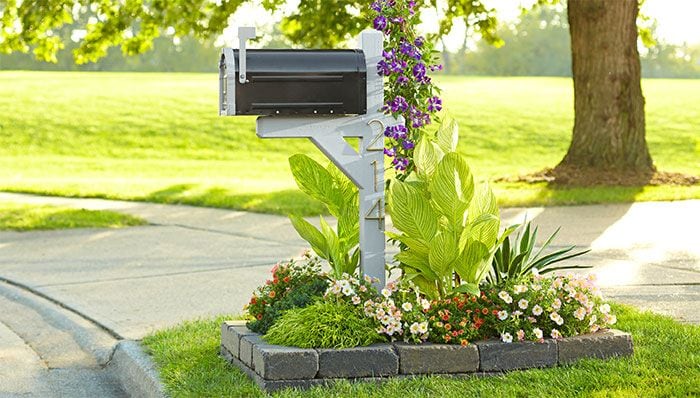
Preparation for Your Mailbox Planting
Annuals, perennials, tropicals and shrubbery are all candidates for mailbox plantings. You can mulch the planting bed, or create a more natural feel using stones and pebbles. Below are instructions for common mailbox plantings. Before you start planting, consider a few things:
1. Consider the mailbox area from the postal worker's viewpoint. According to the US Postal Service:
- Install a mailbox at a height of 41 inches to 45 inches from the ground.
- Set the mailbox back 6 inches to 8 inches from the front face of the curb.
- If there is no raised curb, or for placement questions, contact your local postmaster for instructions.
Also remember to avoid plants with flowers that have thorns or attract bees that can injure the postal worker or you. For any questions about mailbox placement, contact your local postmaster.
2. Consider the mailbox area from a driver’s or neighbor's viewpoint. Make sure that plants don't block the view of oncoming traffic when exiting a driveway. If the mailbox is adjacent to a neighbor's box, discuss and cooperate with the neighbor.
3. Make sure the mailbox planting conforms to local ordinances or homeowners association restrictions. It's easier to check now than to remove the plantings after a citation.
4. Verify that the mailbox planting area doesn't have any underground sprinkler systems or utility lines. Call 811 to contact your utility company and have them identify any underground service lines.
5. Select plants that have similar light requirements — some prefer full sun and others do better in the shade. This helps to make sure your project consistently looks great all season. You can find this information on the plant tag. Popular plants include:
- Dwarf hollies (Burford, Japanese, Chinese, Yaupon or other)
- Clematis (aggressive climbing vine with large showy flowers that often change color)
- Mandevilla (Brazilian Jasmine; post-climbing vine that thrives in full sun and blooms in clusters throughout spring and summer months)
- Daylilies (large, colorful blooms with tall stocks)
- Verbena (trailing plant that grows low to the ground with brightly colored blooms)
- Dianthus (medium-size blooms, includes carnations and Sweet William)
- Lantana (aromatic flower clusters with mixed colors)
6. Draw a simple plan of the mailbox area. Some things you may consider including in your plan are plant types, colors, sizes, heights and textures. This plan will guide you through the plant selection, installation and care.
Add Plants
Now that you've taken into consideration the area surrounding the mailbox, it's time to add your plants.