
Wood-Burning Success Tips
- Soft woods with minimal grain, such as pine or aspen, are easier to burn than hardwoods.
- As you work, use 320-grit sandpaper on a solid block to lightly brush away any residue or buildup from the tip of the wood-burning pen. If you do this while the tip is hot, avoid holding the sandpaper in your hands or touching the paper more than a second.
- Use a small pair of pliers to remove hot tips safely and easily. Place hot tips in a small glass or metal dish to cool. Even though cool tips can be handled safely, use pliers to insert them into the barrel of a hot tool.
- Let the wood burning pen do the work; don't force it. Too much pressure can bend hot tips.
- Try out new steps and techniques on a sample board cut from the same material you're burning. Practice with different tips to see how they burn and what types of lines and patterns they create.
- Keep the wood-burning pen out of reach from children and away from flammable materials.
Create Wood-Burning Designs


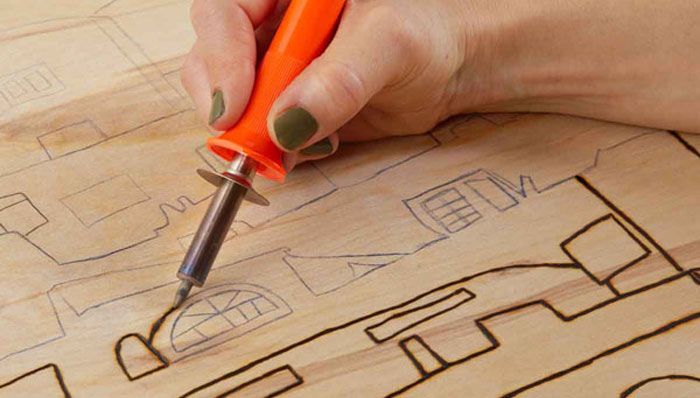
To transfer a design, first print and (if necessary) assemble the paper pattern. Place transfer paper between the pattern and the wood, and trace the lines of the pattern with a pencil or ballpoint pen to create the design on the wood.
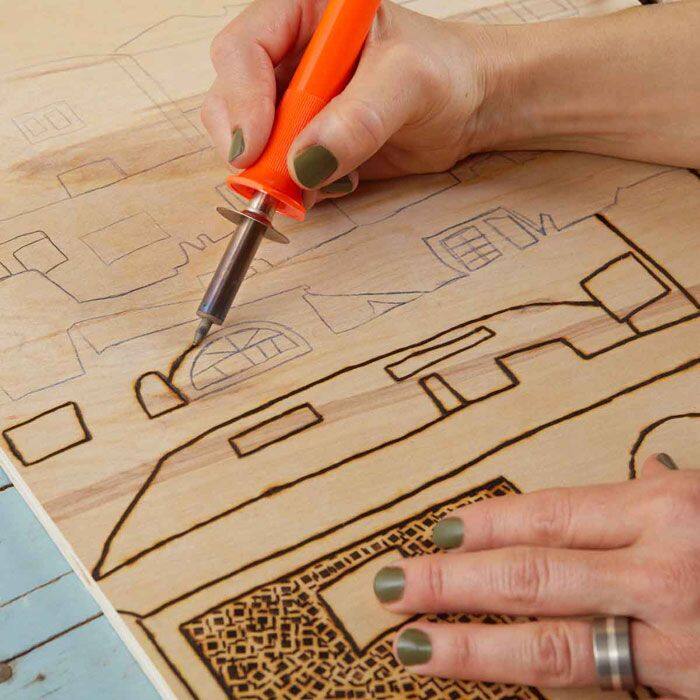
Use a wood-burning tool to burn the design into the wood with the appropriate tip. To prevent fire or injury, follow all safety instructions that came with the kit.

If desired, add color to the design by applying a water-based wood stain. The product we used can be tinted with a variety of colors at the Lowe's paint counter.
Tool Tip Options
A wood-burning tool kit includes a pen-like tool you plug into an electrical outlet, plus several tips that attach to the tool to create different effects. Check out the quick guides to the basic tips below.

Shading Tip
Use it to create a teardrop pattern, or light or dark shading.

Dot Tip
Use light touches for fine dots; press down harder for deep holes.

Calligraphy Tip
Create fine lines and letters with this tip shaped like a pen point.

Groove Tip
Burn grooves into the wood; work slowly for deeper grooves.

Branding Tip 1
Apply with a vertical stroke. This one makes star-in-circle shapes.

Branding Tip 2
Make striped circles with this one. You can turn the tip 90 degrees and reapply for crisscross patterns.

Branding Tip 3
Make a square or diamond in a circle. Group the patterns for a lattice look.

Universal Tip
Hold at different angles to draw lines of varying thicknesses.