
Tools and Materials
Tools
Product costs, availability and item numbers may vary online or by market.
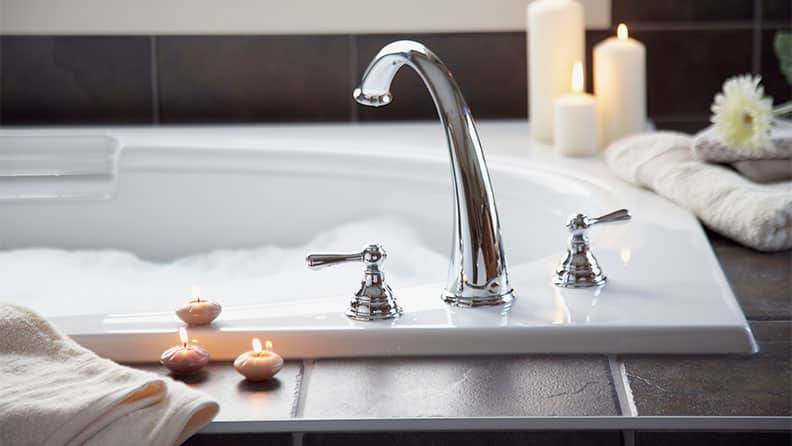
Is It Time to Refinish or Replace Your Bathtub?
You’ve noticed that your once glossy, bright-white bathtub has begun to show signs of wear and tear. Before you throw in the towel and buy a new one, consider if you need to replace the bathtub or if you can refinish it instead.
If your tub leaks, has deep, visible cracks, chips, has holes, or has rusty areas that only seem to get worse, it may be time to replace it. Recurrent or widespread areas of mold or mildew — which may point to a moisture problem — could also let you know that you need to replace your bathtub. Trying to cover up structural problems or other serious issues will only delay the inevitable.
However, if your tub has small spiderweb cracks, is peeling, has a flaking finish, or an outdated color — or if you just want to give your old tub a new look — refinishing it is a great and more affordable option.
How to Refinish a Bathtub
It typically takes about three to five hours to refinish a standard-sized bathtub. In most cases, the tub will be ready to use in 24 to 72 hours. Be sure to read the instructions on your refinishing kit carefully, as they may differ from these general steps. You should also check the instructions on any materials you use, such as caulk remover or bleach.
Once you have all of your tools and materials in place, you’re ready to start refinishing your bathtub. You’ll be working with strong chemicals throughout the process, so be sure to use the proper safety protection, including chemical-protection gloves, eye protection and a respirator. Also, because some of the chemicals you’ll be using will give off fumes, you’ll want to provide ventilation during the project by using your bathroom’s exhaust fan and opening a window. This is especially important if you’re working on a fiberglass surface.
The instructions below are for general use. For specific instructions, please refer to the manufacturer’s instructions that came with your refinishing kit.
Refinishing a Bathtub
Step 1: Remove Tub Hardware


Turn off the water supply to your tub and drain any water from the line before you begin. Then, remove any cover plates, drain plugs and bathtub spouts.
Step 2: Clean the Tub Thoroughly

Begin by removing all the caulk around the tub using a blade and chemical remover, if necessary. It’s important to remove all the caulk.
Use an abrasive cleaner or bleach to clean the bathtub thoroughly. Be sure to clean around the areas where you removed the hardware. Scrub the tub well and rinse with clean water. For extra-dirty tubs, do this cleaning process two or three times. Remove any soap scum with a plastic putty knife.
When working with bleach or other chemicals, always wear protective gloves and a respirator.
Step 3: Protect Areas Around the Tub

Because the coating you'll eventually use to cover the tub with is difficult to remove, you'll want to tape off and protect areas around the tub in case of spills. Be sure to protect the flooring and walls with drop cloths.
Step 4: Remove the Glaze
Most people refinishing a bathtub use a kit, which usually contains most of the materials you need for this do-it-yourself job.
Many bathtub refinishing kits come with an etching powder that you can use to remove the existing glaze and dull the surface. Apply the powder and water and scrub thoroughly with an abrasive pad. If you don’t completely remove the glaze, your final coating may not adhere as it should. Rinse the powder with water once you’re done scrubbing.
Step 5: Sand the Surface

Using 120-grit wet/dry sandpaper, sand the tub to encourage an even-rougher surface. Be sure to reach all areas of the tub during this step. If your refinishing kit didn’t contain etching powder, set aside more time for sanding. If the tub surface isn’t etched and/or sanded properly, the final coating won’t stick. Once you’re finished sanding, rinse the tub well and dry it completely using paper towels.
You can use a tack cloth to remove any leftover dust or other particles.
Step 6: Prep the Surface for Glaze

Some kits include a primer that you apply before putting on the epoxy coating. The kind of primer you have will determine how you need to apply it. One kit may have you use a roller and foam brush to paint the primer onto the surface and allow it to dry, while another kit may include a liquid primer that you simply dab on with a paper towel. Your kit may not even include a separate primer, as some epoxy coatings are self-priming. As always, follow the instructions that come with your refinishing kit and only use the primer included that came with it. You shouldn’t use regular paint primer on bathtub surfaces.
Step 7: Mix and Apply the Epoxy Coating

Your refinishing kit will have two items that you’ll need to mix together: a hardener and epoxy resin. The labels on these products will tell you exactly how to mix them. They’ll also tell you the working time you have before the product hardens. You’ll want to work quickly when applying the coating to the surface, covering the entire tub in one session.
Step 8: Apply Final Coats

You’re now ready to apply the final epoxy coats to the tub. Using a roller, apply the coating to all affected surfaces of the tub. Use a sponge brush for the edges. Pay attention to the labels — some products require a waiting time of one or two hours between coats while others require you to apply the second coat immediately after the first one. Once finished, allow the tub to dry and cure for two to three days.
Some products recommend putting as many as four coats on the tub's surface. Be sure to carefully read the label's instructions.
Step 9: Caulking and Finishing Touches

Once the tub has cured for two to three days, recaulk the areas around the tub where you originally removed it. Let the caulk dry overnight. Replace the hardware and remove all the tape from around the tub and floor. Use a mild cleanser and a clean cloth to wipe down the tub one last time. Now step back and admire your gorgeous, refinished tub.
What If Your Tub Is Beyond Refinishing?

Some bathtubs are in such disrepair that they simply can’t be refinished. When it’s time to retire the old bathtub and purchase a new one, we have the best selection to choose from. Shop online at Lowes.com to find the bathtub of your dreams. If you need help with installation, we can help. Our professional independent installers provide shower and bathtub installation services so you don’t have to take on the hard work. And when you’re ready, we can help rejuvenate your bathroom with a new vanity, new toilet, updated fixtures and more.