
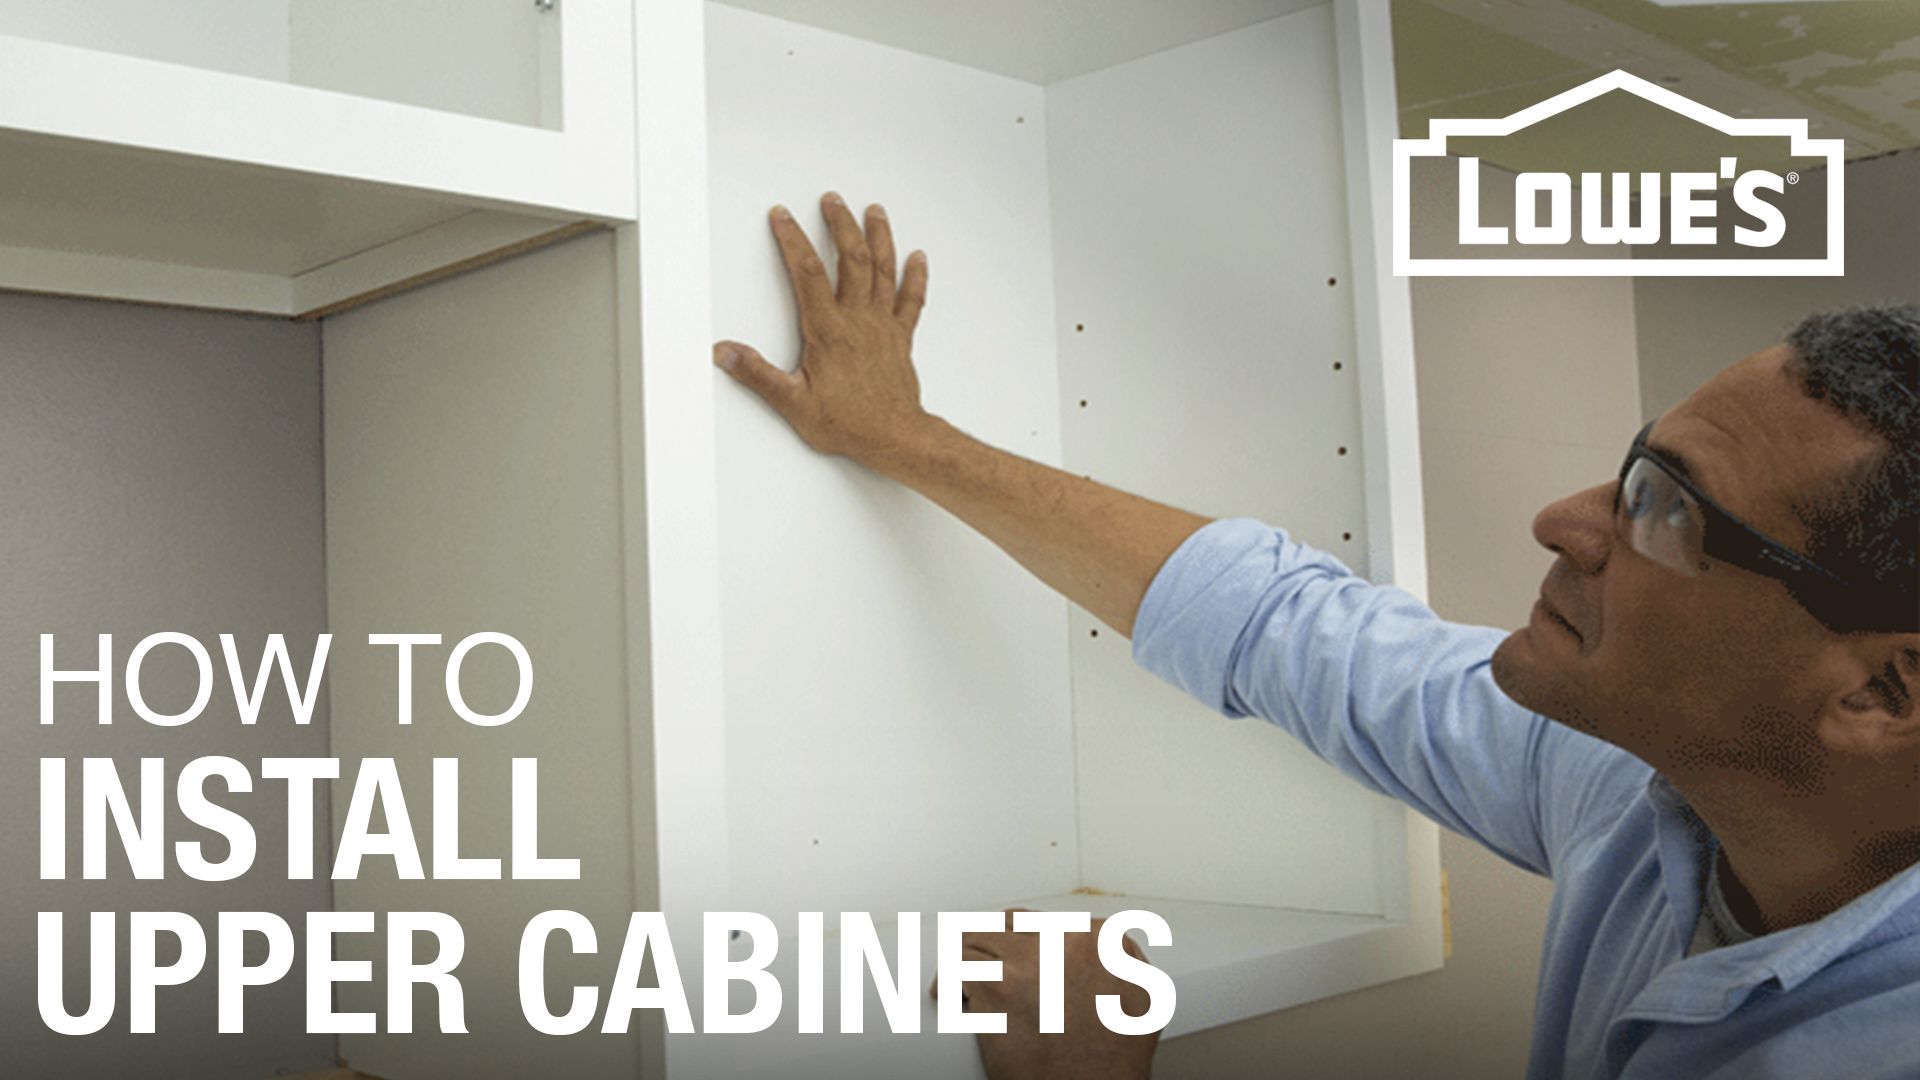
Install Upper Cabinets
Follow the steps below to ensure an efficient and accurate wall cabinet installation. For additional tips, check out our video on How to Install Upper Cabinets.
If you want to learn more about how to create hanging cabinet guidelines, see how to Measure and Prep for Cabinets.

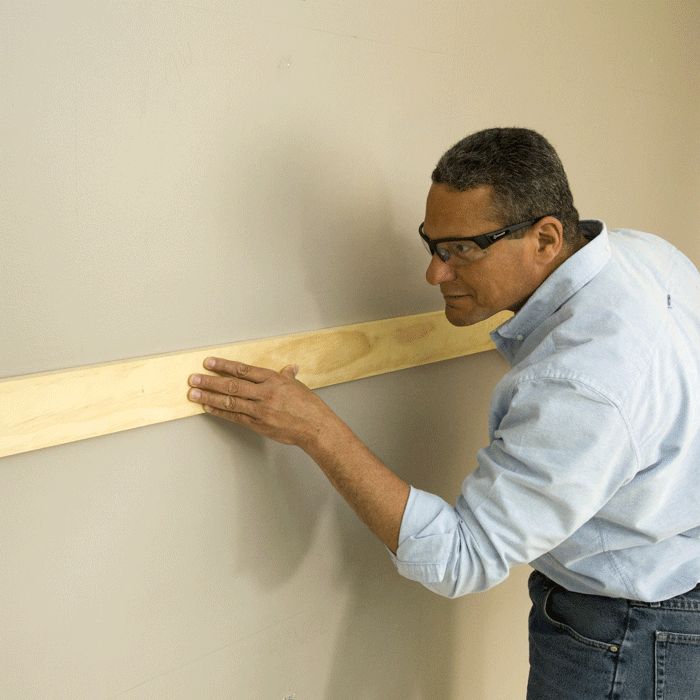
Start by attaching a straight 1-inch-by-4-inch ledger on the wall at the 54-inch line. A ledger is a board that helps support the cabinetry as you work. Use a level to ensure your cabinets are installed accurately.
If you need a refresher on how to take accurate measurements, watch our video on How to Use a Tape Measure.
If your cabinets are already assembled, remove the doors for easier handling.

Begin with a corner hanging cabinet or the one on the far left if you don’t have a corner unit. Use the guidelines you created on the wall and your tape measure to mark the distance from the cabinet edge to the stud and transfer this to the cabinet. Remember to account for the cabinet's face frame.

Drill holes through the cabinet backs at the top, middle and bottom rails. Your top and bottom holes should be about 3/4 inch from the cabinet’s edge. Do this step for each unit.

Set the cabinet in place and drive the mounting screws into the wall. Don’t overtighten the screws. Tighten them just enough to hold the cabinet in place.
Make sure that the cabinet is level and plumb. Shim behind the cabinet if needed.
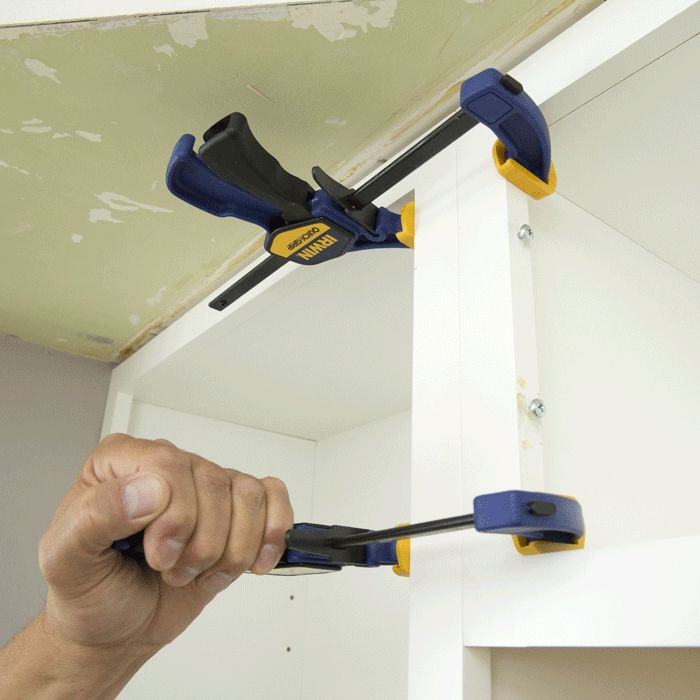
Set the second cabinet into position and line up the faces so that they’re even at the bottom and across the front. Use clamps to hold the cabinets together and then drive screws into the back. Make sure these are also just tight enough to hold the cabinets in place for now. Use shims in the back to make it plumb if necessary.
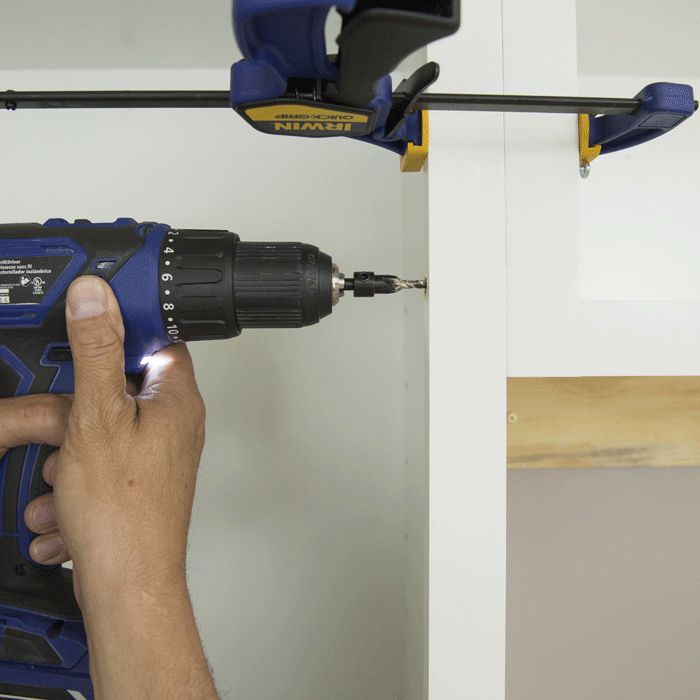
Keep the faces even and use a drill with a countersink/taper twist drill bit to drill through the face frames and connect with the cabinet screws.
Continue the process until you reach the end of the row, continually checking that the faces and edges are even and level.
If your wall is bowed, it helps to glue shims over the stud lines where you’ll secure the mounting screws. This will prevent the cabinet backs from bowing when you drive in the screws.
When you get to the end of the row, you may have a space between the hanging cabinet and the wall. Use cabinet fill strips to fill the gap. Measure the gap at the top and the bottom and cut your filler strip to fit.
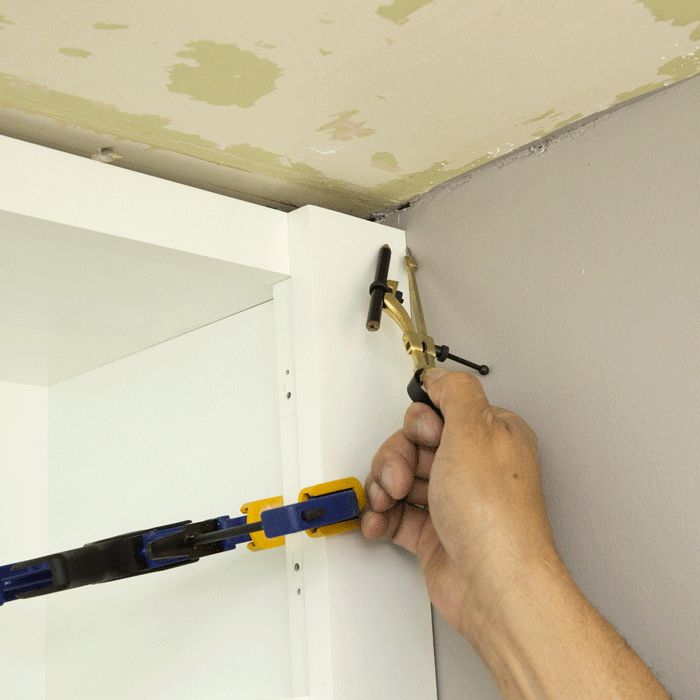
For uneven walls, clamp the filler strip to the outside of the cabinet face. Use a compass to draw a line that follows the contours of the wall. Cut the piece along the line at a 7- to 10-degree bevel to help fit it against the wall.

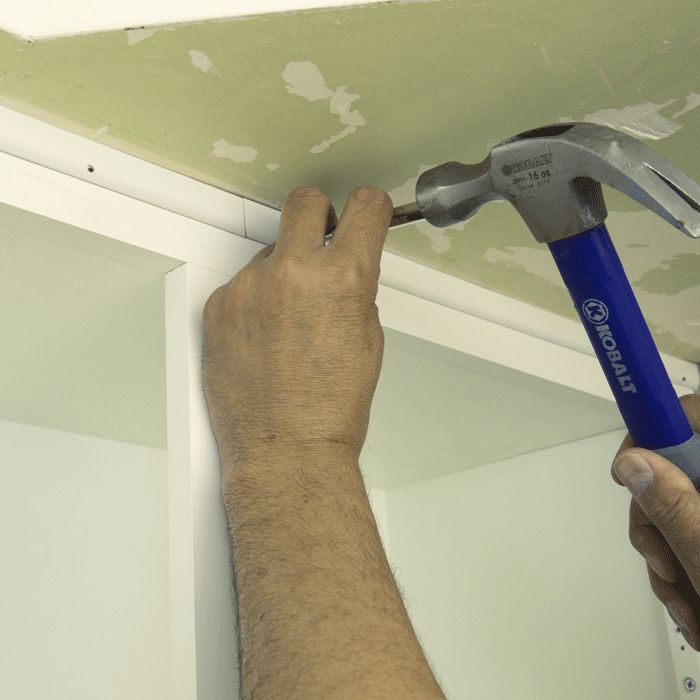
Once all the cabinets are connected, drive in the rear screws and remove the clamps. Remove the ledger board and touch up any wall damage.
If you’re installing crown moulding, attach it with finish nails. Hang the doors and make hinge adjustments for keeping the doors even.
Ready for the next step? In our next article, we’ll help you learn How to Install Base Cabinets.