
Tools and Materials
Product costs, availability and item numbers may vary online or by market.
Key Takeaways
- Mix and apply drywall mud to seams, joints and fasteners to create a smooth base layer.
- Embed drywall tape into fresh mud to reinforce joints and reduce cracking.
- Mud and tape inside corners, pressing firmly to remove air bubbles.
- Apply additional coats of mud, feathering edges wider with each layer for a seamless blend.
- Let each coat dry completely, then sand smooth and wipe away dust before painting.
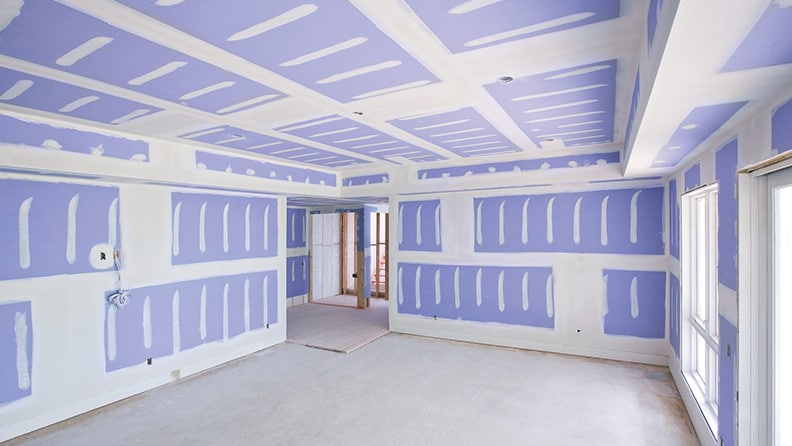
How to Install Drywall Tape and Mud


Here are some general instructions for how to mud drywall and how to use drywall tape so you can plan. Your instructions may vary according to the types of products used. You may also find that you need other tools and materials not mentioned. Always defer to the manufacturer’s specifications on all products.
Step 1: Apply the First Layer of Drywall Mud

Butting together multiple sheets of drywall creates seams or “joints” because the edges of drywall sheets are beveled. If these joints aren’t covered properly, they’ll show through the paint.
Begin work to cover the joints by preparing the drywall joint compound, or “mud,” according to the manufacturer’s instructions. You can choose from either a dry or wet mud, as well as some premixed options.
Apply a layer of mud to the drywall joints using the tool recommended by the manufacturer, such as a trowel, paint scraper or utility knife. Smooth a line of mud about an inch wide over the joints and over any fasteners that secure the drywall sheets to the wall studs. Use the scraping tool to remove any excess mud.
Allow the mud to dry. Then use a pole sander fitted with the type of sandpaper recommended by the manufacturer to smooth away any high points or imperfections.
Always take proper safety precautions when sanding, including wearing eye protection, work gloves and a respirator if needed.
Step 2: Apply the Drywall Tape

Install drywall tape over the mudded joints. Smooth the tape with your hand as you go to eliminate any air bubbles and to ensure the tape makes good contact with the mud. Once you’ve taped an entire joint, use a putty knife to press the tape firmly onto the mud. Repeat the process until all the joints have been covered with tape.
Step 3: Cover the Drywall Corners

Using the same procedure as for joints, apply mud to the inside corners of the drywall and wipe away any excess. Allow the mud to dry, then sand. Next, crease the drywall tape so it fits snugly into the corners and apply over the mud. Use the putty knife to ensure proper contact and smooth away air bubbles.
Step 4: Add a Second Layer of Mud Over the Drywall Tape

Apply another layer of drywall mud over the tape and smooth it out. In most cases, it is recommended to use a lightweight, all-purpose mud for this step as well as a wider trowel or drywall knife to help spread it evenly. Remove any excess mud. This layer should be allowed to dry overnight before continuing work.
Step 5: Add a Third Layer of Mud

Using a wide trowel or putty knife, apply a final coat of mud over the second coat. This will mask any imperfections in the previous coat. It is typically recommended to use a lightweight product referred to as a “topping mud” mixed to a thinner consistency for this step, although your project may vary. Allow the product to dry completely for the time recommended by the manufacturer.
Step 6: Complete the Project by Sanding

Sand the final coat of mud until completely smooth using a pole sander and 120-grit sandpaper, or whatever grit is recommended by the manufacturer. Use a clean cloth to wipe away any dust after sanding. Now you’re ready to paint.
Check out How to Paint a Wall, Trim and Ceilings for more do-it-yourself help and our Interior Paint Buying Guide for help choosing the right kind of paint of the room.
Pro Tips and Tricks for Installing Drywall Tape and Mud

- Pre-fill any gaps. Fill deep seams or gaps with mud before applying tape to avoid air pockets.
- Use the right tape. Check the manufacturer’s instructions to see what type of drywall tape is best for the drywall mud you’ve purchased.
- Crease the tape. Fold the drywall tape evenly before applying it to the insides of corners for a proper fit.
- Feather the edges. Smooth and blend the edges of each mud layer to minimize the amount of excess that needs to be sanded away.
- Let mud dry fully. Allow each coat to dry completely before sanding or applying the next coat.
- Wipe your putty knife or drywall tool occasionally. This helps ensure a smooth application without drag, scratches or uneven texture.
How to Install Drywall Tape and Mud: FAQ
Here are some common questions Lowe’s customers have when applying drywall mud as a DIY project.
What Is Drywall Mud Used For?
Drywall mud, also called joint compound, is used to fill seams, cover fasteners and smooth joints between drywall panels. It creates a seamless surface that’s ready for sanding, priming and painting.
How Do You Apply Drywall Mud to Seams?
To apply drywall mud, spread a thin, even layer over the drywall joint using a drywall knife or trowel. Smooth out excess compound and let it dry completely before sanding or adding another coat.
How Do You Use Drywall Tape With Joint Compound?
Apply a layer of drywall mud to the seam first, then press drywall tape into the wet compound. Use a putty knife to smooth the tape, remove air bubbles and ensure strong adhesion before applying additional coats of mud.
How Many Coats of Drywall Mud Are Needed?
Most projects require three coats of drywall mud: a base coat to embed the tape, a second coat to build coverage and a final topping coat to create a smooth, paint-ready finish.