
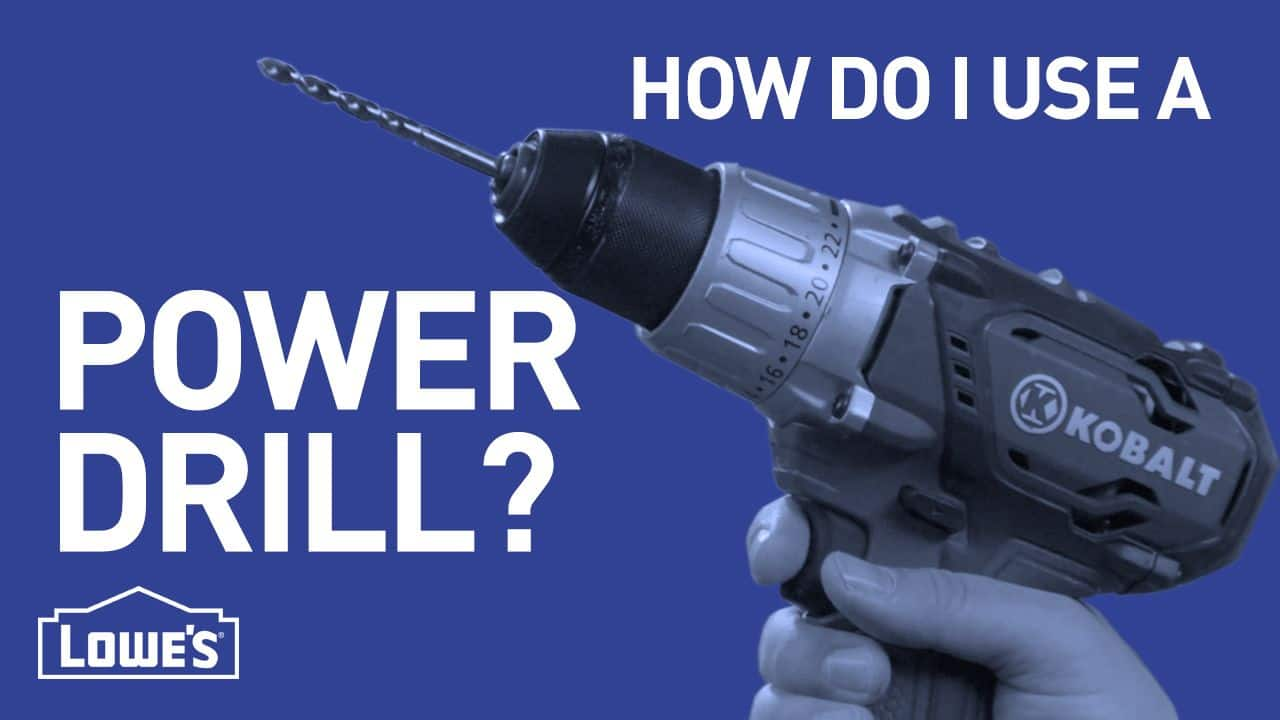
Cordless Power Drill Basics


A power drill can handle everything from drilling and driving to sanding and buffing. A cordless drill gives you all these benefits without the hassle of a cord.

A cordless drill typically comes with a battery and a charger. Different batteries and chargers have different charging requirements, so check your manual for the correct battery charging and storage procedures to get the most out of the drill. It's a good idea to have a spare battery available if you have a lot of drilling and driving to do.

A cordless drill has forward and reverse settings, and most cordless drills have a variable-speed trigger. The more pressure you put on the trigger, the faster the bit spins. There may be a high- and low-speed switch on the top of the drill — higher speeds are for drilling, and lower speeds are for driving. Lower speed means more power and drill torque, or rotational force. Most drills also have an adjustable clutch with numbered settings that give you even more control over torque, helping you avoid overdriving.

The chuck of the drill is the part that holds the bits in place. Most drills have a 3/8-inch or 1/2-inch chuck. The measurement indicates the maximum size bit shank the drill can handle. A bit must have a shank — the portion of the bit the chuck secures — that fits the chuck size of your drill. Some larger bits have a reduced shank for use on smaller drills. Be sure you purchase bits that have a shank size to fit your drill. You can use both hex-style bits and round bits. See our Drill Bits Buying Guide to learn about different bits and accessories. To install the bit, loosen the chuck to fit the shank, insert the bit and then tighten the chuck securely around the shank. Some chucks require a key to loosen and tighten, but drills with a keyless chuck can be adjusted by hand.
If you purchase a 20- to 40-piece drilling and driving accessory kit, you'll have everything you need to do most jobs around the house. There's also a great selection of specialty bits that allows you to perform a variety of tasks in different materials.
To learn more about types of power drills and available features, read our Power Drill Buying Guide.
Tips for Using a Cordless Power Drill

When you're drilling or driving screws, these tips will make the work easier and more accurate.
- Whether you're drilling or driving, the same basic rules apply. Always use safety glasses and other appropriate safety gear — such as hearing protection and a respirator or safety mask as specified by the drill manufacturer.
- Clamp down your work piece to keep it from shifting.
- Put your work piece on a surface, such as a scrap of plywood, that you can drill into without damaging the bits. If you drill all of the way through the work piece and into the scrap wood, the back of the work piece is less likely to splinter.
- Use an awl to mark a starting point where you want to drive a screw or drill a hole on the work piece. This gives the screw or bit a place to start without slipping.
- When you need to drill holes that are a specific depth, you can easily create a depth flag by wrapping your bit with painters tape at the desired depth point on the bit. When the flag meets the work piece, you're at the desired depth.
- To keep your bits from wandering or breaking, always hold your drill perpendicular to your work surface, keeping everything straight. If you're a beginner, hold a square next to the drill so you see and feel the correct alignment. Then apply even, steady pressure. Start drilling slowly and increase the speed. Let the drill do the work.
- For every 1/4 inch of drilling depth, back the bit out slightly from the wood to clear the debris. The holes will drill faster, and the bit will stay cooler and last longer.
- Drilling a pilot hole before driving a fastener helps prevent the wood from splitting. To drill a pilot hole for screws, use a bit that matches the diameter of the inner diameter of the threaded portion (not the diameter of the threads) of the screw. For nails, use a bit with a slightly smaller diameter than the nail. Drill to a depth that matches the length of the fastener — stopping short leads to split wood and stripped screws. Use a countersink bit to drill the proper-size holes. The countersink cuts a depression that allows the head of a fastener to be flush with the surface of the work piece. Most countersink bits will come marked with the size of screws they're designed for. See How to Drill a Pilot Hole for more instructions.
- When driving a screw into hardwoods — oak or maple, for example — apply a bit of paste finishing wax or soap to the threads to lubricate the screw and reduce friction. This makes driving the screw easier.
Learn more about drilling and driving by watching our DIY Basics videos: How Do I Drill Ceramic Tile? and When Do I Use Nails vs. Screws?
Follow the drill and bit or accessory manufacturers' instructions for use, maintenance and safety. When selecting a drill bit or accessory, make sure it's compatible both with the material you're drilling or driving and the tool you're using. Unplug the tool or disconnect the battery before making any adjustments or changing the bit or accessory.