
Tools and Materials
Product costs, availability and item numbers may vary online or by market.
What’s a Door Sweep?


A door sweep is a strip of vinyl or other flexible material that mounts to the bottom edge of a door, sealing the gap between the door and the threshold. A vinyl or metal guide typically supports the strip and mounts to the door with screws or adhesive. Sweeps offer several benefits:
- Door sweeps reduce drafts, making your home more comfortable and reducing the need for heating and cooling.
- Door sweeps help keep insect pests out of your home.
- Door sweeps block dust, dirt and moisture.
- Door sweeps reduce noise.
You can find door sweeps for entry doors, interior doors and storm doors. Shower door sweeps are similar but focus purely on keeping water off of your bathroom floor.
How to Install or Replace a Door Sweep

There are two main types of door sweep weatherstripping:
- A strip door sweep typically secures to the interior face of a door at the bottom edge.
- U-shaped door sweep slides under the bottom edge of the door and secures to the exterior and interior faces of the door.
Door sweep installation is usually a simple one-person project that just takes a few minutes to complete. However, if your existing or new sweep mounts to the underside of the door edge rather than the face of the door, you need to pop out the door hinge pins and remove the door to work. Enlist a helper.
How to Install a Door Sweep on an Entry Door

If you see daylight underneath your exterior door, you need to install a door sweep or replace your existing sweep. Installation methods vary by the type of sweep and your door material. These steps walk you through installing a screw-mount strip door sweep on a wood entry door. Follow the manufacturer’s instructions for your sweep.
- Remove the Existing Sweep: If you’re replacing a door sweep, remove the mounting nails or screws. For an adhesive-mounted sweep, carefully pull the piece away from the door.
- Measure the Door Width: Use a tape measure to measure the width of the bottom edge of the door.
- Cut the New Door Sweep to Length: If necessary, mark and cut the new door bottom sweep to your measurement. A hacksaw works well for cutting the sweep.
- Drill Pilot Holes: Place the sweep so the bottom edge just touches the door threshold. Make sure the sweep is level and mark screw locations. Remove the sweep and drill pilot holes. Be careful to not drill through the door.
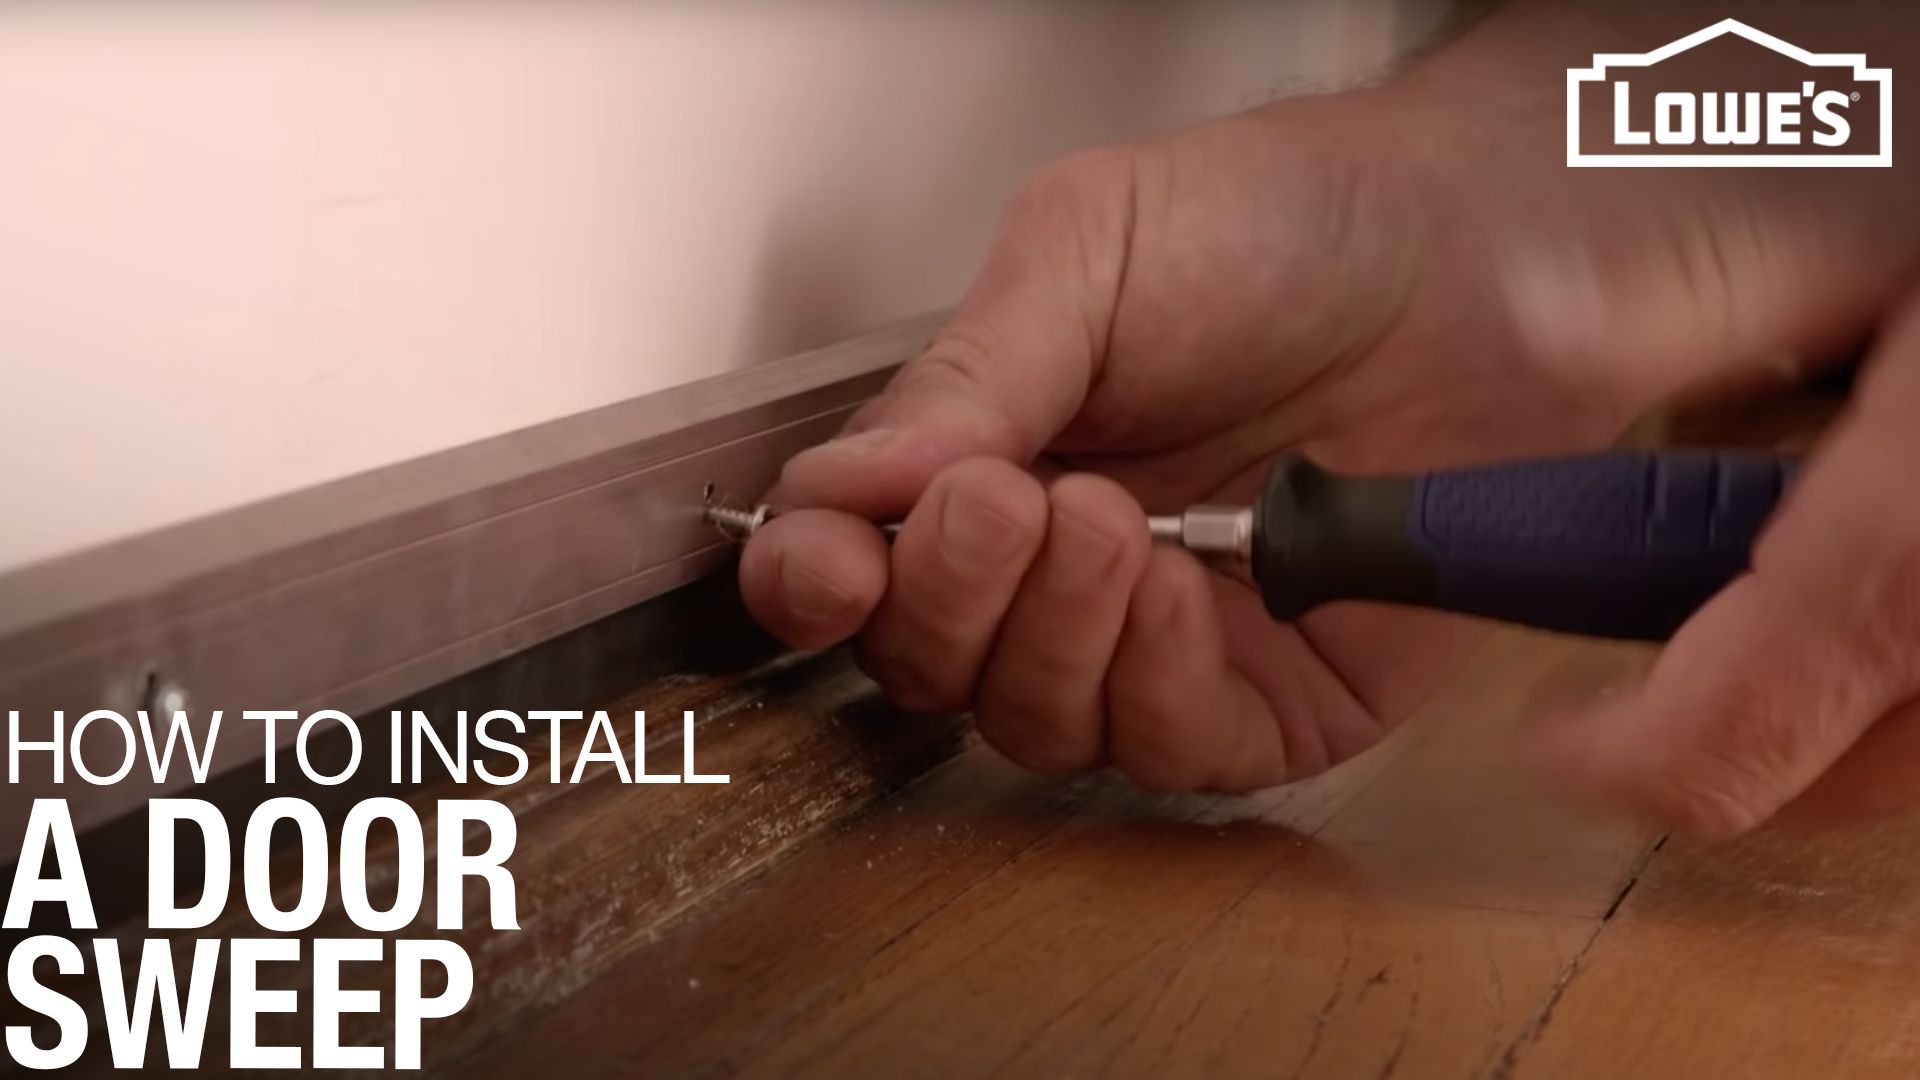
- Loosely Attach the Sweep With Screws: Use a screwdriver to loosely install the screws and hold the sweep in place. Double check the fit.
- Tighten the Screws: Secure the door sweep tightly in place. Some sweeps have slotted screw holes, letting you make final adjustments.
To install an adhesive door sweep, rather than marking and drilling pilot holes, use a pencil to lightly draw a level line and mark the sweep placement. Remove the adhesive backing and slowly apply the sweep, using the line to keep it level.
How to Install Door Sweeps for Interior Doors

Interior door sweeps reduce drafts inside the home and seal off doors to unheated and uncooled spaces like a storage area or an unfinished basement. Installing a door sweep on an interior door is similar to installing one on an exterior door.
- Trim the sweep to size.
- Mark placement and drill pilot holes, if necessary.
- Secure the interior door sweep with screws or adhesive.
How to Install Other Types of Door Sweeps
Installing a storm door sweep or shower door sweep is typically even simpler than installing a sweep on an entry or interior door. Steps vary by the door design, but here’s the general process for each:

Storm Door Sweep Installation
Storm door sweeps often slide into a channel on the bottom of the door. Different sweeps have different profiles, so be sure to find one that fits the channel on your door. Screws secure the sweep in the frame.

Shower Door Sweep Installation
A shower door sweep typically slides into a matching channel on the bottom of a framed shower door. As on a storm door, screws hold it in place. A shower door sweep for a frameless door simply fits onto the bottom edge of the door — you just need to ensure the sweep works with the thickness of the door.
Get Help With Your Door Sweep Installation From Lowe’s
Whether you need to replace a door sweep on an entry door or you’re getting ready to take on a shower door sweep installation, find the tools and materials you need at Lowe’s. Browse entry door, interior door, storm door and shower door sweeps on Lowes.com to find one that fits your door, as well as any tools you need for the project. Or visit your local Lowe’s, where a Red Vest associate will help you find the right door sweep and make sure you have what you need to complete your project.