

Tools and Materials
Items may be Special Order in some stores. Product costs, availability, and item numbers may vary online or by market. Paint colors may vary slightly from those shown. Availability varies by market for lumber species and sizes.
Learn How to Make a Floating Photo Frame

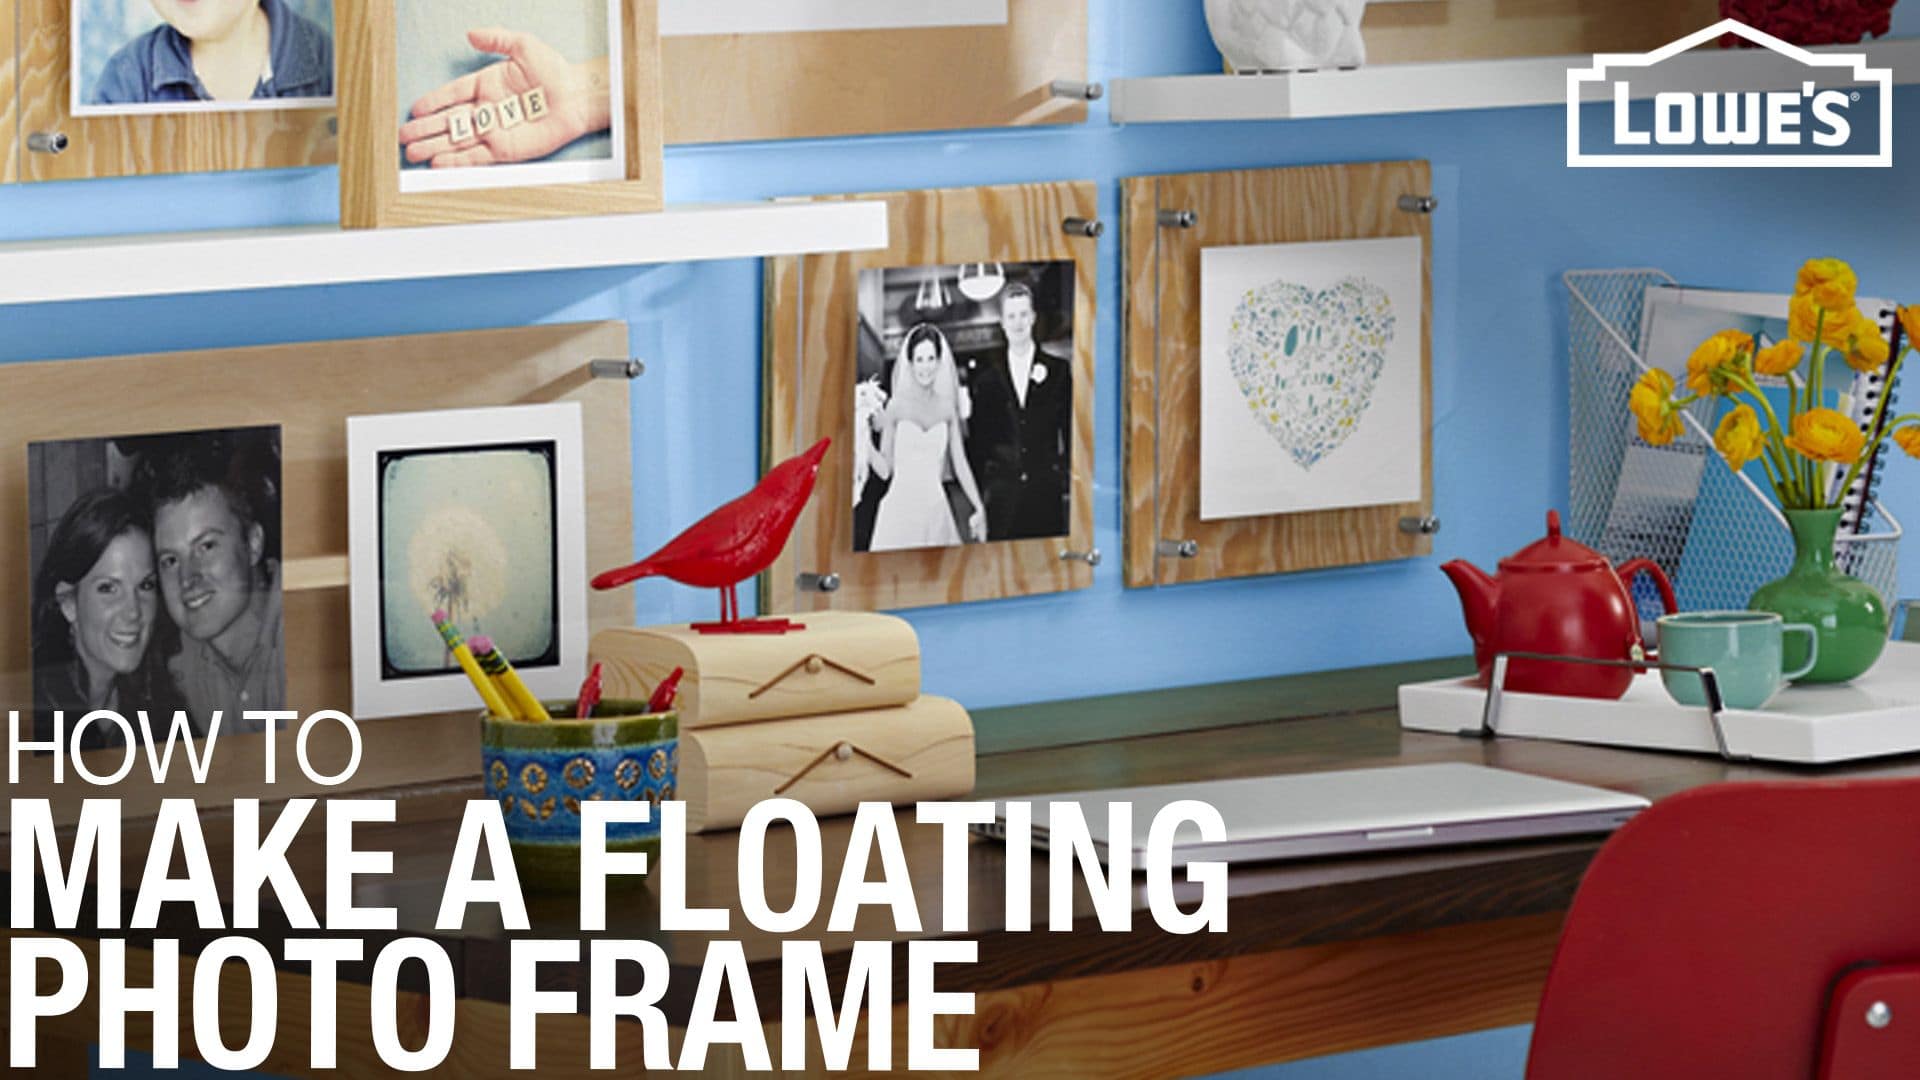
Floating photo frames create the illusion that your photo or artwork floats inside the frame, providing a clean and stylish look that suits modern décor. Follow these steps to create your own floating photo frame.
Making a Floating Photo Frame
Step 1: Cut Plywood and Acrylic
Have a Lowe's associate cut the plywood and acrylic sheet into 2' x 2' squares.
Step 2: Stack Acrylic onto Plywood
Stack two squares of acrylic on one square of plywood and clamp together.
Step 3: Drill Holes Through Each Corner
Measure 1-1/4" from each corner and slowly drill a 5/16" hole through the acrylic and plywood.
If you have a drill press, using a clamp-on fence and a stop block will make this quick and easy.
Acrylic sheets are brittle and heat-sensitive, and they have a tendency to crack when drilled. To avoid this, drill at a low speed to prevent frictional heat and cracking
Step 4: Sand the Plywood
Sand the plywood faces and edges with 100-grit sandpaper. Wipe off dust with a cloth.
Step 5: Cut the Whitewood Board
Cut a 10-inch-long piece from the whitewood board to use as center support. This will keep the acrylic squares from sagging in the center of the frame.
Step 6: Glue the Support to the Frame
Glue the end of the support to the middle of the plywood's front side. (The artwork will hide the support.) Weigh down the support while the glue dries to ensure a good bond.
Step 7: Mount a D-Ring Hanger
Mount a large D-ring hanger to the back of the plywood with a screw.
Step 8: Complete the Floating Photo Frame
Center and tape your photo or artwork to one acrylic square. Top with the second acrylic square. Then connect the acrylic and plywood pieces using the hex-head bolts, steel spacers, and lock nuts.
Showcase Your Memories With a DIY Floating Photo Frame
It’s easy to create a modern floating frame to display your favorite photos. Begin by cutting plywood and acrylic sheets into 2-foot-by-2-foot squares, then stacking and drilling them together for perfectly aligned bolt holes. After sanding the plywood, add a whitewood center support to prevent the acrylic from sagging, then attach a D-ring hanger to the back for wall mounting. The last step is to position your picture between the two acrylic panels and secure the entire assembly to the plywood. The result is a polished display that beautifully showcases your photo or artwork.
Ready to get started? We have everything you need — from sandpaper to acrylic sheets — for this fun and crafty idea. Stop by your local Lowe’s and a Lowe’s Lumber Department Associate will be happy to cut the plywood and acrylic sheets for you. Still need assistance? A Lowe’s Red Vest associate will be more than happy to help you when you need it.