Tools and Materials
Tools
- Drill/Driver With Bits
- Oscillating Tool with Blades
- Belt Sander
- Prybar
- Hammer
- Nail Set
- Vinyl Knife
- Floor Scraper
- Shop Vacuum
- Utility Knife
- Chalk Reel
- Levels
- Tape Measure
- Speed Square
- Straightedge
- Drill Mixing Arms
- 1/2-in x 1/2-in Notched Trowel
- 1/4-in x 3/16-in Notched Trowel
- Rubber Float
- Wood Float
- Tile Cutter
- Tile Saw/Wet Saw
- Grout Sealer Applicator
- Caulk Gun
- Sponges
- Buckets
- Mop
- Knee Pads
- Safety Glasses
- Hearing Protection
- Nitrile Gloves
Materials
Product costs, availability and item numbers may vary online or by market.
Planning and Preparation

A basic tile installation includes:
- A solid subfloor
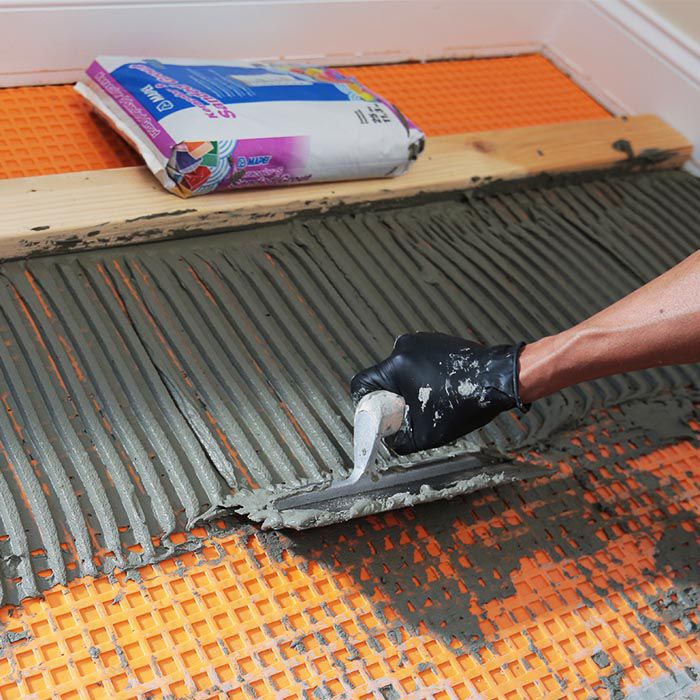
- A layer of thinset mortar
- A tile substrate such as an uncoupling membrane or a cement backer board (backer board is necessary for bathrooms)
- A second layer of mortar
- Floor tile
- Grout
- Sealer
Use our Tile Calculator to estimate the square footage of tile you need. Add at least 10% to the estimate to account for such things as tile you need to cut and tile that may be damaged during installation.
Before you start, remember that using the correct trowel and mortar is critical to a successful tile project. Floor or wall, indoors or out, and tile type and size are all a factor. Find the right trowel and mortar here.
Follow the manufacturers' instructions for application and curing when using tile installation, sealing and cleaning products.
Getting the Room Ready for Installation

Preparing the Subfloor
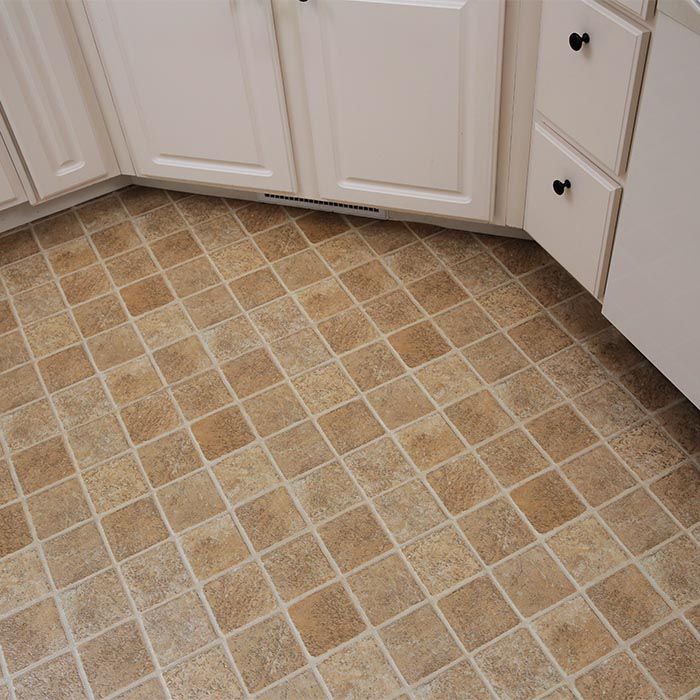
In some cases you can install over old vinyl flooring, but it's best to get down to your subfloor.
Vinyl made before 1986 might contain asbestos. If you suspect your floor is made with asbestos, call a pro to test and remove it.
Getting the Subfloor Ready for the Tile Floor


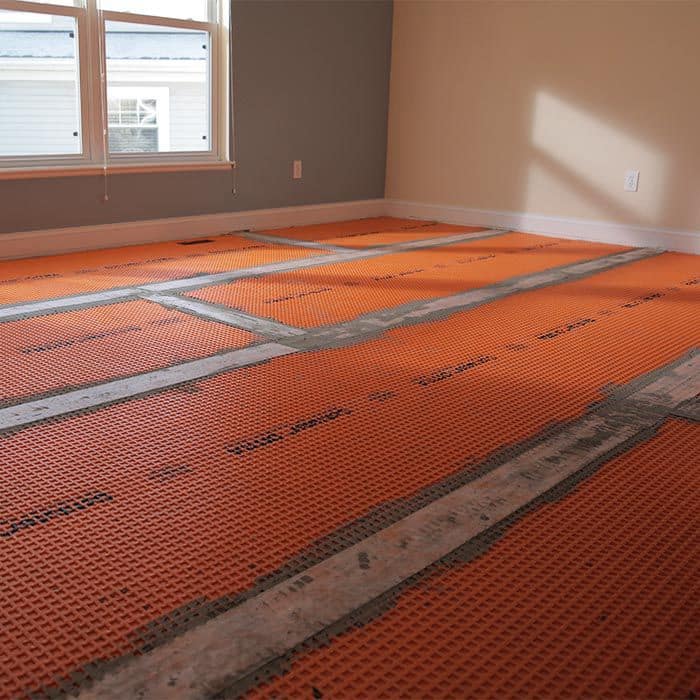
Installing the Substrate

With the subfloor prepped, you're ready for the substrate. The two options are cement backerboard (to the right in the image) or a thinner, waterproof uncoupling membrane (to the left), which is ideal for kitchens. We're using the uncoupling membrane for this project.
Fitting and Laying the Flooring Substrate


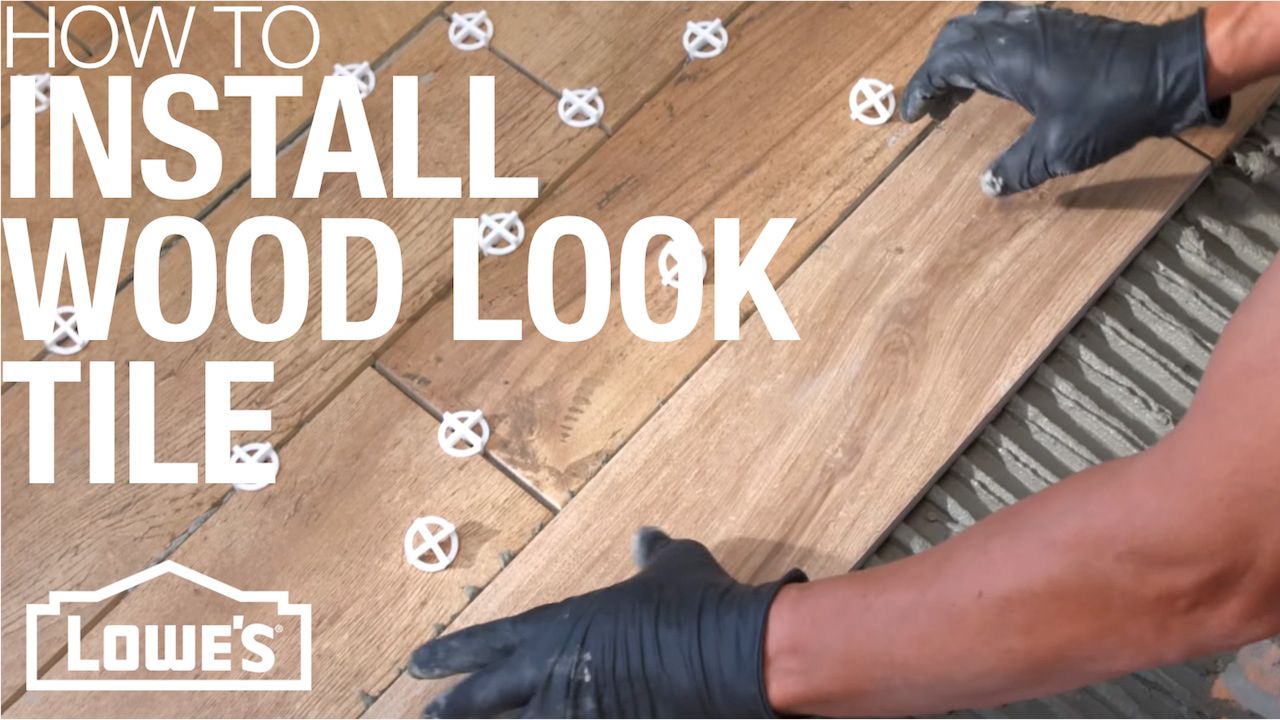
Laying the Tile
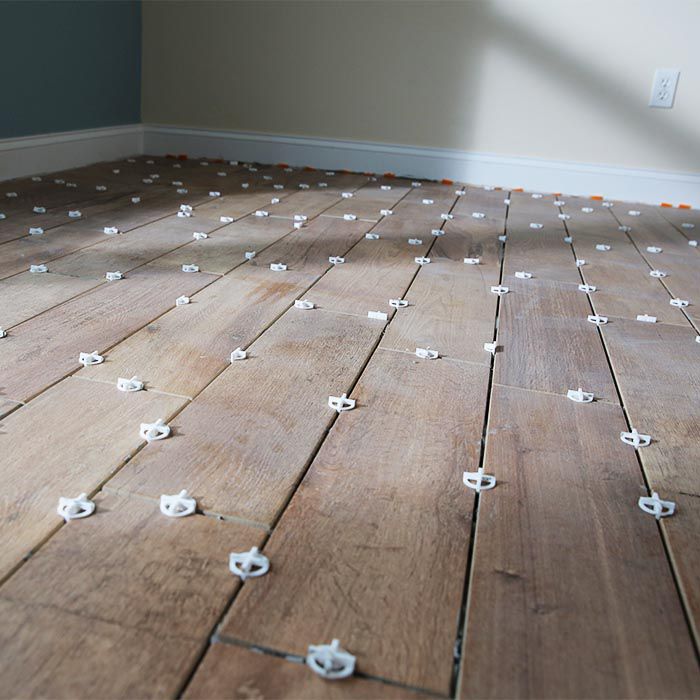
Follow the steps below to plan your tile layout and install the tile.
Different batches of tile may have slight color variations. Mix tile from all of your boxes to avoid unwanted patterns on the finished floor.
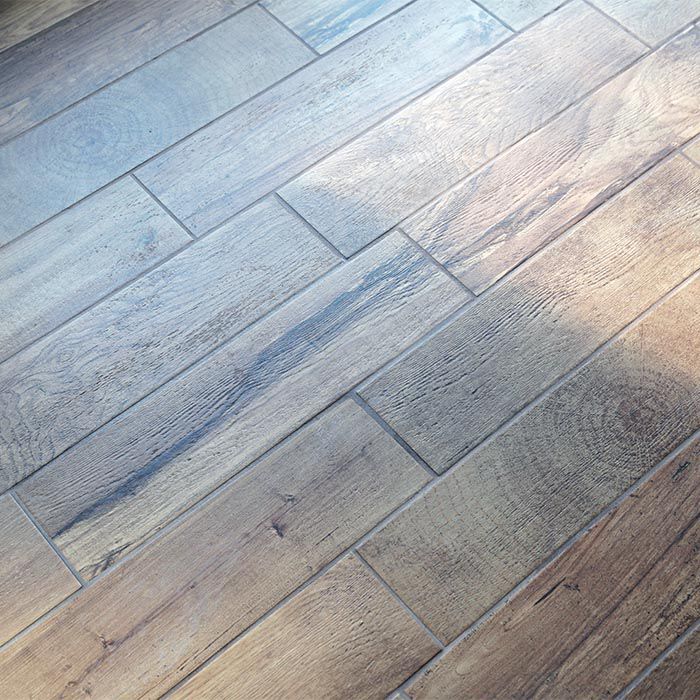
Planning the Layout and Installing the Tile


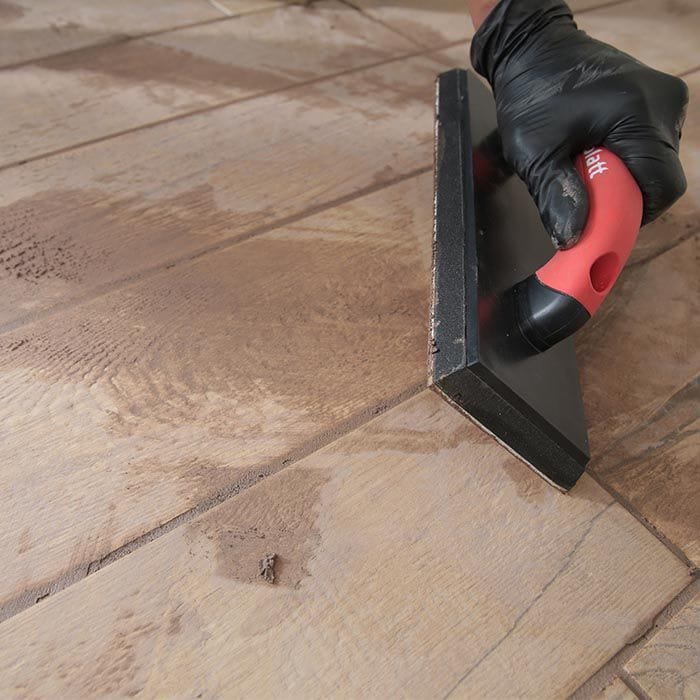
Grouting the Tile Joints
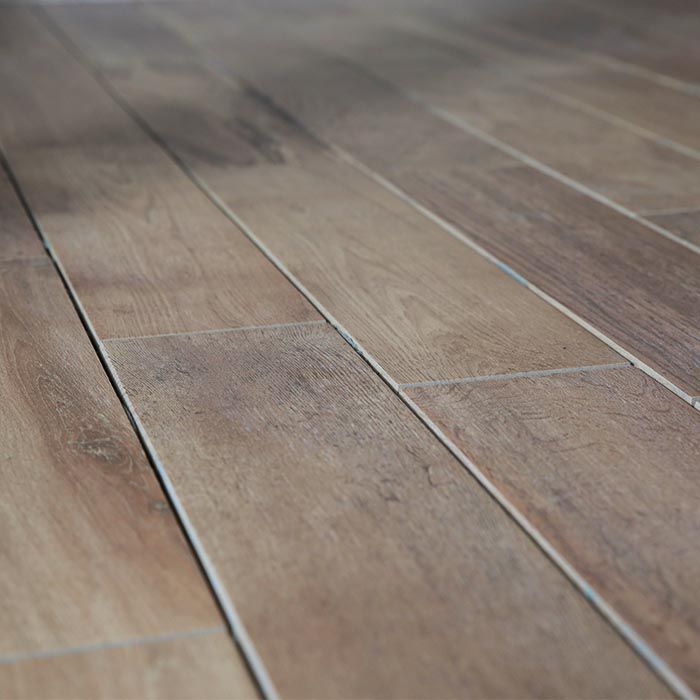
Try to match the grout to the tile color for that hardwood floor appearance. Follow the product instructions to mix the grout, usually to a paste-like consistency.
See Choosing Grout and Mortar for tips on selecting the right grout.