
Tools and Materials
Tools
Product costs, availability and item numbers may vary online or by market.
Getting Started


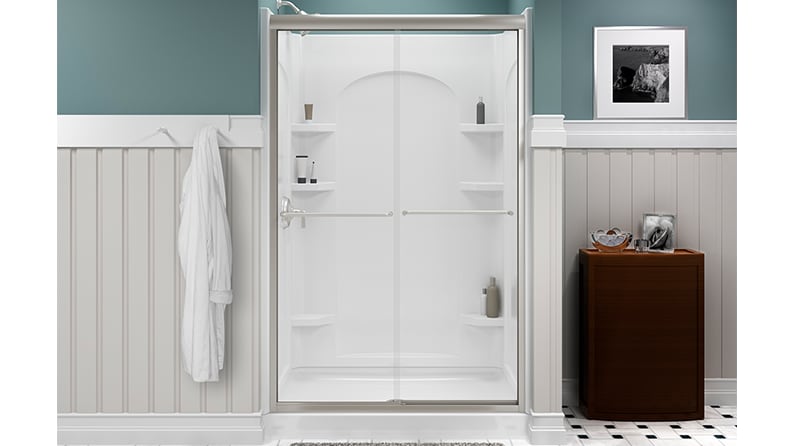
Start by making sure you purchase the right size and style of shower pan or shower floor. There are several common sizes, ranging from smaller 32-inch by 32-inch square pans to large 36-inch by 63-inch rectangular pans. You can also find angled shower pans designed to fit in the corners of a bathroom. The size and design of your shower alcove, as well as the drain location will determine which shower pan you need. If you don't plan to add stone or tile, basic shower pans may be less expensive than tile-ready pans and are typically easier to install.
If you’re replacing an existing shower pan, pay attention to the current drain location. If the drain location on your new shower pan doesn’t match the old one, you’ll need to move the shower plumbing, which greatly increases the project complexity and the effort it requires.
There are a variety of shower pan styles and configurations. Each shower pan style or configuration has its own specific instructions. Follow the instructions for your model. Depending on the shower pan, you may need to install a separate shower pan liner and pre-slope base before installing the shower pan.
There are some common installation elements, including fitting and leveling the shower pan, installing the shower drain, securing the shower pan to the subfloor and connecting the shower drain to the house drain system.
Check local building and plumbing codes before you begin. This installation project and moving plumbing for a shower drain often require a licensed plumber and inspection. Even if codes don’t require a plumber, you may want to leave this job to a professional. In that case, these steps will give you an idea of some of the work the professional will do.
If you decide to take on this job yourself, we’ve got general instructions to show you how to install a shower pan based on the most common steps. For this project, we’re replacing a shower pan. The existing shower pan has been removed and the shower walls are ready for installation. We’re installing a prefabricated shower pan that has the correct slope for drainage.
While some prefabricated pans may specify that no additional waterproofing is necessary, some may recommend a shower pan liner install to protect the subfloor. If you’re building a DIY shower pan, you’ll need to plan for a liner.
Dry-Fit the New Shower Pan
Whether you’re replacing a shower pan or you need to install a shower pan for a new addition, start by test-fitting the new shower pan in the installation location. It should rest snugly against wall studs. Set a level on the top of the shower pan side walls and check level from the front to the back and then from left to right. If the pan isn’t level, there are a few possible solutions, including:
- Leveling the pan with shims you screw to the subfloor
- Applying leveling compound to the subfloor
- Using mortar to create a level bed
Consult your instructions and follow the manufacturer’s recommended leveling option.
Check to see if the drain hole on the shower pan lines up with the house drain pipe that extends from the subfloor. If not, you’ll need to relocate the house drain and P-trap to reach the drain hole. We’ll cover that later, but for now if they don’t align, mark the outline of drain the hole on the subfloor.
Now, mark the surrounding studs at the top edge or flange of the shower pan and mark the outline of the shower pan on the floor. Move the shower pan aside.
Plug the house drain with a cleaning cloth before you begin work. Just make sure you don't let the cloth fall into the drain.
Prep Your Shower Subfloor
If the shower pan drain hole didn’t line up with your existing house drain when you did the test fit, you’ll need to adjust the house drain. If you’re moving the plumbing for a shower drain, start by making a cutout for the new drain location. Check your shower pan instructions for any size specifications for the cutout. For example, they might specify a 5-inch by 5-inch opening. Using the mark you made for the drain hole as a reference, drill a pilot hole and then cut an opening into the subfloor with a jigsaw.
Now you’ll need to install pipe to move the shower P-trap so the waste pipe extends up through the new cutout. Make sure the pipe keeps the correct slope. You may need to do the plumbing work from below the subfloor. For example, if you’re working in a second-floor bathroom, you may need to cut through the ceiling below it to reach the shower drain plumbing. Make sure the waste pipe is set to the correct height above the top of the subfloor. Check your shower drain instructions for specifics.
Once you’ve moved the shower drain plumbing — or if you don’t need to move it — sweep and clean any debris from the subfloor. Make sure there aren't any exposed nail heads or screw heads sticking up above the surface of the subfloor.
When cutting the subfloor, don’t cut through the floor joists.
Install the Shower Drain On the Pan
Take the shower drain assembly apart. The exact installation process will vary a bit depending on the drain you purchase, but the general steps are similar. We’ll show you how to install a shower drain based on these general procedures.
You’ll need to seal the drain flange against the top of the shower pan. Since some shower pan materials and some drain materials aren’t compatible with some sealing methods, your shower pan instructions will specify plumbers putty, silicone sealant or a gasket for this. For our shower drain installation we’re using plumbers putty. Place a roll of plumbers putty under the rim of the drain flange — the upper part of the assembly — and insert the flange through the top of the drain hole in the shower pan so it compresses the putty against the shower pan.
You’ll have a flexible foam or rubber gasket that fits over the threaded end of the drain flange on the underside of the pan. A cardboard or stiff paper gasket goes on next. Now screw the locking ring onto the flange barrel on the underside of the pan. Hand tighten it so it presses the flexible gasket against the underside of the shower pan and compresses the putty on the top surface. Secure the ring with pliers. Clean away any putty that squeezes out from under the rim of the flange.
If you’re installing a tile-ready shower pan, note that you’ll need a shower drain designed for tiled floors.
Install the Shower Pan
Now you’re ready to secure the shower pan in place. Some shower pans use clips or screws to fasten the pan to wall studs. For our project, the shower pan secures to the subfloor with mortar.
Mix enough mortar to apply to the installation area. Use a trowel to spread and level the mortar, being careful to avoid the cutout for the drain. Pull the mortar away from the shower frame a bit to allow space for the edge of the pan. Put the shower pan in place on the mortar, aligning the drain flange on the pan with the waste pipe in the subfloor so the waste pipe extends up into the flange barrel.
Slowly work the shower pan into the mortar so the top edge of the pan meets the reference marks you made on the studs. Check the pan for level side to side and front to back. Make any adjustments before the mortar sets. Screw temporary braces into the studs to hold the pan level while the mortar sets. Don’t drill through the shower pan unless the instructions specify this type of installation.
Finish the Drain and Drain Screen Installation
Now you can complete the shower drain install. Insert the drain pipe gasket from your shower drain kit into the drain flange and over the waste pipe according to the instructions. Press the gasket down until it’s at the bottom of the flange barrel. Screw the gasket set screw down into the flange and onto the waste pipe. Your drain should include a fitting for this that’ll let you tighten the set screw with a screwdriver.
Attach the drain screen or strainer. Depending on your drain it may snap into place or you may need to secure it with screws. If your installation calls for it, seal around the edges of the shower pan walls.
If you’re installing a tile-ready shower pan, adjust the drain height to allow for tiling around the shower drain.
Check the Shower Pan for Leaks
Once the mortar has cured fully according to the package instructions, run water into the shower pan and test the shower pan for leaks. Then cover the drain in the shower pan and let a bit of water collect and stand for a few hours. With the drain covered, the water should remain in the pan. If it drains out, you’ll need to track down and repair the leak and retest.
Once you’ve verified that the shower pan isn’t leaking, have the work inspected if codes require it. Repair any remaining cuts you made under the shower. Repair or tile the shower wall if necessary.