Start With the Right Sander


First, make sure you have the right tool for the job. There are several types of handheld power sanders that can help you with DIY work around the home.
- Sheet Sander or Palm Sander: This tool is perfect for removing light to medium material and for doing final smoothing before applying paint or stain.
- Detail Sander: This sander operates like a sheet sander, but the teardrop shape of the sanding pad makes it easy to sand areas other types of sanders can’t reach.
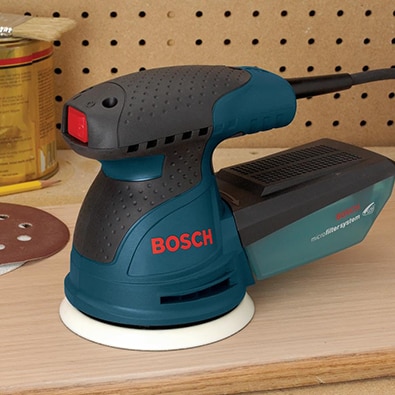
- Random Orbital Sander: Also known as an ROS, this sander moves a circular sanding pad in an arbitrary pattern. This action means there’s less chance of creating visible scratches and swirls on the finished surface.
- Belt Sander: This heavy-duty tool excels at removing a lot of material quickly, but the aggressive action of the sanding belt means you need to be careful to not remove too much material or gouge the work piece.
- Drum Sander: Another heavy-duty type of sander, a drum sander lets you take on tough sanding jobs on wood, metal and concrete.
See our power sander guide for full details on the different types of sanders and to find the tool that’s right for your project.
Pick the Right Sandpaper or Sanding Material

Whether you’re using sanding sheets, sanding discs, sanding belts or sanding sleeves, you need the right type for your project. Your manual will tell you what fits your sander and may recommend specific types, but it’s helpful to know about sandpaper grit numbers. Lower numbers are coarser grits, while higher numbers are finer grits. Typically, you’ll start with coarse or medium grits that remove more material and finish with fine grits that remove less material but leave a smooth finish.
- Extra-coarse and coarse grits between 36 and 80 excel at removing material. They’re good for stripping away paint and varnish, removing rust, and shaping or leveling wood.
-
Medium grits between 80 and 100 are good for preparing bare surfaces for finishes. You can also use these grits for smoothing and getting rid of scratches.
- Fine, very fine and extra-fine grits from 100 to 320 are for sanding bare wood as well as handling finishing work, such as removing raised wood fibers and preparing a finish for the next coat.
For more details on sandpaper, including information on matching the abrasive material type to the work piece, see our sandpaper guide.
Power Sander Safety

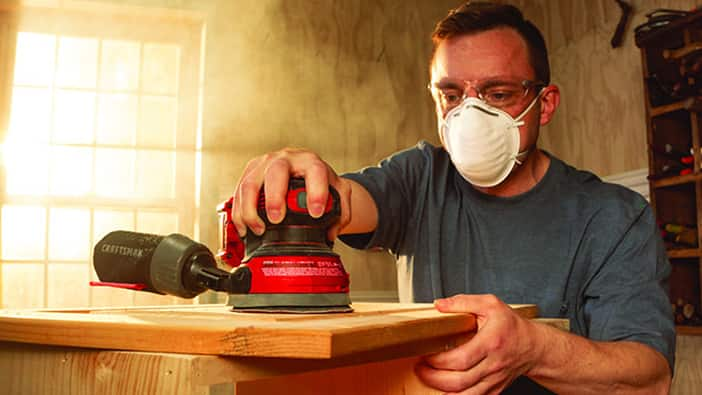
Before beginning a sanding project, think about safety. You should read your sander’s manual and follow the procedures specific to your model, but here are some general safety practices:
- Wear safety glasses with side shields or a pair of goggles.
- Wear a respirator when sanding. For some work, you may need a dust collection system or, with the right adapter, a shop vacuum.
- Use additional safety equipment as necessary. Depending on the work, you may need safety gear, such as hearing protection and work gloves.
- Avoid wearing loose-fitting jewelry or clothing.
- Wear shoes with good traction. Nonslip work boots or work shoes are good options.
-
Make sure your hair, clothing, gloves, etc., aren’t at risk of contacting moving parts.
- Make sure the work area is dry, clean and free of debris.
- Disconnect the sander from power — the power outlet or battery — before installing the sanding material, attaching an accessory, or doing any kind of cleaning or maintenance.
- Make sure the power switch is in the Off position before connecting the tool to power.
- Only use the type of extension cord specified by your manual.
Sanding With a Power Sander

If you don’t have experience using a power sander, practice setting it up and using it on scrap wood with different sandpaper grits. Practice will give a feel for how the tool works, show you how the different pads remove material and help you develop a technique that produces the perfect surface. Some general instructions for using a sander are below, but the process varies by model. Always read and follow the instructions in your sander manual.
Manufacturers have specific safety instructions for sanding different surfaces. Don’t sand a surface if you suspect it’s been painted with lead-based paint. Note that paint on homes built before 1978 may contain lead. Check with your local health department or the Environmental Protection Agency if you have questions or concerns.