Tools and Materials
Tools
Product costs, availability and item numbers may vary online or by market.
Shower Head Installation Basics


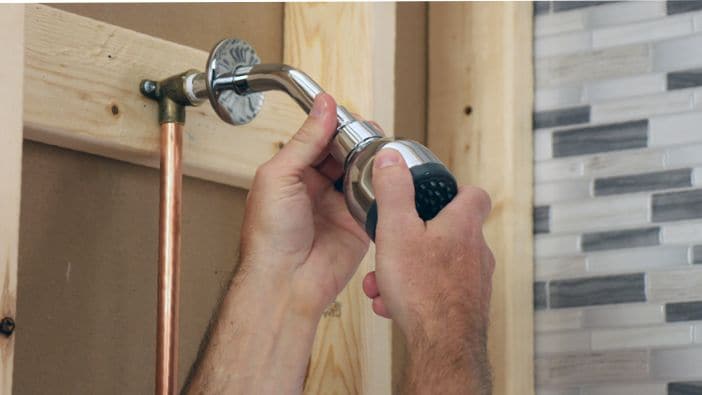
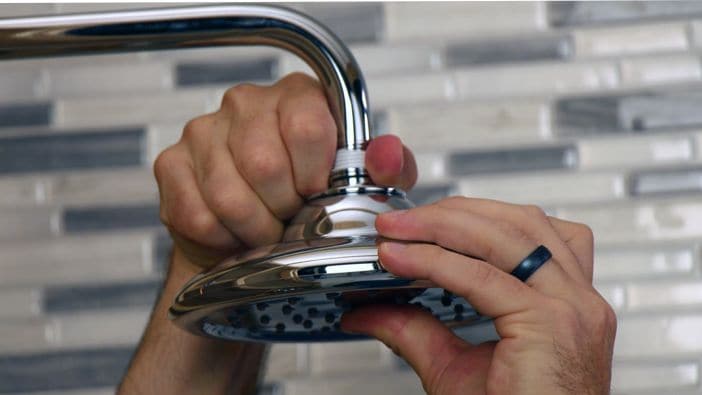
A shower has two supply lines, hot and cold, that come together in a center shower control valve. From there water goes up through the shower arm and out the shower head. The shower head and the shower arm are two separate pieces.
The instructions below provide general steps for installing a rain shower head. Follow the installation instructions for your specific shower head.
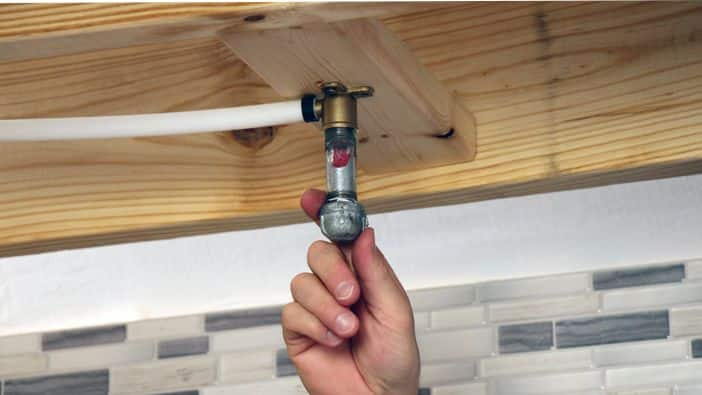
Turn off the water supply before you begin installing the shower head so you don't accidentally turn on the shower. If you're installing a ceiling-mount shower head, turn the water off so you can replace pipe. See Shut Off Your Home’s Water Supply for instructions.
Upgrade to a Rain Shower Head
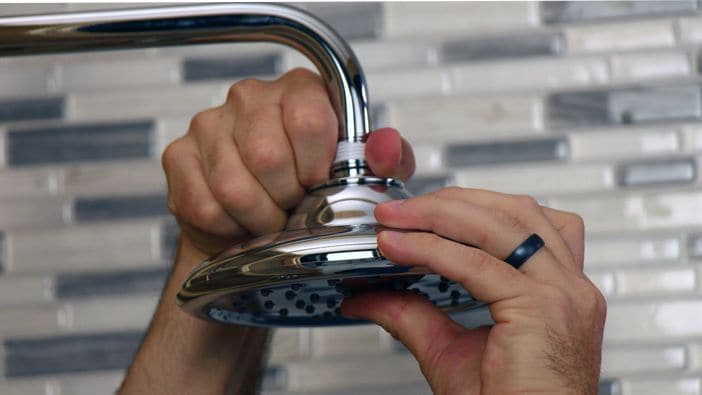
The easiest way to experience a rain shower is to simply swap your existing shower head for a rain shower head.
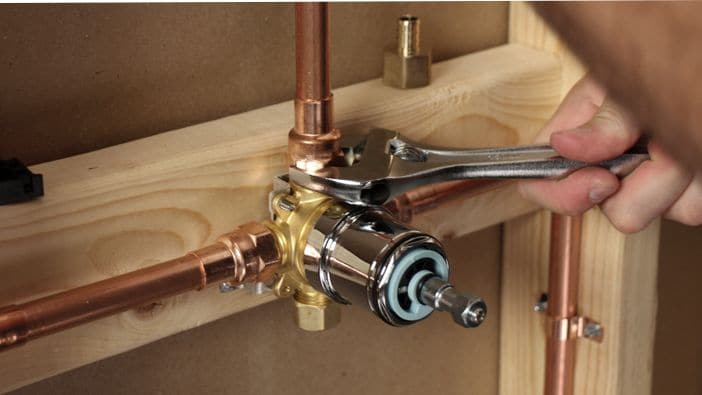
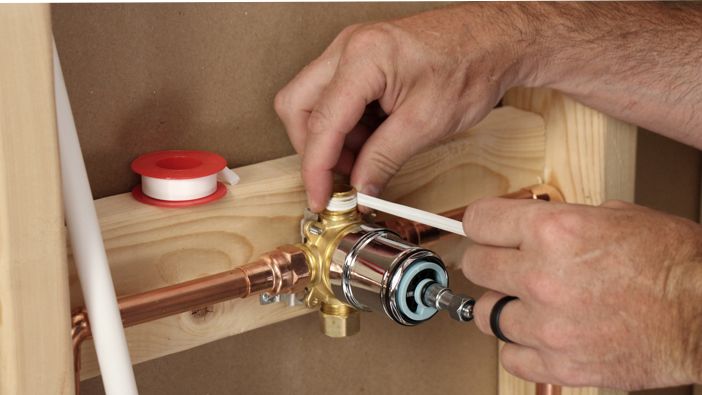
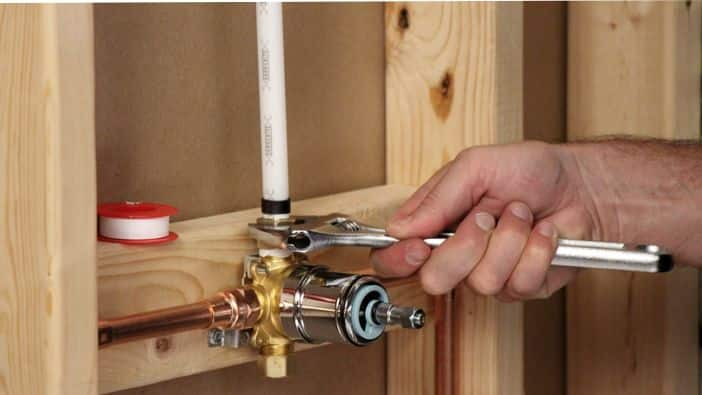
The images for this project demonstrate a shower head installation with a cutaway wall so you can see what’s inside the wall during the process.
Instructions


Installing a Ceiling Rain Shower Head
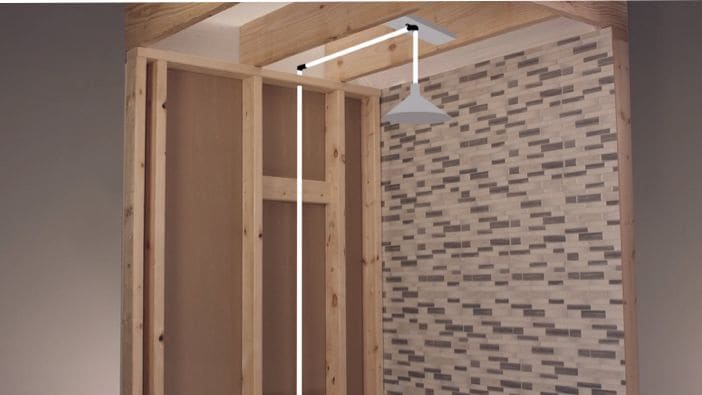
If you really want that true rainfall experience, install a ceiling-mount rain shower head. This project is more involved, so you might want to tackle it only if you're doing a full bath renovation or a new project altogether. It involves removing part of the wall, part of the ceiling and connecting new pipe. If you haven’t done a big plumbing project before, consult a professional plumber before you move forward.
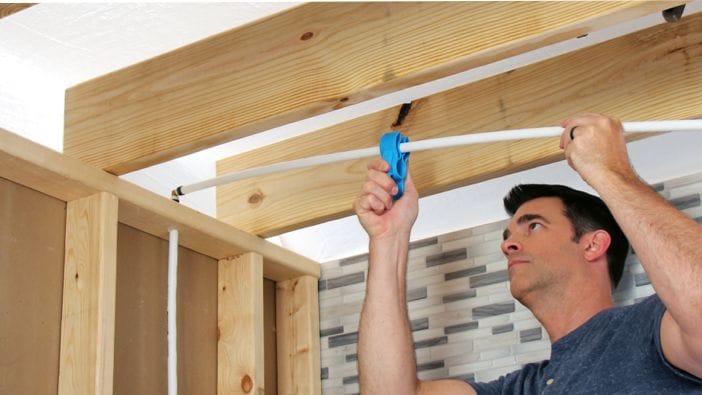
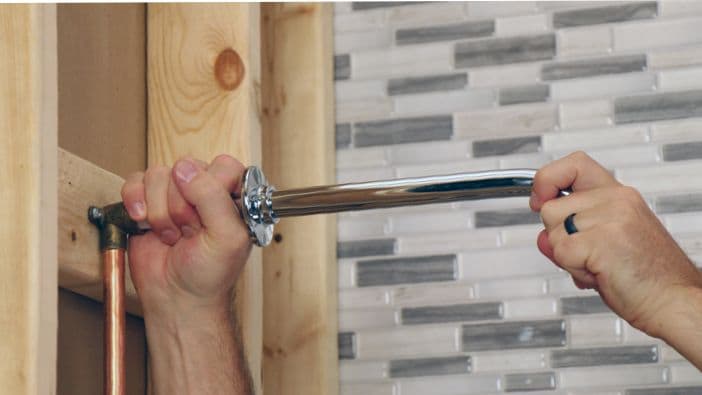
To extend the shower head across the shower area, run pipe from the shower valve up through the wall top plate — the upper horizontal element in the stud wall. You’ll make a 90-degree turn, extend pipe over the shower and then make a 90-degree turn down. You’ll install a drop arm and then the new rain shower head.
Before beginning, determine if you need permits or inspections. Observe any building or plumbing codes that apply to your work. Contact a licensed plumber or contractor if you have any doubts or questions.
Standard shower head heights range from 77 to 81 inches above the shower floor. You might need to adjust based on the heights of your family members.