
Tools and Materials
Tools
Product costs, availability and item numbers may vary online or by market.
Laminate Flooring


Lowe’s has many styles of laminate floors to fit any home. Many of these floors are waterproof, which helps with spills and pet accidents. Some laminate flooring is nearly indistinguishable from real wood, more durable and a fraction of the cost.
Learn how to choose the best laminate flooring for your home.


Before you begin, read the manufacturer’s instructions. They’ll include tips for installing on a variety of subfloors as well as provide measurements for moisture tests specific to the flooring you’re installing on. If you’re not confident about installing something, see a Lowe’s associate for help.
Where to Install Laminate Flooring

Laminate flooring is usually a good choice for many spaces in a home, including:
- Bedrooms
- Living rooms
- Hallways
- Foyers
- Basements
As long as you use waterproof laminate flooring and follow the installation process the manufacturer specifies, you can typically install the flooring in:
- Bathrooms
- Kitchens
- Laundry rooms
Before purchasing laminate flooring, check the product information to make sure it’s suitable for the room or application you have in mind.
Installing Laminate Flooring as a DIY Project

Installing a laminate floor can be a beginner-level project if you’re working with a good subfloor and don’t have to make a lot of complex cuts.
When to Call the Pros
There are a few cases where it's best to bring in a professional or someone that at least has some intermediate DIY experience.
- If you need to make a lot of cuts to fit around heating/air conditioning registers or a hearth
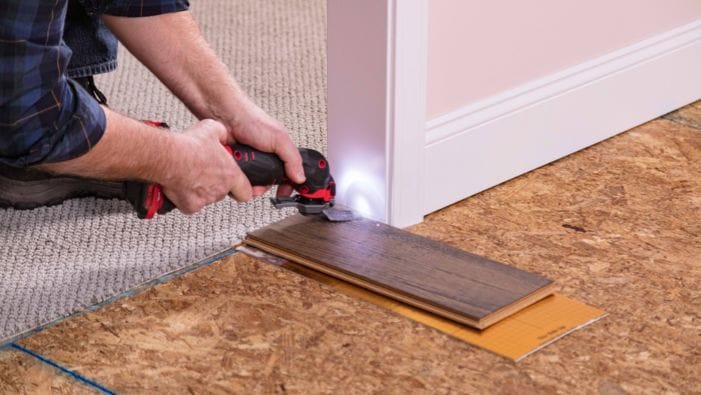
- If you need to undercut moulding on several doorways
- If you need to remove an existing floor
- If you have serious subfloor problems

How Long Does It Take to Install Laminate Flooring?
Installing laminate in a standard room will typically take only a day or two for a DIYer. However, you need to allow a minimum of two days for the flooring to acclimate before you begin and you may need to remove the existing flooring, so plan your project accordingly. While a couple of days is a typical install time, the actual time varies by factors such as room size and complexity, as well as the amount of prep work needed.

Laminate Flooring Installation and Costs
As with project time, the cost for installing laminate flooring varies by a number of factors, including:
- Room size
- The specific flooring you choose and its features
- The type and amount of underlayment you need
- The tools you need to purchase for the project
- Whether you install the flooring yourself or hire a professional installer
Purchase at least 10% more flooring than you plan to use. This gives you enough flooring to account for waste from cuts and any mistakes you might make.
Installation Types Available for Laminate Flooring

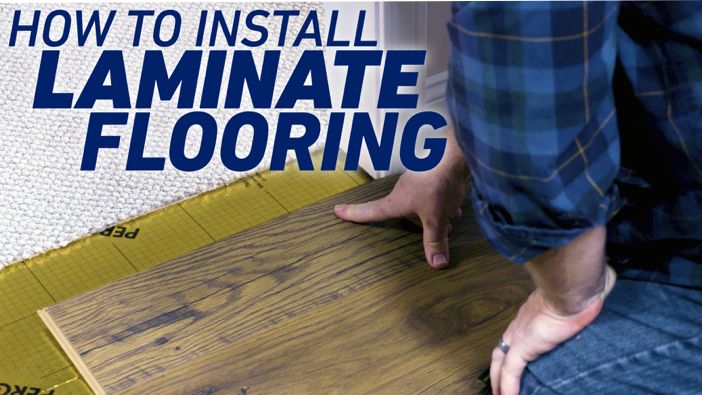
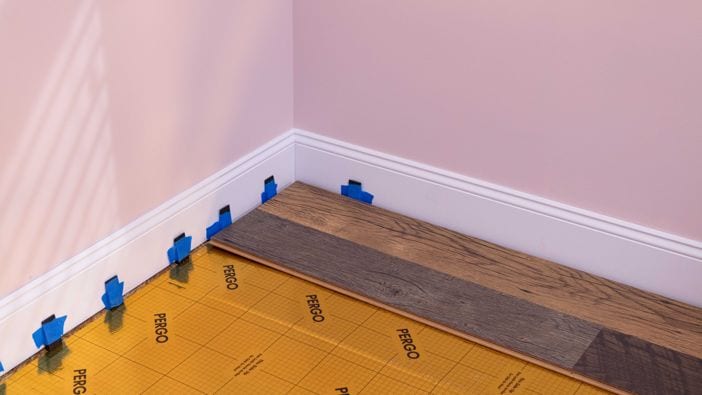
Nearly all modern laminate flooring uses a tongue-and-groove installation, as outlined in the steps below. Laminate floors are typically floating floors — you don’t secure the boards to the subfloor. This means the flooring can expand and contract with temperature changes. All the boards lock together, providing the necessary support for the entire floor. Don’t glue down the laminate boards or nail them in place unless the manufacturer specifies this type of installation.
Remove Existing Flooring and Prep the Subfloor
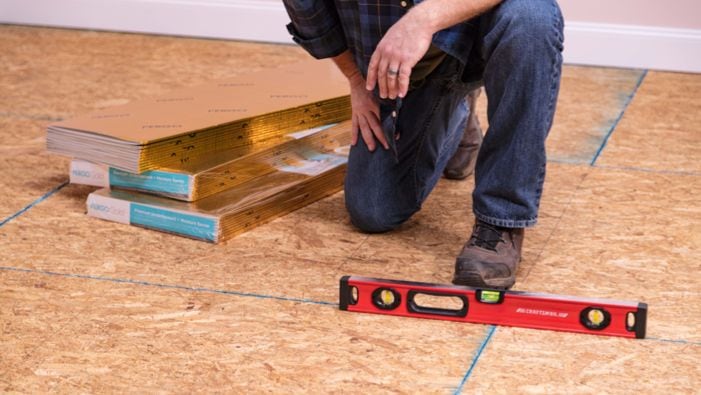
Before installing laminate, you’ll often need to remove the existing flooring and prepare the subfloor, making sure it’s clean, flat and smooth.
Learn more about how to prep a subfloor for laminate flooring.
When you remove a floor, you’ll stir up a lot of dust, dirt and debris. Depending on the flooring you’re removing, you may expose nails, tacks or tack strips. Wear appropriate safety gear, including eye protection, a respirator, knee pads and heavy-duty work gloves. If you use power tools, include ear protection with your safety equipment.
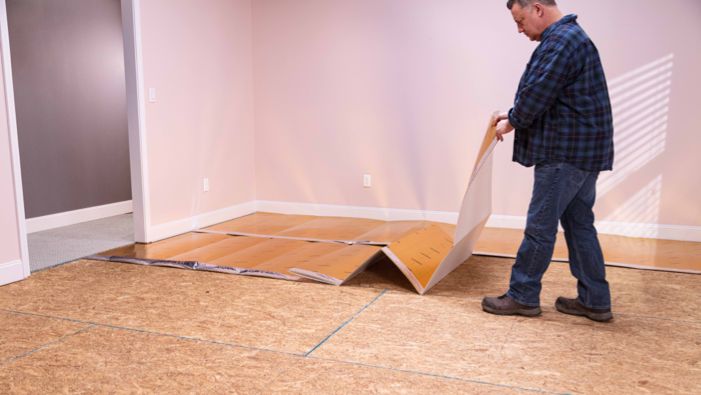
At least 48 hours prior to installation, place the flooring in the room where you’re installing to allow the planks to acclimate to the temperature and humidity.
Remove the Existing Flooring


Prep the Subfloor

Installation
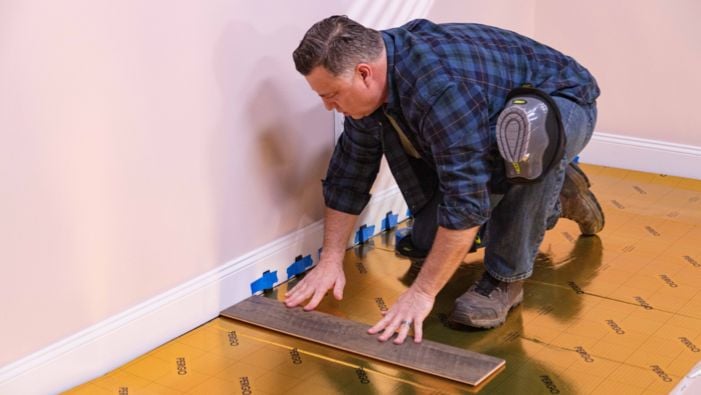
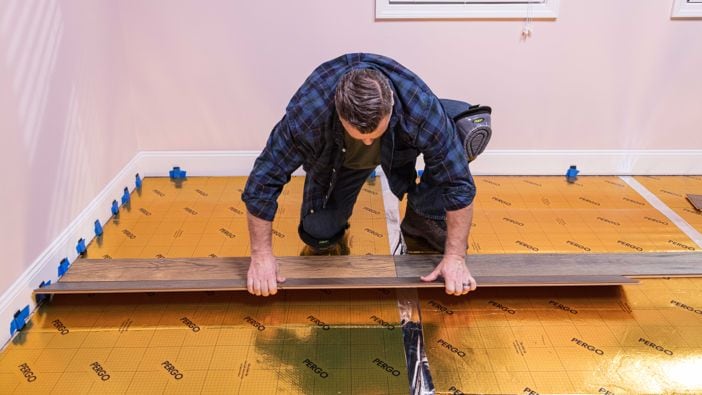
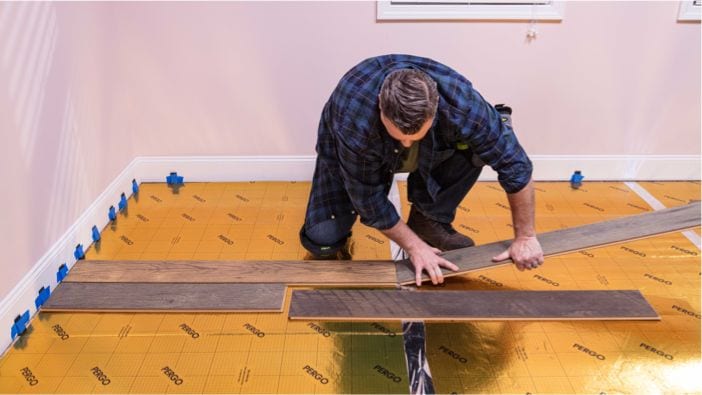
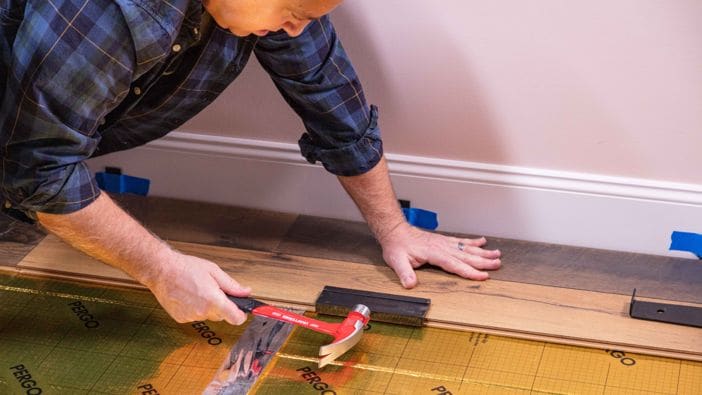
Before you begin laying out the planks, inspect them to make sure there's no damage.
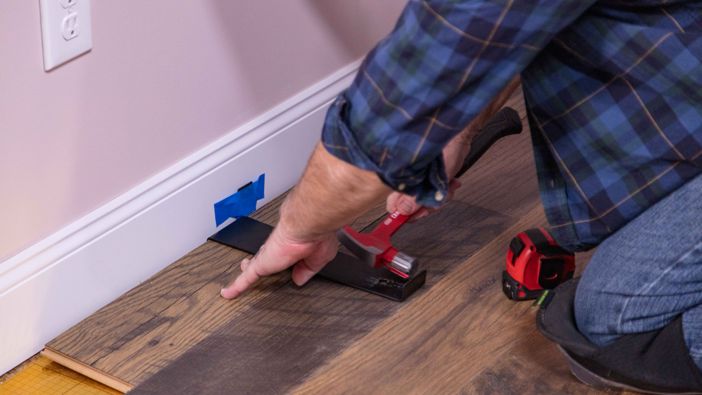
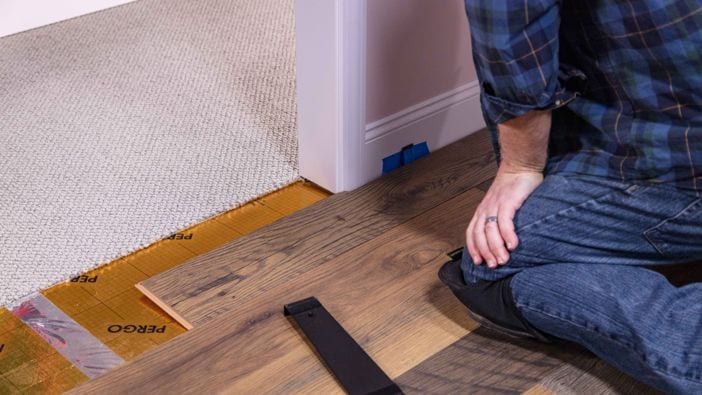
Install the Laminate Flooring


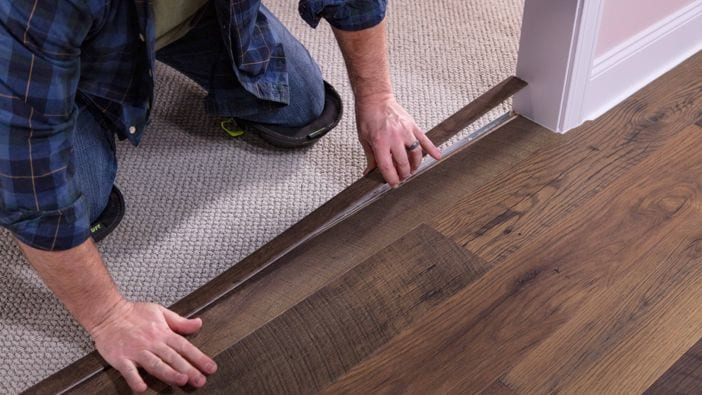
Finishing Up
Now that you've installed your laminate flooring, it's time to add the finishing touches.
Complete the Floor Installation


Safety Considerations for Laminate Installation

Follow the manufacturers’ safety instructions for the tools and products you use, including instructions for safety gear. We’ve summarized some safety precautions below:
- Laminate flooring packages can be heavy. Enlist a helper when moving them into your home.
- Wear safety glasses when working with tools and wear ear protection when using power tools.
- Wear safety glasses and a respirator for any activity that creates dust or debris.
- If you’re using chemical products to remove flooring adhesive or to level the subfloor, make sure you have appropriate ventilation.
- When removing existing flooring materials, wear heavy-duty knee pads and work gloves to protect yourself from exposed nails, tacks, etc.
- If you suspect vinyl flooring was installed before 1980 or if you’re unsure, contact a professional before attempting to remove it. The flooring may contain asbestos.
Once you've installed your flooring, it's important to clean and maintain your laminate flooring. Follow these instructions to keep your floors in tip-top shape.
Let's Get Started

Laminate flooring is a durable and attractive flooring choice that's less expensive than hardwood flooring or tile. It can mimic the look of real wood, but there are some varieties that are waterproof and can be used in high-moisture areas like laundry rooms, bathrooms and kitchens.
If you have a good subfloor, installation can be done by a beginner. If you have subfloor issues or need to make a lot of cuts around HVAC registers and doorways, we suggest that you hire a professional installer.
Here's a basic overview of laminate flooring installation.
Step 1: Remove the existing flooring
Step 2: Prep the subfloor
Step 3: Install the flooring
Step 4: Install the baseboards, trim and moulding
Don't have time to do this project yourself? Check out our professional laminate floor installation service.