
Tools and Materials
Product costs, availability and item numbers may vary online or by market.
Finding the Right Size and Style for Your Shutters
Choosing the right window shutters for your home is important. First, make sure you choose the right size for your windows. Generally, shutters should match the height of the window or door you’re embellishing.
Shutter Styles
There a several styles of exterior shutters to choose from. Let’s take a look at some of the most popular options.
Farmhouse Shutters
Farmhouse style exterior shutters are decorative or functional window coverings that reflect the rustic, cozy, and charming aesthetic of traditional farmhouses. They are often used to enhance curb appeal and add character to a home’s exterior. Here are some farmhouse-style shutters:
Board and Batten Shutters


Board-and-batten shutters have vertical slats (called boards) that are connected by horizontal slats (called battens), which hold the boards in place. You’ll also find them with an additional diagonal batten forming a Z pattern. These shutters are the most iconic farmhouse shutter style and embody a rustic style and look great on Mediterranean, Cape Cod and farmhouse-style homes.
Raised-Panel Shutters

Raised-panel shutters have a flat center surface surrounded by beveled edges. They work well on Georgian and colonial homes, and they’re easier to clean than louvered shutters.
Louvered Shutters

Louvered shutters have angled slats designed to control light and airflow. They’re the most common type of shutters for exterior use in the US, and you can choose either functional or decorative options. The versatility of louvered shutters means they’ll look good on almost any style of home, including farmhouse styled residences.
Modern-Style Shutters
Modern-style exterior shutters are designed with clean lines, minimal ornamentation, and a focus on functionality and contemporary aesthetics. Here are the main types and features of modern exterior shutters.
Flat Panel Shutters

Flat panel shutters feature solid, flat panels within a frame. The central panel is flat and unadorned, often surrounded by a raised or recessed frame. They can be used for both decorative and functional purposes. The timeless looks work well with traditional, colonial, and modern farmhouse style homes.
Metal Shutters

Metal exterior shutters are made from aluminum, steel, or composite materials. They are durable and secure, commonly used in both residential and commercial settings. They come in a range of styles and serve different purposes, from security to storm protection to aesthetic enhancement. The bold and industrial look is great for urban lofts, modernist homes, or high-contrast exteriors.
Shutter Colors and Materials
Basic black shutters offer a simple, stylish look for most homes. White shutters are also popular. However, there are many other colors to choose from. Most have color-matched mounting hardware.
Materials include vinyl shutters, a popular choice that resists fading, rot, cracking and peeling. The woodgrain finish with routed edges provides a real-wood appearance. You’ll also find many homes with wooden shutters. Cedar shutters are a common wood choice because they’re insect-, warp- and weather-resistant.
Shutters aren’t just for curb appeal. Consider them for the back of your house, too, if you spend lots of time in the backyard or on the patio.
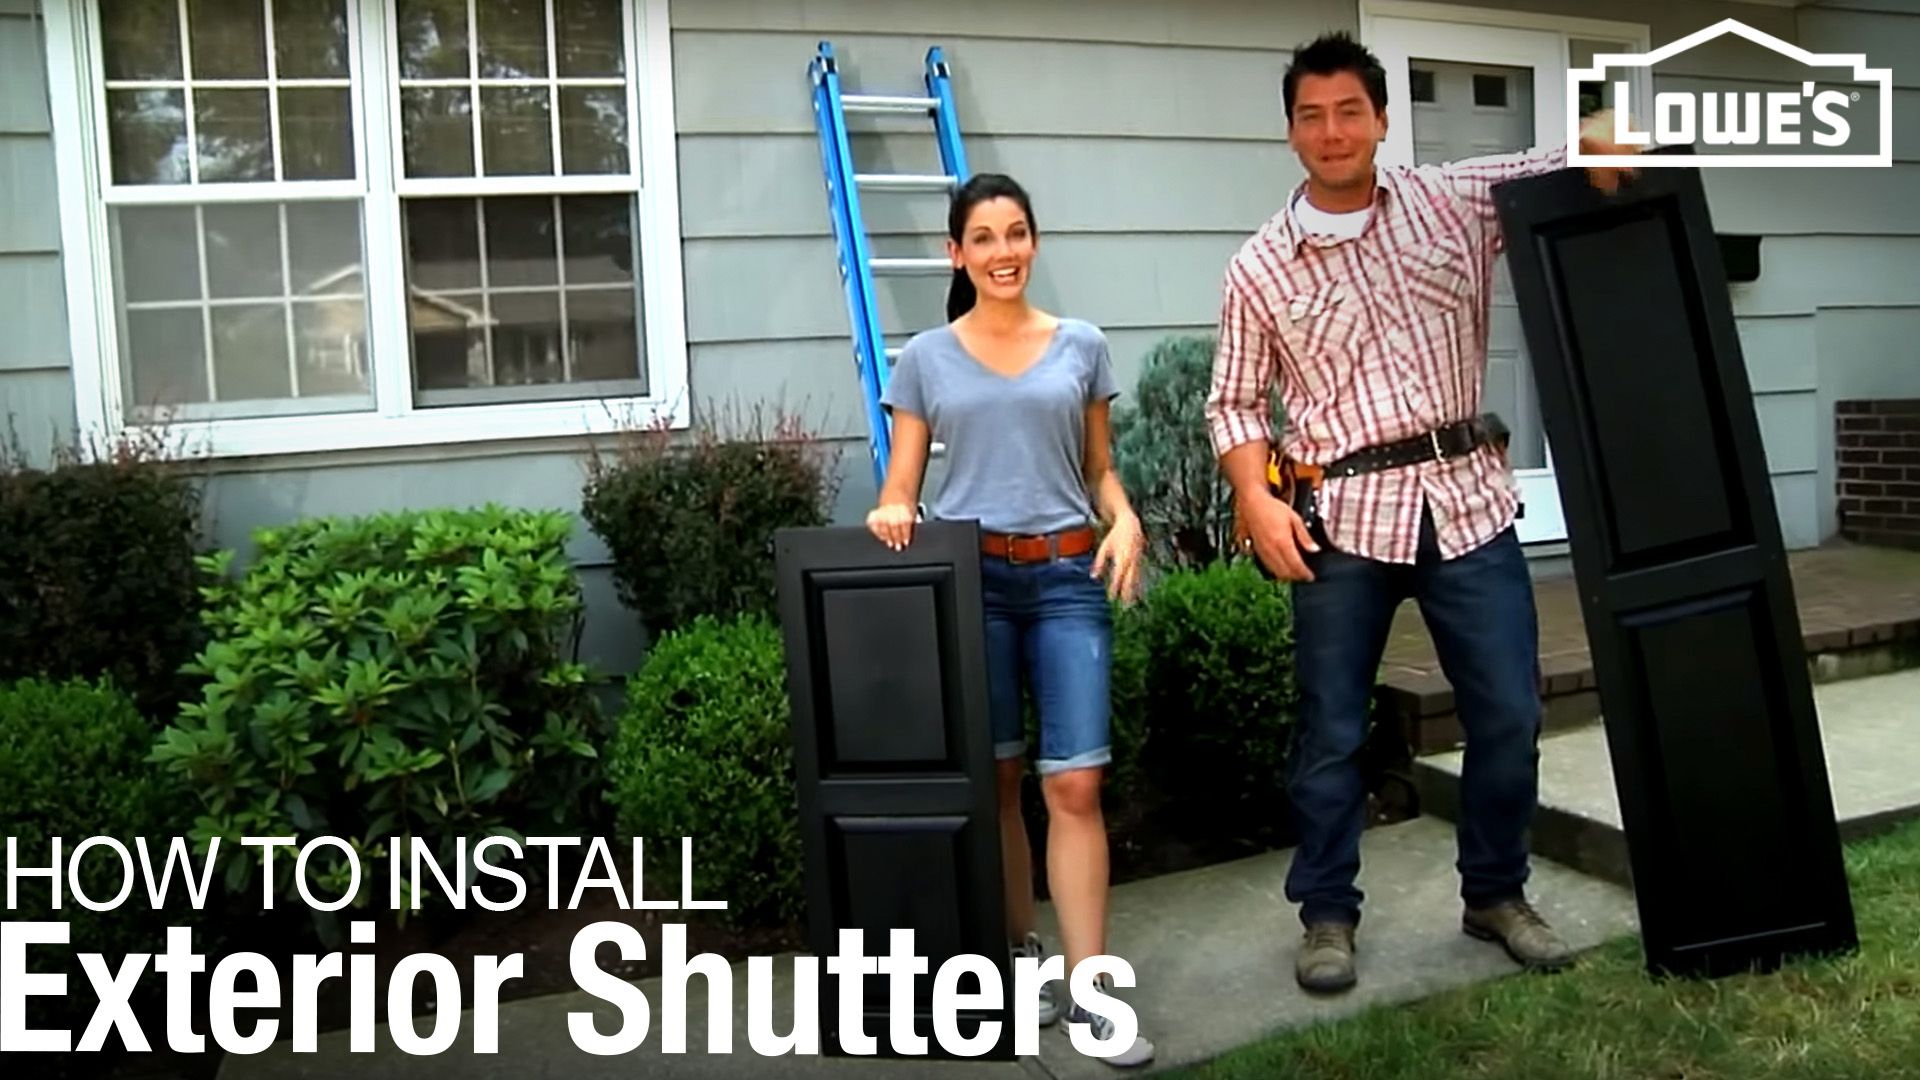
How to Install Exterior Window Shutters

Remove the Existing Shutters
If the old exterior window shutters are securely fastened to the house, don’t pry or pull them off, as this may damage the exterior wall. If possible, use shears or a saw to get behind the shutter and cut the fasteners.
Install the New Shutters
Installing vinyl shutters has become easier with the aid of vinyl spikes to attach the shutters rather than using metal hardware. We even have a video to show you the proper install method.
Measure and predrill the mounting holes into the frame, usually three holes along each side of the frame. Next, align the shutter next to the window and mark the hole locations through the holes onto your house. Use the pencil marks on your house as a guide for drilling pilot holes for your spikes. After drilling the marked hole locations, line up the shutter with the mounting holes and insert a vinyl spike into each hole and tap them into place with your hammer. Make sure all of the spikes are started before finishing tapping them into place.
Installing on Vinyl Siding: Vinyl siding expands and contracts with the weather. To avoid warping, don’t attach the shutters tightly. Also, drill the hole in the siding 1/4 inch larger than the fastener.
Attaching to Masonry: You’ll need a masonry bit and masonry wall anchors or suitable spikes (if provided with shutters). Drill and attach to the mortar, not to the brick.
Painting Your Shutters

Wooden shutters can be primed and painted any color, based on your preference. For plastic shutters, first prepare the surface by using a plastic primer product. Apply according to the instructions on the can. Wait the required amount of time and apply paint to the shutters. For best results, use an exterior oil-based paint or exterior latex paint.
After you have painted your shutters, you may want to finish with the addition of some stylish shutter hardware. Decorative metal hinges and color-matched screw and hinge caps can add texture and uniform colors.
Paint drying time varies due to weather conditions. Painting new shutters may void the manufacturer’s warranty. Some shutters can’t be painted or stained.
Don’t have time to do this project yourself? Check out our professional exterior shutters installation service.