Tools and Materials
Product costs, availability and item numbers may vary online or by market.
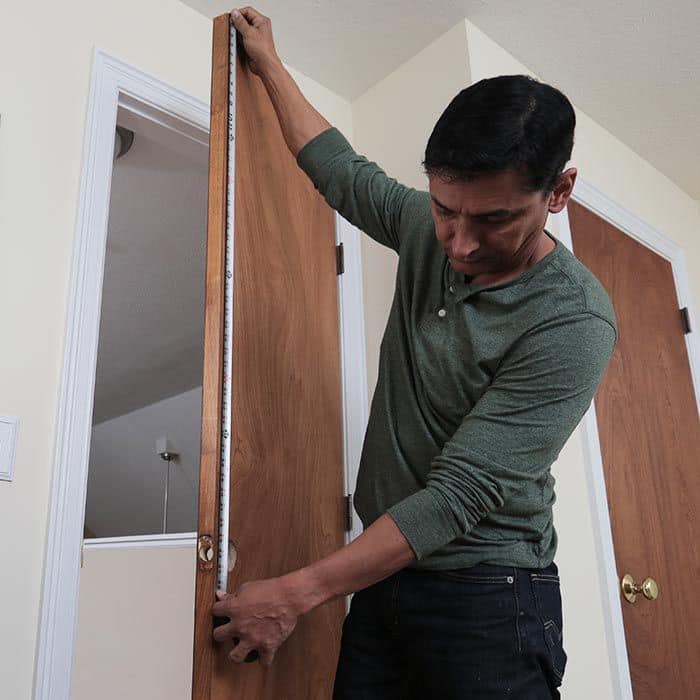
Preparing for Installation


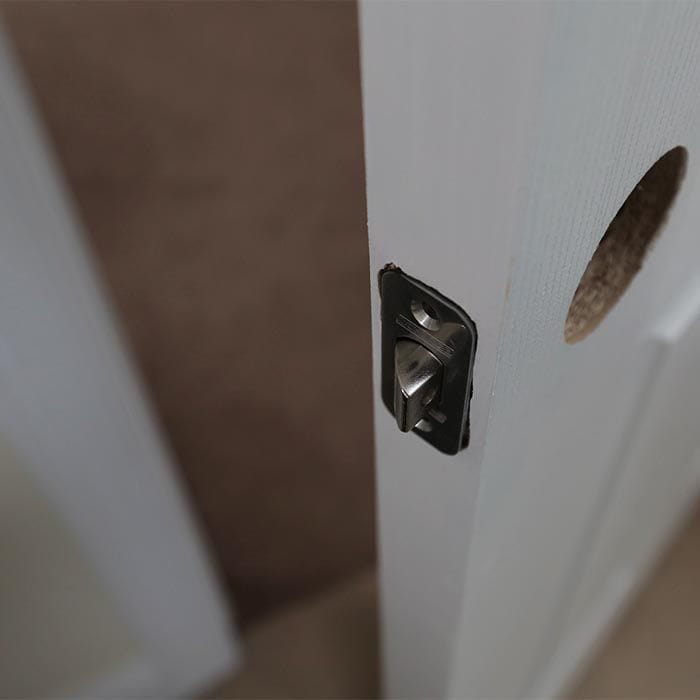
If you’re installing a lockset in an existing door, take out the existing lockset and measure the backset — the distance from the door edge to the center of the lockset hole. The measurement is usually either 2-3/8 inches or 2-3/4 inches. Refer to this when you buy your new lockset to make sure the hardware is compatible. If you’re installing a lockset on an existing door, you can skip ahead to the Installing the Lockset section below.
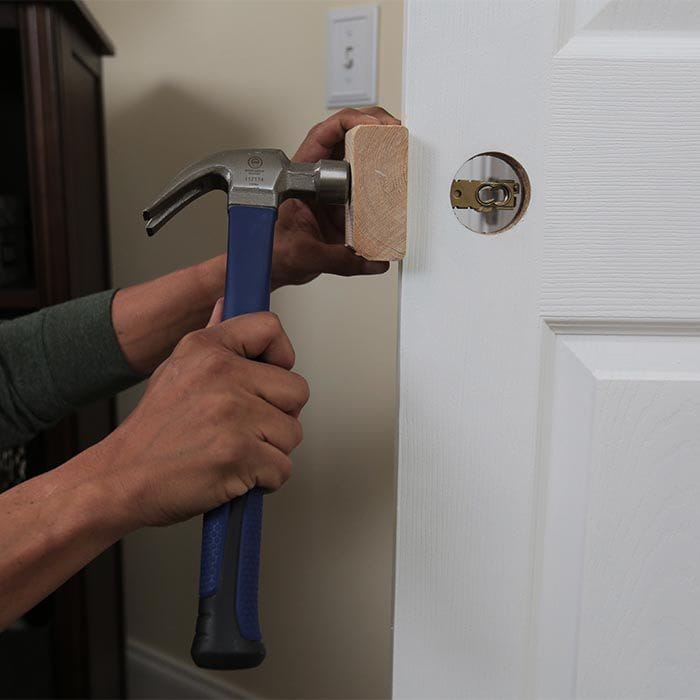
If you’re installing a lockset in a new door, you’ll have to cut the holes. The lockset instructions will specify the correct backset.
Note that if you’re installing hardware for an entry door, you can usually have multiple locksets configured or keyed to work with the same key. Read Door Hardware 101: Types, Functions and Finishes to get information on available lockset features and styles.
Unsure what your door’s backset measurement is? Watch Determine the Backset of Your Door.
Follow the lockset and drill guide manufacturers’ instructions for installation and setup steps specific to your hardware.
Consider replacing a traditional knob with a lever for easier access.
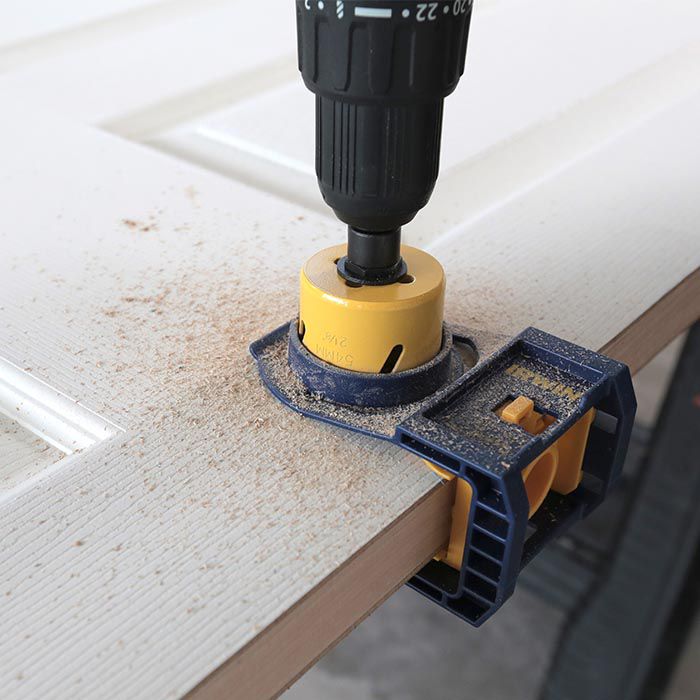
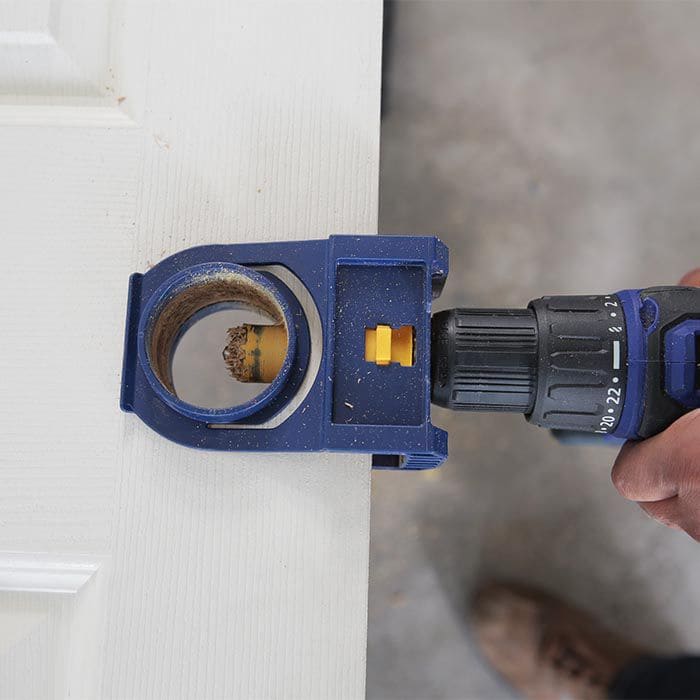
Preparing a New Door for a Lockset

A lockset typically includes a paper template to help you accurately drill the latch and lockset holes in a new door, but an optional door lock installation kit, also known as a drill guide (pictured at the right), can make the project easier. These instructions provide steps for using a drill guide.
Instructions


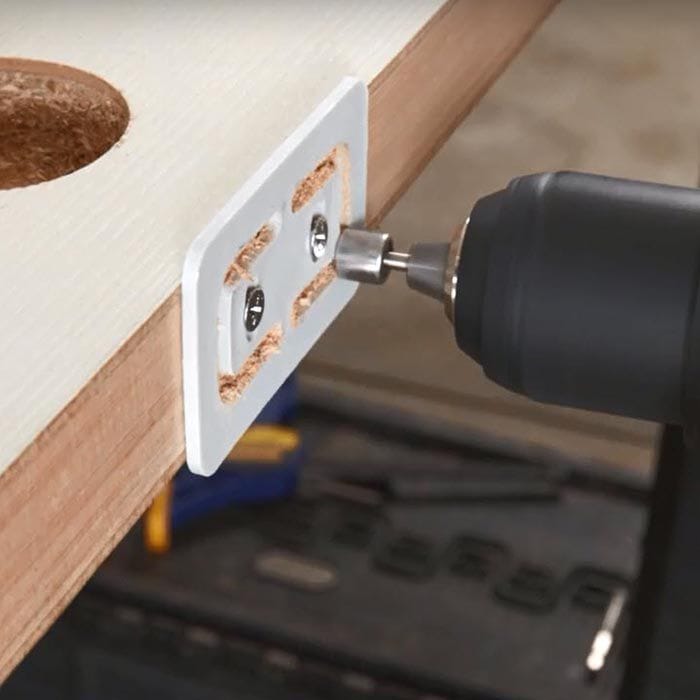

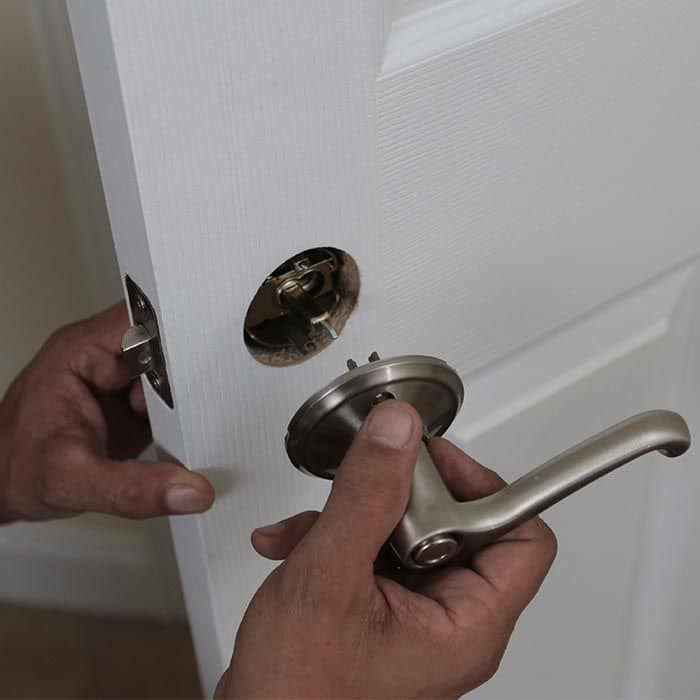
Installing the Lockset
Follow these five steps to install the lockset.
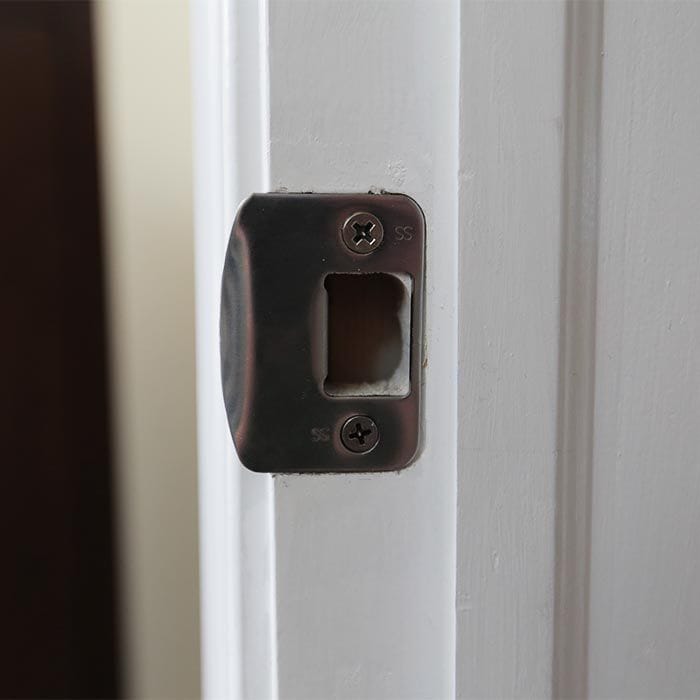
A latch faceplate may be rounded or squared. When you replace a door knob or lever, matching the existing faceplate type makes installation easier. Some locksets come with multiple latch faceplates.