Tools and Materials
Tools
- Tape measure
- Angle square or combination square
- Portable circular saw with straightedge guide
- Table saw
- Portable jig saw
- Router with 1/2-inch flush-trim bit
- Corded or cordless electric drill
- Drill bits: 1/16-inch twist drill; 3/16-inch with countersink bit
- #2 Phillips screwdriver or driver bit
- Assorted clamps
- Sanding block with medium-grit abrasive
- OPTIONAL: Pneumatic finish nailer and air compressor
Materials
- 1 (3/4-in x 24-in x 48-in) sheet Baltic birch plywood
- 1 (1/4-in x 24-in x 24-in) sheet Baltic birch plywood
- 1 (3/4-in x 3/4-in x 96-in) pine molding
- 1 (3/4-in) dowel
- 1 pkg. #8 x 2-in flathead wood screws
- 1 pkg. #8 x 1-1/4-in flathead wood screws
- 1 box 4d (1-1/2-in) finish nails
- Wood glue
- Wood filler
- Paint (Pictured: Valspar Splish Splash)
Items may be Special Order in some stores. Product costs, availability, and item numbers may vary online or by market. Paint colors may vary slightly from those shown. Availability varies by market for lumber species and sizes.
Before You Start: Pattern-Routing
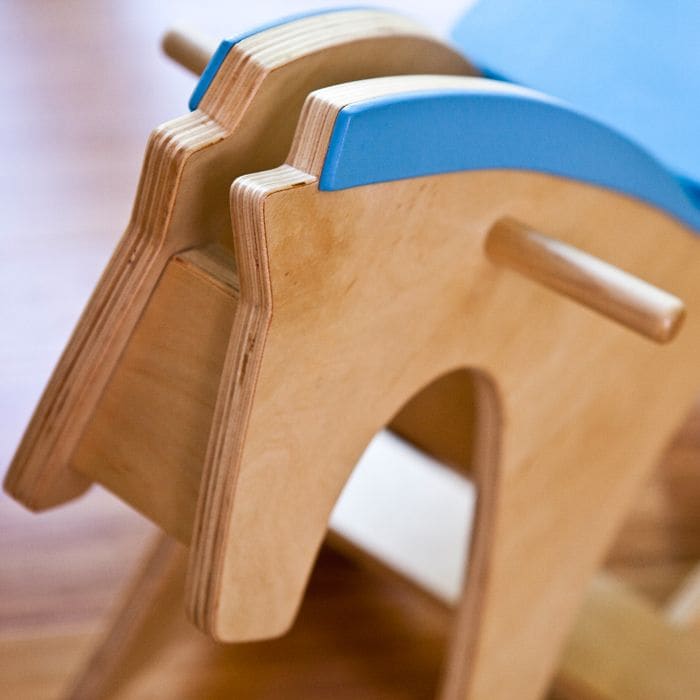
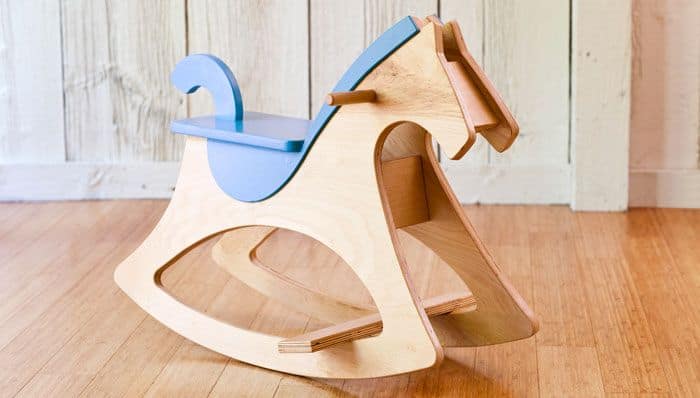
Projects such as this rocking horse provide a great opportunity for almost any woodworker. For a shop veteran, it's just challenging enough to be interesting, and it can be easily built in multiples if you have a lot of grandkids or want to donate your efforts to a local children's charity. For beginning woodworkers, the project offers a chance to work with some unusual angles and contours and to practice a useful technique called pattern-routing.
Pattern-routing involves making one durable master pattern, or template, that is the exact shape you want to make the project parts. Depending on the project, templates can sometimes be painstaking to make, but they offer big advantages in accuracy and efficiency once the project construction is underway.
Patterns often involved arcs, curves or other irregular shapes, and they are usually made using a band saw, portable jigsaw, router, power sanders and/or hand tools such as coping saws, rasps, files and sanding blocks. Typically, the shape is cut very close to the traced outline and then sanded or filed to its finished form. It can then be secured to a workpiece blank with clamps or attached to a jig that helps hold the workpiece blank in position.
To produce your actual project parts, it's often best to lay the template onto the workpiece blank, trace the outline, then remove the template and rough-cut the part so no more than 1/4- inch of waste material remains outside the pattern lines. Then, use clamps (or screws if holes in your workpiece won't matter) to re-attach the template (or jig) to the workpiece, and you're ready for routing.
There are two kinds of router bits commonly used for pattern-routing, and both rely on a ball-bearing guide that rides along the edge of the template while the bit's cutting flutes trim the workpiece to match. The most common is a flush-trim bit, which has the guide bearing at the end of the bit and the cutting flutes above, nearer to the bit shank you secure in the router collet. The cutting stresses can be substantial, so use a 1/2-inch shank bit if your router will accept it. This style bit typically has carbide cutting flutes from 1 inch to 1-1/2 inches long and the same cutting diameter as the shank, so it can cut fairly thick material and follow very tight curves. When cutting with this bit, you'll have the workpiece on top and the template underneath.
A pattern-routing bit works on the same principle but has the guide bearing mounted on the upper portion of the shank, just below where the router collet grips the bit. The cutting flutes are at the lower end of the bit, so your setup would be slightly different; the template would be on top and the workpiece below. Pattern-routing bits often have larger cutting diameters (3/4 inch is typical), shorter cutting flutes, and smaller shanks (typically 1/4-inch), so they aren't as versatile as some flush-trim bits.
Speaking of patterns, note that we have provided two versions for this project. One is at a reduced scale that you can take to a print shop and have enlarged 400 percent to full size on oversize paper, and the other is a set of full-size patterns that you can print on letter-size paper and tape together.