
Tools and Materials
Product costs, availability and item numbers may vary online or by market.
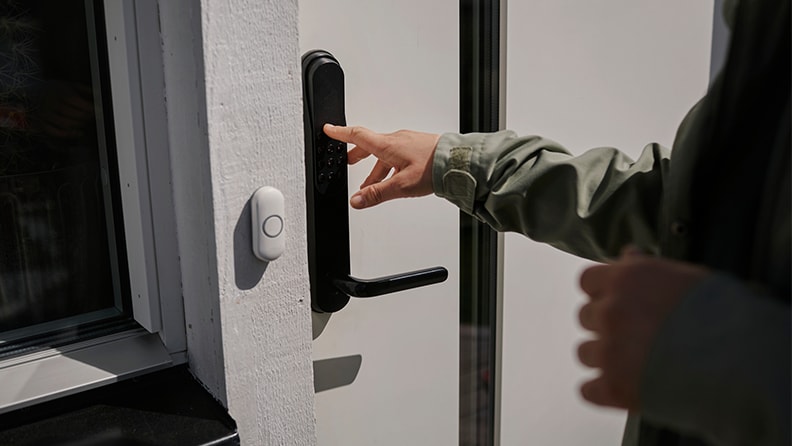
Select Your Replacement Doorbell Button


Before you shop, consider the following tips:
- Doorbell buttons have two different profiles on their back. One has a hole in the siding to accommodate the button; the other sits flush with the siding. Check your existing doorbell to see which one you have.
- While you’re choosing a new doorbell button, have a look at the doorbell power transformers near the doorbell display. These turn 120-volt house current into a safer, low-voltage current to power the doorbell. Knowing what they look like will make yours easier to spot when you get home so you can switch off power to it.
- The mounting holes for your new doorbell may not line up with the existing holes. So, if your doorbell attaches to a brick, stucco, or masonry wall, buy a replacement with identical screw spacing or pick up a masonry drill bit and the smallest wall anchors that will accept the new doorbell button mounting screws. There are also doorbell mounting plates that can adapt the new doorbell with the old drill holes.
- Consider investing in a smart doorbell to add extra security to your home. WiFi-connected doorbell options feature video and audio capabilities that allow you to see and speak with visitors and delivery persons, and receive alerts through a smartphone or tablet app. A bonus is that you can do this almost anywhere you have a WiFi connection.
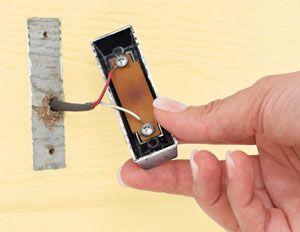
Remove the Old Doorbell
In addition to a screwdriver, you may also need a utility knife for this part of the project.
Instructions
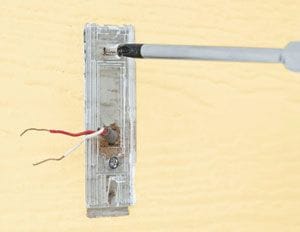
Install the New Doorbell Button
Below are basic installation instructions. Always follow the manufacturer's instructions for your doorbell button.
Instructions


Watch Our DIY Basics Videos
Here are some DIY videos on the basic steps used to remove and replace your doorbell button.
Frequently Asked Questions
Here are answers to some frequently asked questions on replacing a doorbell button.
Do I need to turn off the power to replace a doorbell button?
In most cases the power does not need to be turned off when replacing or repairing a doorbell. Thanks to the transformer, power is reduced to 24 volts or lower, making it generally safe to work with. It is also strongly recommended to use screwdrivers and pliers that have been rated for electrical use and are insulated.
Do I need an electrician to replace a doorbell?
Replacing a doorbell is one of the easier DIY home project that almost anyone can do. With just a few tools and a little time, you can have a new doorbell for your home. The only time an electrician would be necessary is when there isn’t any existing wiring for a doorbell in your home. But thanks to battery-powered doorbells, even in homes without wiring, this can be a simple replacement.
Is it safe to touch doorbell wires?
Regular doorbells have wiring that connects to the button and to the transformer. The transformer will convert standard power to low voltage power. Because of this conversion to low voltage, doorbell wiring and components are generally safe to handle.