
Tools and Materials
Tools
Handsaw and miter box
Carpenter’s square
Cordless drill and driver bit
Countersinking drill bit
Level
Electronic stud finder
Painter’s tape
Fine-grit sanding sponge
Materials
2- 1 x 2 poplar boards, see instructions for length
1 x 4 poplar board, see instructions for length
4d finish nails
2-1/2-in drywall screws
Wood filler
100-grit and 120-grit sandpaper
Paintable latex caulk
Valspar latex primer
Valspar paint, Bistro White, #7006-4
Items may be Special Order in some stores. Product costs, availability, and item numbers may vary online or by market. Paint colors may vary slightly from those shown. Availability varies by market for lumber species and sizes.
Instructions
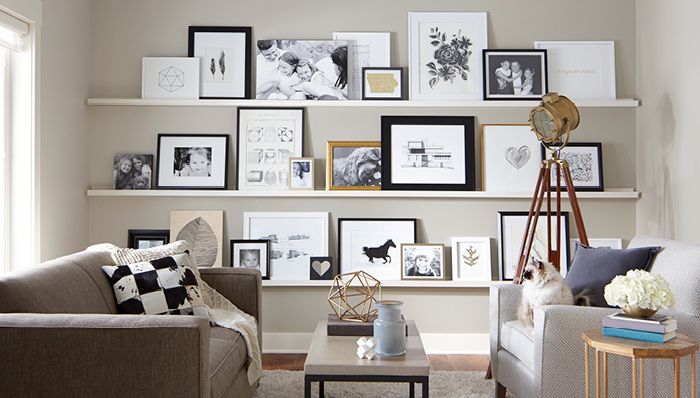
Each shelf consists of a board cut from a 1 x 4, a wall cleat cut from a 1 x 2, and an edging cut from a 1 x 2 (Project Diagram, Drawing 1). Customize part lengths to suit the wall width. Both ends of each shelf stop one inch from the adjoining walls to make installation easier.


