
Tools and Materials
Understanding Nail Guns and How They Work
To use a nail gun safely and effectively, it's important to understand how one works. There are two main types:
- Pneumatic Nail Guns: These guns are powered by compressed air, so they require an air compressor. These are great for heavy-duty tasks, offering consistent power for large projects.
- Cordless Nail Guns: These guns are powered by rechargeable batteries, making them easy to use anywhere. Some models also use gas canisters for added power, which is ideal for tougher materials and demanding tasks.
For proper use and safety, check your nail gun’s user manual to understand its parts, like the magazine, trigger and safety features.
Types of Nail Guns
Choosing the right type of nail gun is important when you’re tackling a new project. Here are the main types and their uses.
Framing Nailers


These nailers are perfect for heavy-duty jobs like building decks, framing walls and assembling large structures. These tools drive large nails — usually between 2 and 3.5 inches — to secure thick materials.
Finish Nailers

These are designed for detailed work like attaching trim, moulding or cabinetry. Finish nailers use medium-sized nails that leave minimal marks, providing a clean, polished look.
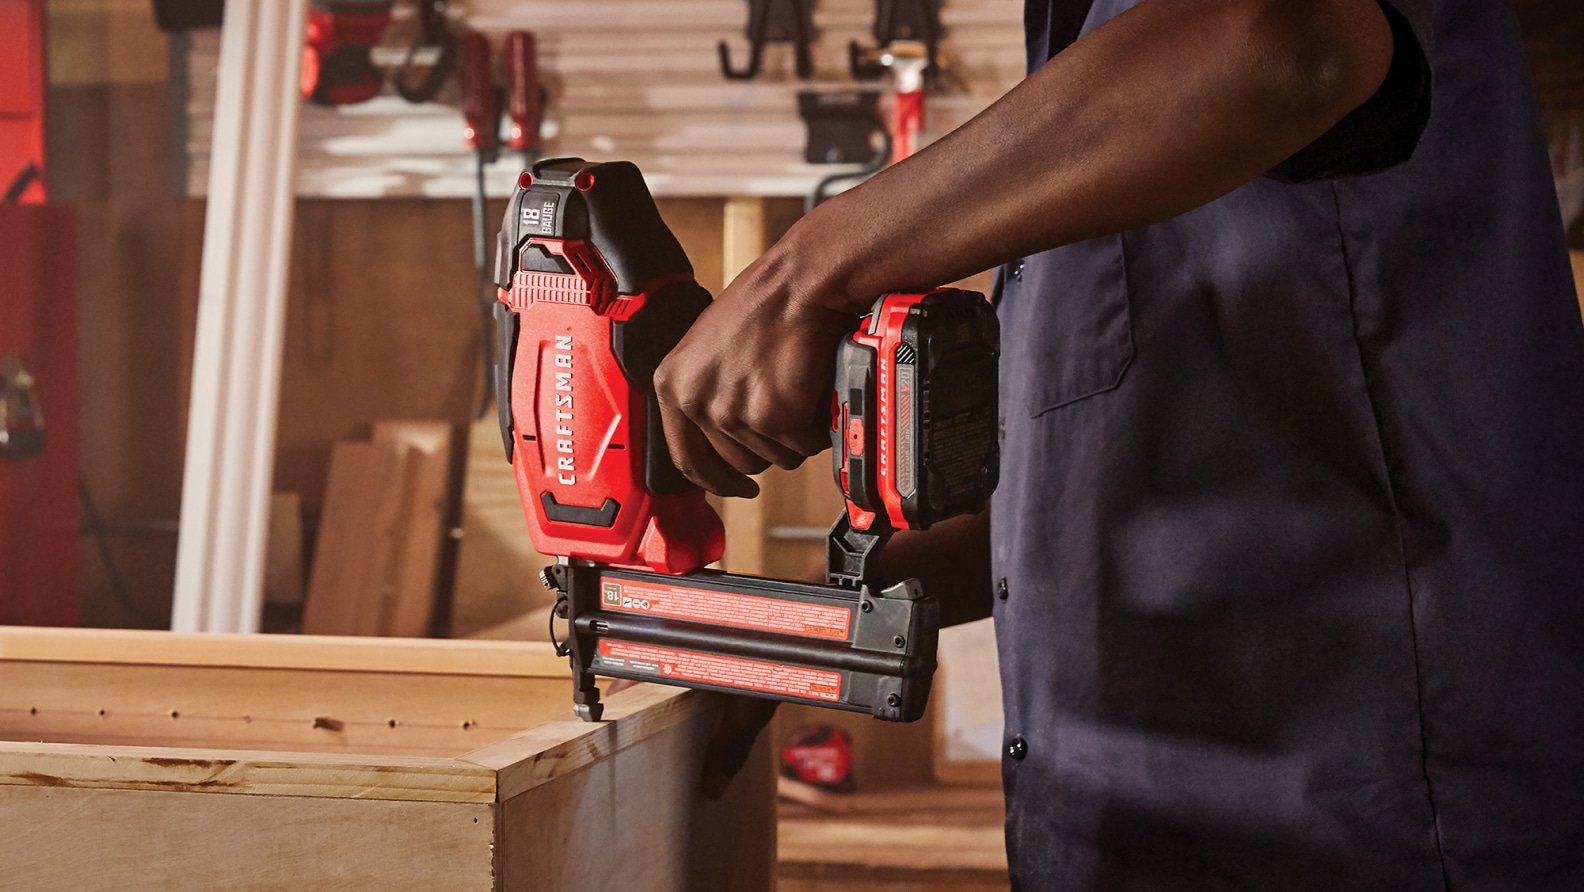
Brad Nailers

These are ideal for light woodworking and attaching delicate materials. They use thin, 18-gauge or 16-gauge nails, depending on the model.
Specialty Nailers
Specialty nailers are used for specific jobs. For example, pin nailers
are great for upholstery and T50 staplers or
pneumatic staplers work well to secure wire fencing. These tools are
designed to handle unique tasks with precision.
Flooring Nailers

Used for installing hardwood or engineered flooring, these tools drive nails at the perfect angle for a snug, secure fit without damaging the surface.
Roofing Nailers

Built for attaching shingles and waterproofing materials, roofing nailers use short nails with wide heads to secure roofing components without causing tears.
Safety Tips for Using a Nail Gun
Using a nail gun requires careful attention to safety to prevent injuries. Follow these guidelines every time you work with this tool:
- Wear protective gear: Always wear safety goggles to shield your eyes from debris and hearing protection to minimize noise exposure.
- Check your nail gun: Inspect the tool for damage, loose parts or malfunctions before use. Refer to the manual for specific maintenance instructions.
- Keep hands clear: Never place your hands or fingers near the firing point of the nail gun.
- Mind your surroundings: Work in a clutter-free space and keep bystanders, pets and children away from the area.
- Use the safety lock: When not in use, engage the safety lock or disconnect the power source to prevent accidental firing.
- Practice first: Test the nail gun on scrap material to ensure proper function and get comfortable with the tool.
- Disconnect power before reloading: Always disconnect the nail gun from its power source before reloading or making any adjustments to prevent accidental firing.
How to Use a Nail Gun
Using a nail gun can make your projects faster and more precise. Follow these simple steps to ensure safety and get the best results.
Step 1: Prepare Your Workspace
- Start by creating a safe and organized work area. Choose a well-lit spot with enough space to move around comfortably. Clear away any clutter or obstacles that could cause accidents or distractions. A stable surface, like a workbench or sturdy table, is essential to support your materials and tools.
- Arrange everything you’ll need within easy reach to avoid unnecessary movement during the project. Also, mark the spaces with a marker where you’ll place the nails beforehand. This will help ensure consistent spacing as you go, saving time and preventing the need for adjustments later.
- Keep children and pets out of the workspace to prevent injuries or interruptions.
Step 2: Load the Nail Gun
Before loading the nail gun, make sure to disconnect it from its power source, which will be either a battery or an air compressor. This step is crucial for safety to prevent accidental firing.
The magazine is the part of the nail gun that holds the nails. Open it up and carefully place the nails inside, making sure they’re lined up correctly. If the nails are not aligned correctly, the gun may jam or may not fire correctly. Once the nails are loaded, close the magazine securely to keep everything in place.
Always use the right type and size of nails for your nail gun. Using the wrong nails can cause jams or even break the tool, so double-check the user manual for beginning.
Step 3: Test the Nail Gun
Before starting your project, test the nail gun on a scrap piece of material to make sure it’s working well. This lets you check for any issues like misfiring and adjust the depth settings for accuracy. Adjusting the depth ensures the nails are driven correctly without damaging the surface.
Step 4: Position the Nail Gun
Before using the nail gun, use a marker to clearly mark the spot where you want to place the nail. Place the safety nose, which is the front part of the gun, firmly against the marked spot on the material. This helps to keep the gun steady and ensures the nail goes in the right place without bouncing off the surface. Make sure the gun is held at a straight angle to the material for accuracy.
Step 5: Fire the Nail
To fire the nail, hold the nail gun firmly with both hands to ensure it stays steady. Keep your fingers away from the firing point and position the safety tip against the material where you want to drive the nail. Before firing, verify that you’re using the correct type and length of nails for the material. Press the trigger to fire the nail into the surface. Once the nail is in place, release the trigger and lift the nail gun straight up to avoid damaging the material. Make sure the gun is stable and secure before pulling the trigger.
If the nail bounces off the surface, check that you’re holding the gun at a 90-degree angle to the material. Apply more pressure by pressing the gun firmly against the surface and adjust the depth setting to make sure that the nail is driven deep enough. These adjustments should help the nail go in smoothly.
Always be careful and never place your hands near the firing point or the material being nailed to prevent accidents. Before firing, ensure the gun's safety tip is securely pressed against the material. Always wear safety goggles to protect your eyes from any flying debris.
Step 6: Continue Firing Nails and Monitor Supplies
Continue driving nails into the material, maintaining consistent spacing between each one for a neat and professional finish. While working, keep an eye on the nail supply in the magazine, as it can run out quickly, especially on larger projects. When the nails start to run low, stop and reload the magazine before continuing to avoid interruptions. Keeping a spare supply of nails on hand will save you time and prevent you from having to pause frequently as you work.
Step 7: Inspect the Nails and Adjust
Once you finish your project, take a moment to look over your work and ensure the nails are secure. Make sure all the nails are flat against the surface and don’t stick out. If any nails are too high, use a small hammer to gently tap them in. This will give your project a clean, smooth look and keep any sharp nails from causing problems later. Be careful not to damage the material.
By understanding how to safely use your tools and following the steps above, you can confidently tackle any project requiring a nail gun. Whether you’re learning how to use a corded nail gun for the first time or exploring how cordless nail guns work, mastering the basics will ensure safe and successful results.
Always wear gloves when using a hammer for safety.