
Tools and Materials
How To Change A Vanity Light Fixture
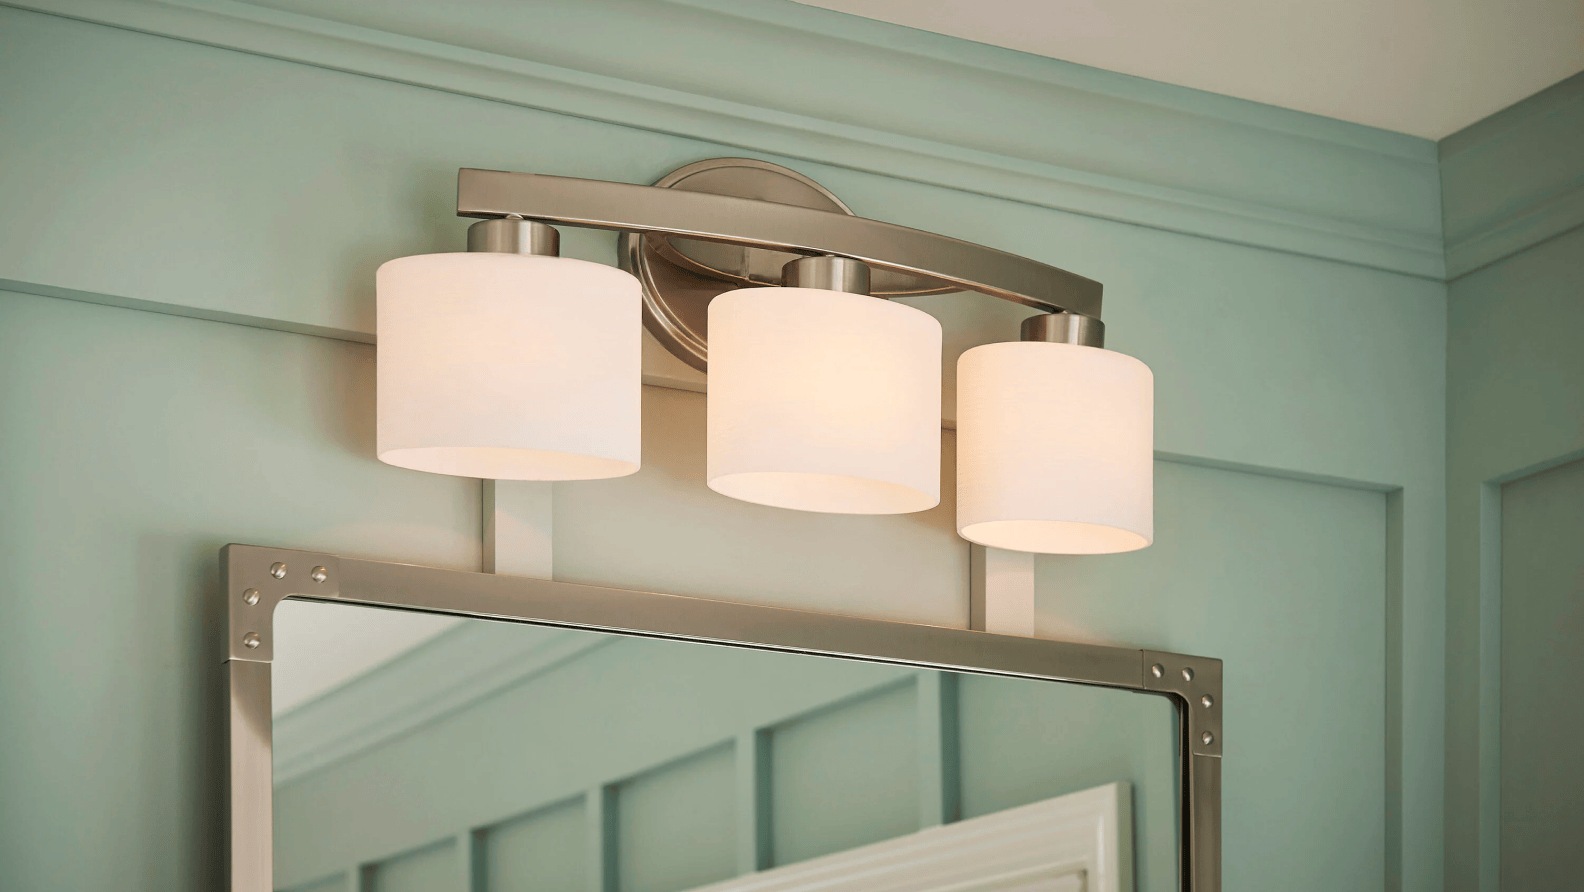
Here's how you can easily switch out your vanity light fixture and brighten up your bathroom.
Tips To Change Bathroom Vanity Light With Ease
Here are some expert tips that can help you install a vanity light:
Plan Ahead
Before you start to install, think about how the new fixture will look in your space. Check the dimensions and make sure it fits the existing space. Carefully note if it needs any changes.
Read the Instructions
Read the manual (it comes with a new vanity light) to install. Make sure if you need to follow any specific steps or not, to install your new fixture.
Turn Off Power
Always make sure the power is off. Use a voltage tester to confirm before you start to work.
Prepare Your Tools
Get every item and tool you will use before you start to install. Make sure you have a stable step stool or ladder. It will help to reach the fixture safely and work comfortably without accidents.
Check for Code Compliance
Make sure the new vanity lights comply with your area's local electrical codes. This is necessary to prevent any potential fires.
Label Wires
Label the wires when disconnecting them from the old fixture. Doing so will help to avoid any confusion. You will be able to use the wires for the new installation without worrying about their placement.
Secure Connections
Use wire nuts to hook the electrical wires safely. Twist the wires together firmly and wrap them with electrical tape to prevent any exposure to wires.
Align the Fixture Properly
Ensure the new fixture is aligned with the mounting bracket. This will prevent uneven installation and ensure the fixture is level.
Check the Mounting Hardware
Check the mounting hardware included in the packaging box. Make sure that the hardware is compatible with your existing setup. Or else, use additional hardware to secure the connections perfectly.
Test the Fixture
Test the new fixtures for flickering lights or any sparking. If you notice any such issues, follow the above steps again to install them correctly.
Install Bulbs Carefully
Follow the manufacturer's recommendations in every step. You should always avoid over-tightening the bulbs and fixtures. It can damage or even break them.
Avoid Overloading Circuits
Check the total bulb wattage. Ensure that it doesn't cross the maximum rating for the fixture or circuit. This is crucial because overloading can damage the fixtures and even lead to a fire.
Use a Voltage Tester
After you complete the installation, take help of a voltage tester. Use it to check for any live wires or potential issues before touching any part of the fixture.