
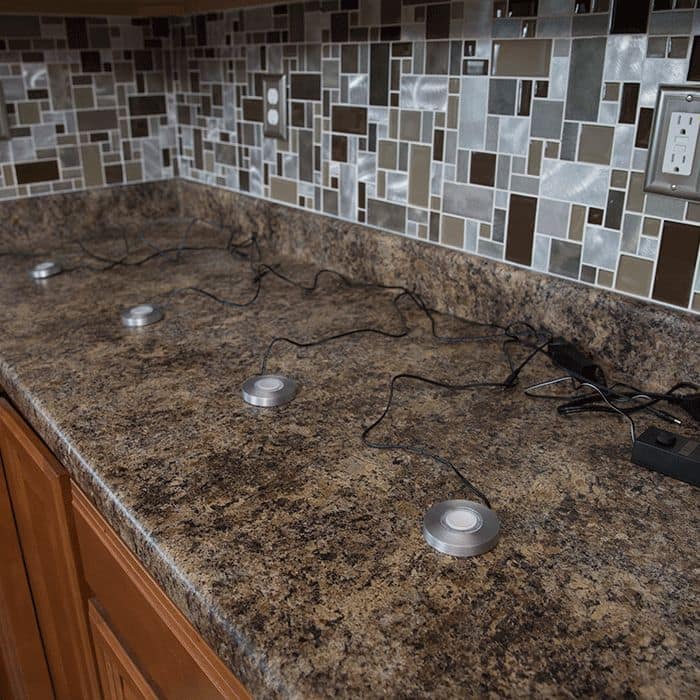
Puck Lights and Light Strips
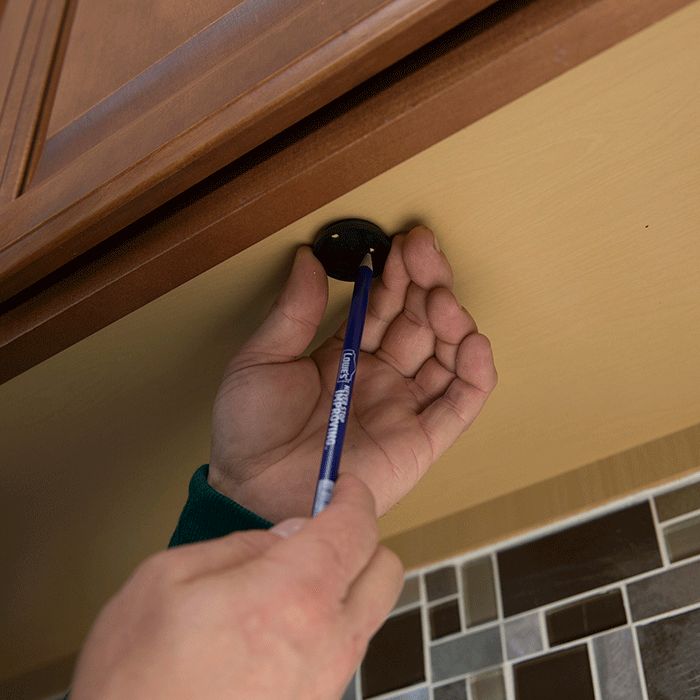
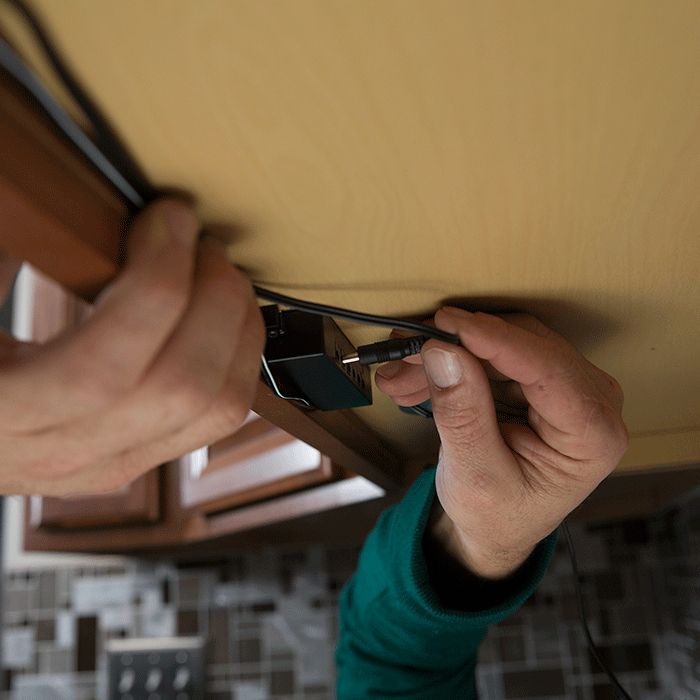
Puck lights and light strips are great additions to your kitchen. They’re perfect to use as under cabinet lighting to highlight countertops. Before you begin installation, you need to determine where you’ll place the lights.
Our installation instructions cover plug-in and battery-operated lights. Use a certified electrician for installation of hard-wired lighting fixtures.
Instructions

Rope Lights


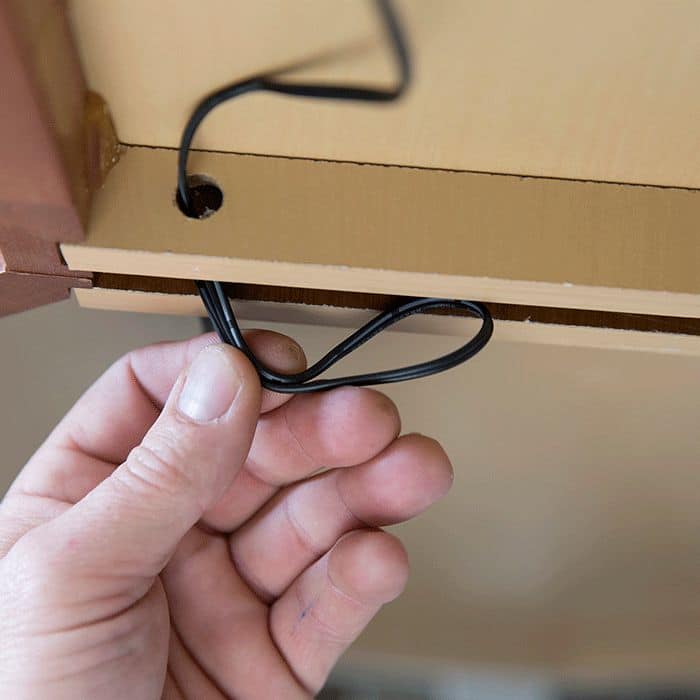
Rope lights fasten to the tops of cabinets with plastic clips that you secure to the cabinetry with small screws. Once the clips are in place, simply press the rope lighting into the U-shaped cradle that will hold the lighting in place. The clips are usually included with the purchase of rope lights, but may be purchased separately if additional clips are needed. To operate, simply plug the rope lights into an outlet and turn on.
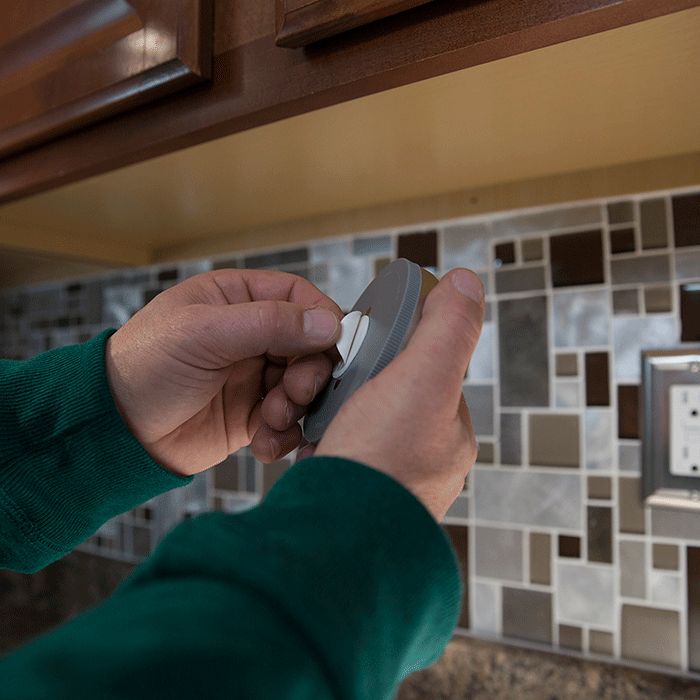
Tape Lights

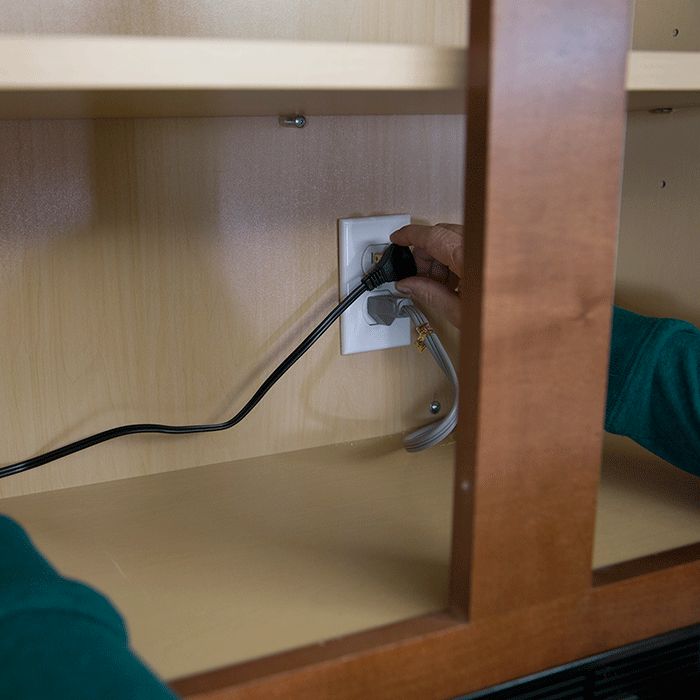
To install tape lights, remove the protective strips from the adhesive backing on the tape light strip. Press into place on the selected cabinet. Plug into an outlet.
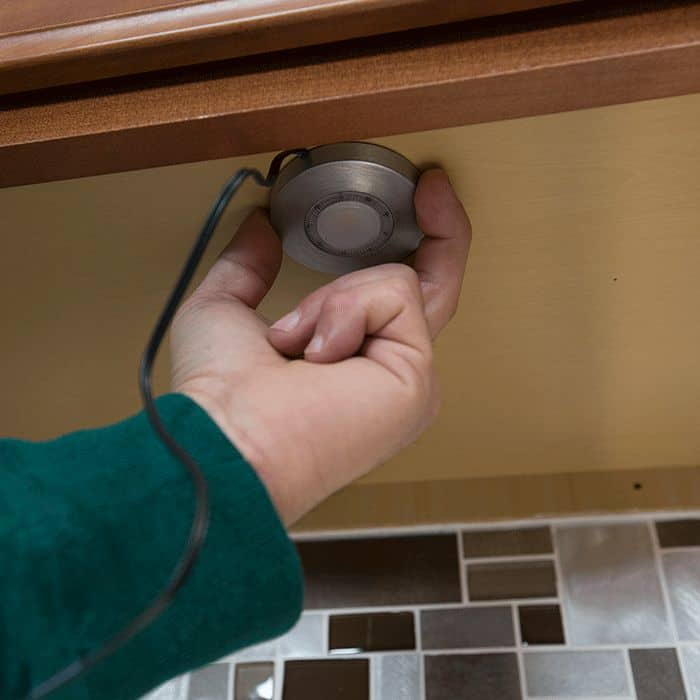
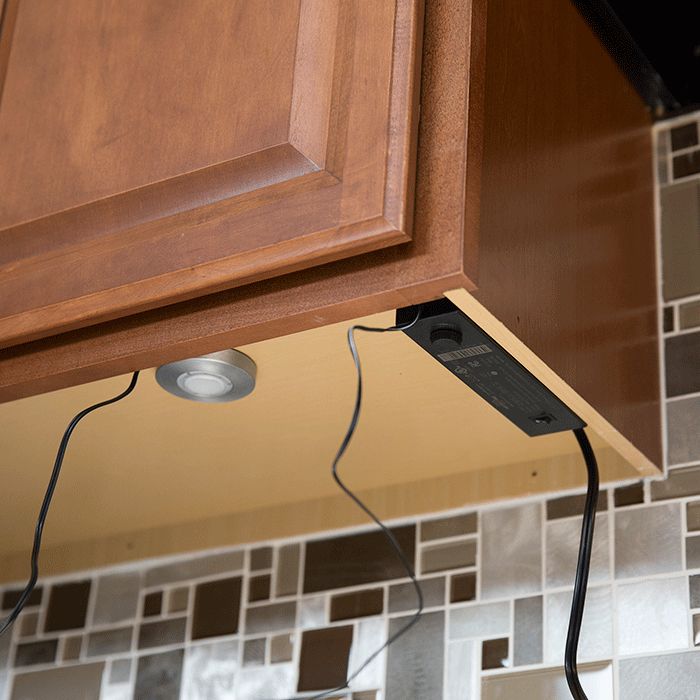
Battery-Powered Puck Lights
Self-adhesive, battery-powered puck lights offer the easiest installation. Peel the protective paper away from the adhesive backing and press into place. Push the power button and you’re done!
Read our Under Cabinet Lighting Buying Guide to learn how to choose the best under cabinet lighting system for your kitchen.