
Tools and Materials
Tools
Materials
See Project Resources for Lumber Requirements
- 1-1/4-Inch, 18 Gauge Brads
- Stain Blocking Primer
- Wood Stain and Polyurethane
- Exterior Paint
Note
Product costs, availability and item numbers may vary online or by market.
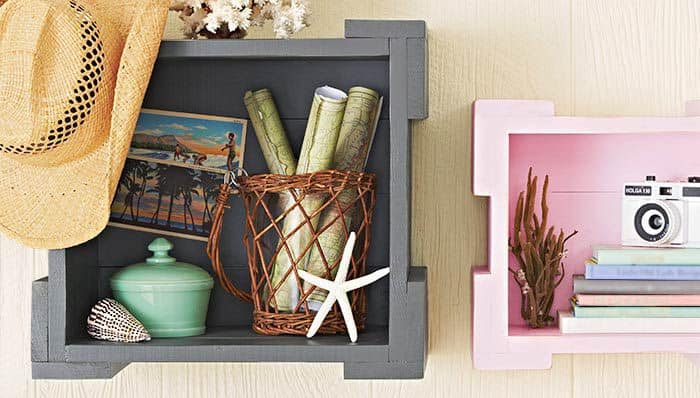
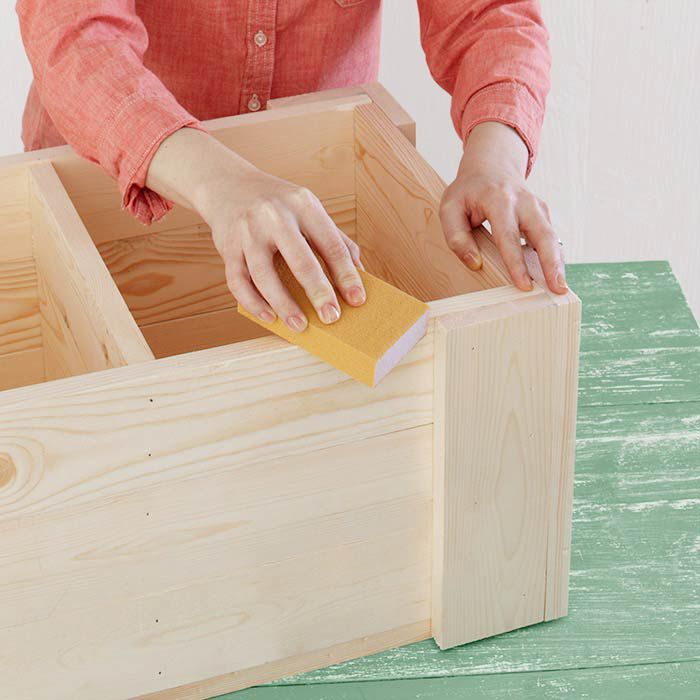
How to Build Wooden Storage Boxes
These easy-to-build boxes can be made from pine, oak, maple or cedar, and then painted or stained to fit your space. In the diagrams, you will find the details you need for seven different sizes. They all follow the same process; print off the diagrams you need and get hammering.


Customize Your Box
You can add a personal touch to your box — with an array of ways to complement your home décor.
Ways to Use Your Wooden Box
Your wooden box is a sturdy and convenient storage place for a range of everyday items. Here are just a few suggestions:
- Stow comfortable blankets for easy reach from the couch or recliner
- Display a favorite figurine or vase
- Pile pillows and cushions for when you need to stretch out
- Place it by the front door to hold shoes, sandals and boots
- Stack a couple of boxes on top of each other as a unique bookcase
- Store notepads and supplies in your home office