
Tools and Materials
Product costs, availability and item numbers may vary online or by market.
What is Chalky Paint?


Chances are you’ve seen and admired furniture that has been painted with chalky paint. Chalky paint — also known as chalk-finish paint or chalking paint — is a water-based latex paint that has a fine powder added to the mix that creates a unique matte finish that looks and feels like chalk. It’s a low odor and low VOC (volatile organic compounds) paint that’s available in a wide range of colors.
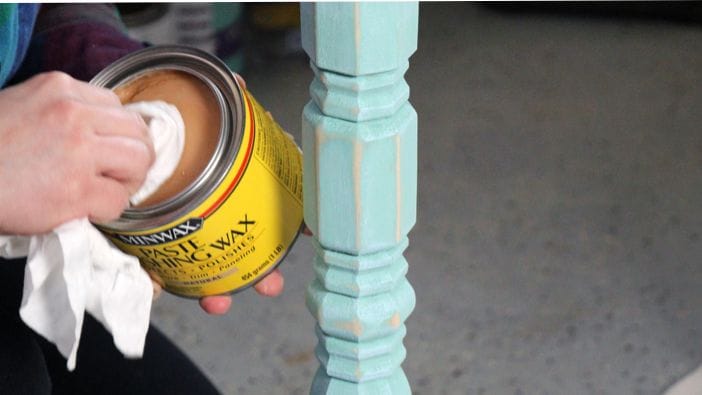
Chalky paint is an easy and stylish way to improve and transform your furniture, frames and more. The brushstrokes and imperfections of chalky painting become a part of the unique look. The finish can be sanded in places to create a distressed look or waxed for either an aged look or for more of a satin finish. Painting painted furniture isn’t a problem when using chalky paint because there’s no need to strip away the old layers of paint.
If you’re new to using chalky paint, it may seem different from other paint you’re used to working with. Practice painting on a scrap board before tackling your real project. Chalky paint dries fast, so you’ll have to move quicker than usual when painting with it.
Painting Furniture
When painting furniture, the most popular use for chalk-finish paint, you can create a beautiful matte finish or, with a little extra effort, a stylish distressed look. Chalky painting is an easy and stylish way to improve and transform your furniture.
How to Paint Furniture

The Distressed Look
The process is a little different when creating a distressed look. For this treatment, you’ll need two different paint colors: a base coat and a contrasting second coat.
How to Achieve the Distressed Look


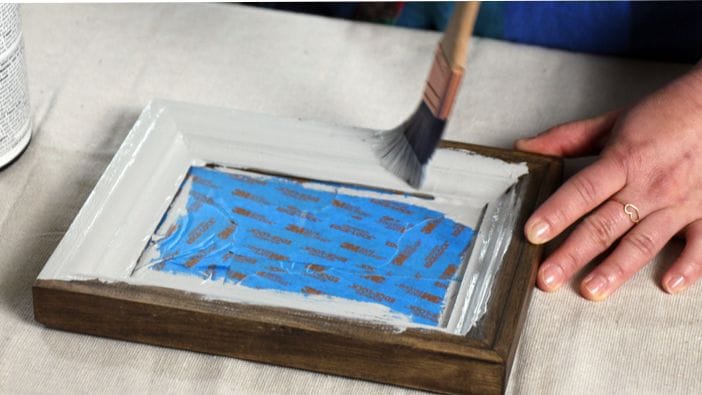
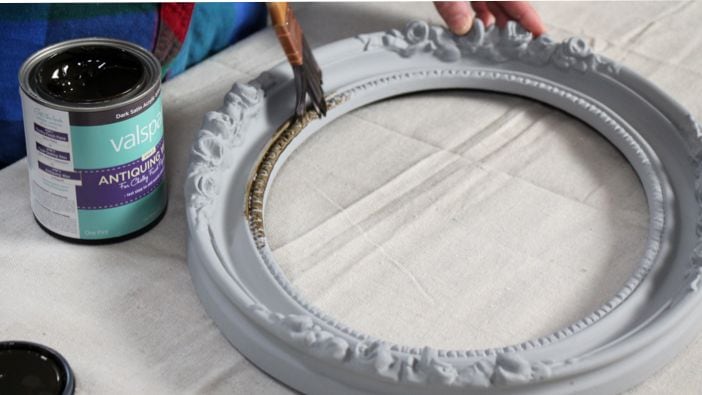
Transforming a Picture Frame or Mirror
Chalky paint is a great way to breathe new life into a tired, old picture frame or mirror.
Painting a Picture Frame or Mirror


Chalky Paint Recipe
You can always buy chalky paint at your nearest Lowe’s, or if you’re feeling adventurous, you can learn how to make chalky paint yourself. It’s easy to make your own DIY (do-it-yourself) chalky paint. For this project you’ll need:
- Plastic paint pails
- Flat latex paint
- Cool water
- Plaster of Paris
- Stir sticks
Mix 1 cup of paint with 1/3 cup of cool water and 1/3 cup of plaster of Paris. Stir until smooth. Now you’ve got your own chalky paint. This will make enough paint for one coat on a standard six-drawer dresser.
Once you’ve got the hang of it, there are a lot of projects you can tackle. Give everything from garden pots to baskets a stylish upgrade with chalky paint.
Adding plaster of Paris to the paint mixture lightens the original color of your paint, so you should take this into consideration when choosing your color.
Once you’ve got the hang of it, there are lots of projects you can tackle. Give everything from garden pots to baskets a stylish upgrade with chalk-finish paint.
Milk Paint vs. Chalky Paint

Milk paint and chalky paint are often used to give furniture or home décor pieces an antique or distressed look. But what are the differences and which one should you use for your project? We’ll explain the pros and cons of each.
Milk Paint
Milk paint has been around for a long time. It traditionally came in a powder form that was mixed with water to create an antique washed effect. Now, it’s available to purchase in ready-made quarts, so mixing isn’t required. Milk paint has a thinner consistency than chalky paint. As shown on the blue dining hutch above, it allows the grain or pattern of what you’re painting to show through. It typically takes multiple coats of milk paint to achieve the desired look. You can use it on wood, aluminum, glass and metal.
Chalky Paint
Chalky paint has a thicker consistency than milk paint and is used to create a smooth, matte finish. It’s often used to refinish furniture, such as the cream console table shown above. If you prefer an aged and distressed look, you can apply wax on top of the chalky paint. Chalky paint is durable and can be sanded. For best results, primer or light sanding is recommended.