
Tools and Materials
Tools
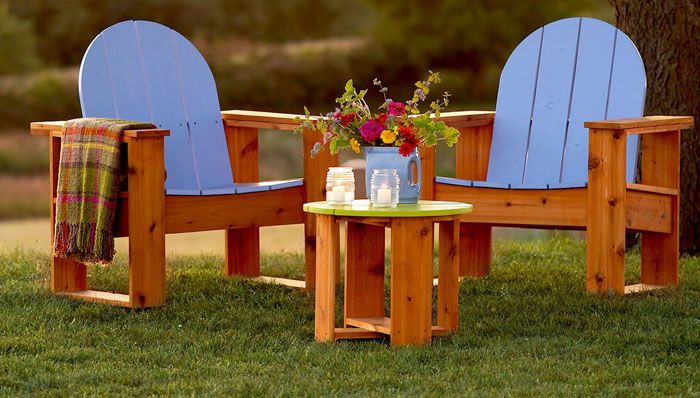
How to Build an Adirondack Chair
These instructions walk you through cutting the chair parts to size, assembling the components and finishing your chair with a stain or paint of your choice.
We’ve also got some ideas for decorating your outdoor space once you’ve built a chair or two.
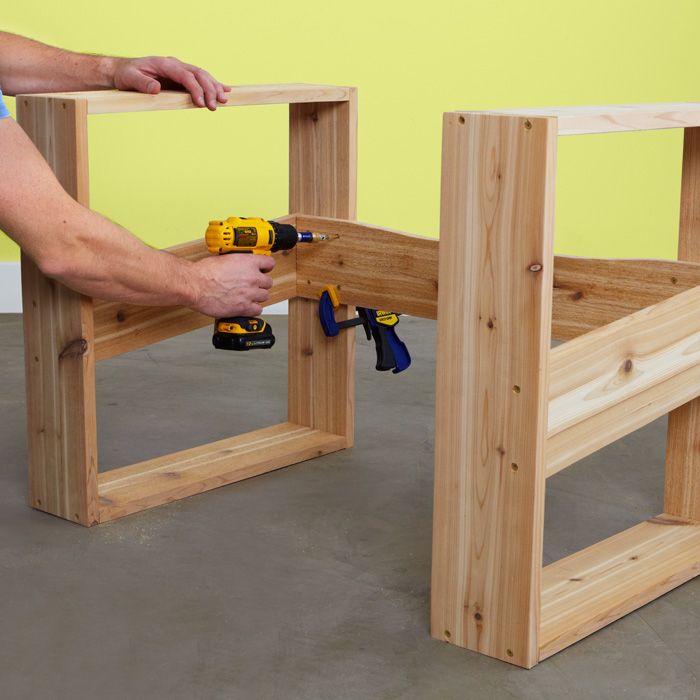
Make the Chair Sides


Complete the Chair Frame

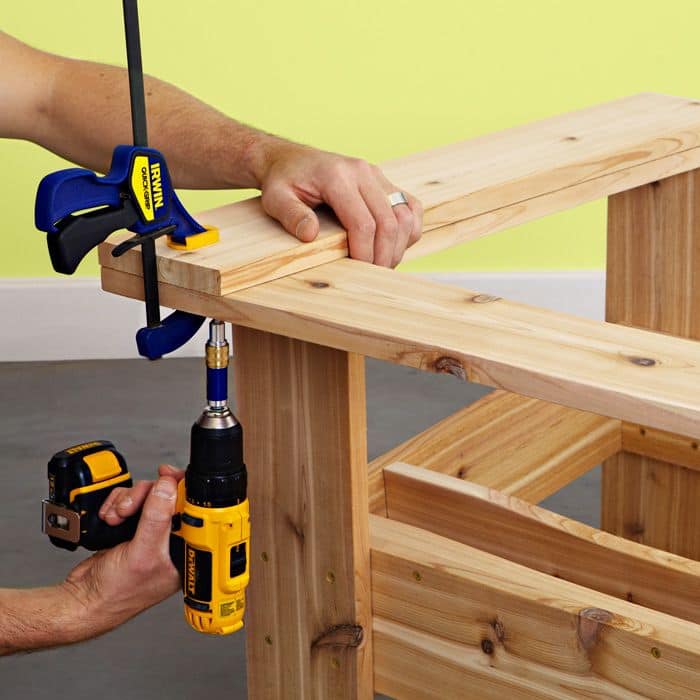
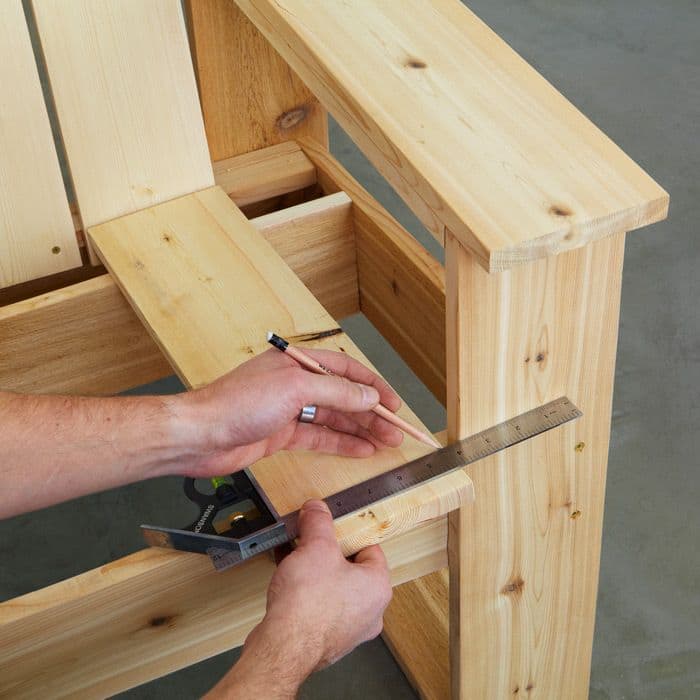
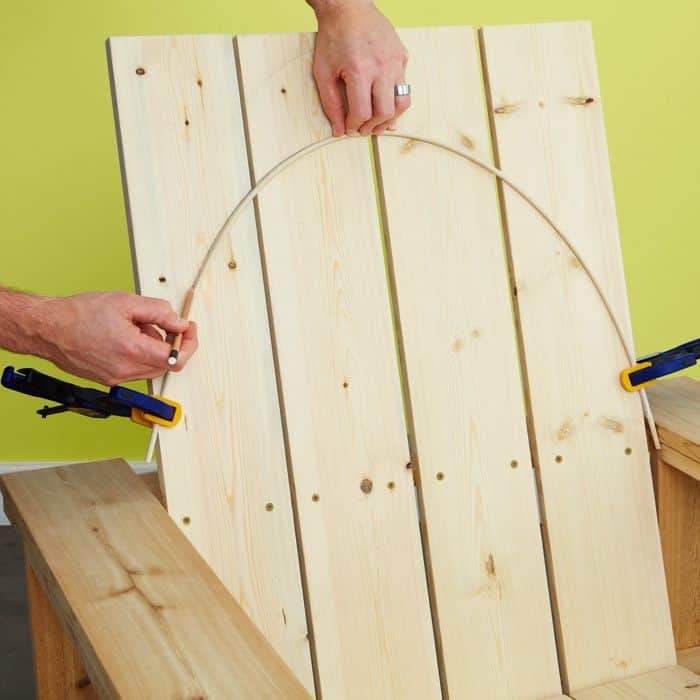
Add the Slats

Finish the Adirondack Chair
Adirondack Chair DIY FAQs
Here are some frequently asked questions about building your own Adirondack chairs.
How much does it cost to build an Adirondack chair?
The cost of DIYing an Adirondack chair depends on what lumber you decide to use and if the cost of that lumber has flucuated. Typically, the materials will cost over $100. However, when you build a piece of furniture yourself with a quality material, it’s built to last and becomes a heirloom piece. Isn’t that priceless?
Do you need to paint or stain an Adirondack chair?
Paint or stain can help protect your Adirondack chair from the elements, which is why it’s always a great idea to add a coat or two. Not only that, it allows you to customize the color to fit in with your décor. Also, if you want to use a lower-cost lumber that isn’t as naturally pretty as cedar, it’s an easy way to disguise it.
What type of wood should you use to DIY Adirondack chairs?
Cedar is a great choice for building your own Adirondack chairs. Cedar has a natural resistance to moisture, rot and insects, making it a perfect low-maintenance option for many outdoor projects. Plus, it has a natural warmth and beauty that’s perfect for Adirondack chairs.
Our project below uses cedar wood for the frame and the more economical pine for the slats, but we’ve also got tips for using pine or treated pine for the entire chair. These options can reduce the cost of materials and give you an opportunity to paint or stain the chairs to get the look of your choice.
Are Adirondack chairs hard to build?
It’s relatively easy to build do-it-yourself Adirondack chairs if you have some intermediate-level woodworking skills and the right tools. Our plans for an Adirondack chair give you step-by-step instructions, illustrations and even a video to show you how to make an upright version of this popular chair.
Once you’ve built a couple of chairs, you’ll be ready to take on more woodworking projects.
Why are Adirondack chairs slanted?
The characteristic slant of Adirondack chairs lets you sit comfortably on any terrain, including the sloped ground in the region of the Adirondack Mountains of New York state, where the original design for what we now call the Adirondack chair was created.
These plans for an Adirondack chair create a chair that’s more upright than the standard design, but it still has the slatted seat and back as well as the wide armrests that are characteristic of the traditional Adirondack chair design.