Tools and Materials
Tools
Materials
- 1x12 Appearance Boards
- 2x3 Lumber
- 1x6 Primed Boards
- 1x4 Primed Boards
- Approx. 1½-in-Wide Support Strips
- #6 x 2-in Screws
- #6 x 1⅝-in Screws
- #8 Finishing/Trim Screws
- 3-in Structural/Construction Screws
- Finish Nails
- Decorative Trim/Moulding
- Matching Baseboard
- Drywall Joint Compound
- Paintable Caulk
- Backer Rod
- Primer
- Valspar Interior Paint
- Wood Shims
Building Instructions
Follow these step-by-step instructions to build a built-in bookcase in a weekend.

Clear everything away from the wall where the built-in bookshelf will be installed. Measure the available height, width and depth. The bookshelf can be customized to fit your space and can either extend from floor to ceiling or stop at a specific height.
Check the wall and floor for level and plumb. Walls and floors aren't always perfectly square, so identifying irregularities now will make installation easier later.
Use a stud finder to locate the wall studs. Because the finished bookshelf will be heavy, it needs to be securely anchored to the studs. Also check the area for potential electrical wiring and plumbing before drilling or fastening anything to the wall.
Remove the existing baseboard where the bookshelf will sit. Cutting away the baseboard allows the bookshelf to fit as closely against the wall as possible. A multi-tool can be used to make clean cuts in the existing baseboard.

Cut two 1x12 boards to the desired height of the bookshelf. These boards will form the left and right sides of the bookshelf. Finished lumber can reduce the amount of sanding and preparation required before finishing.

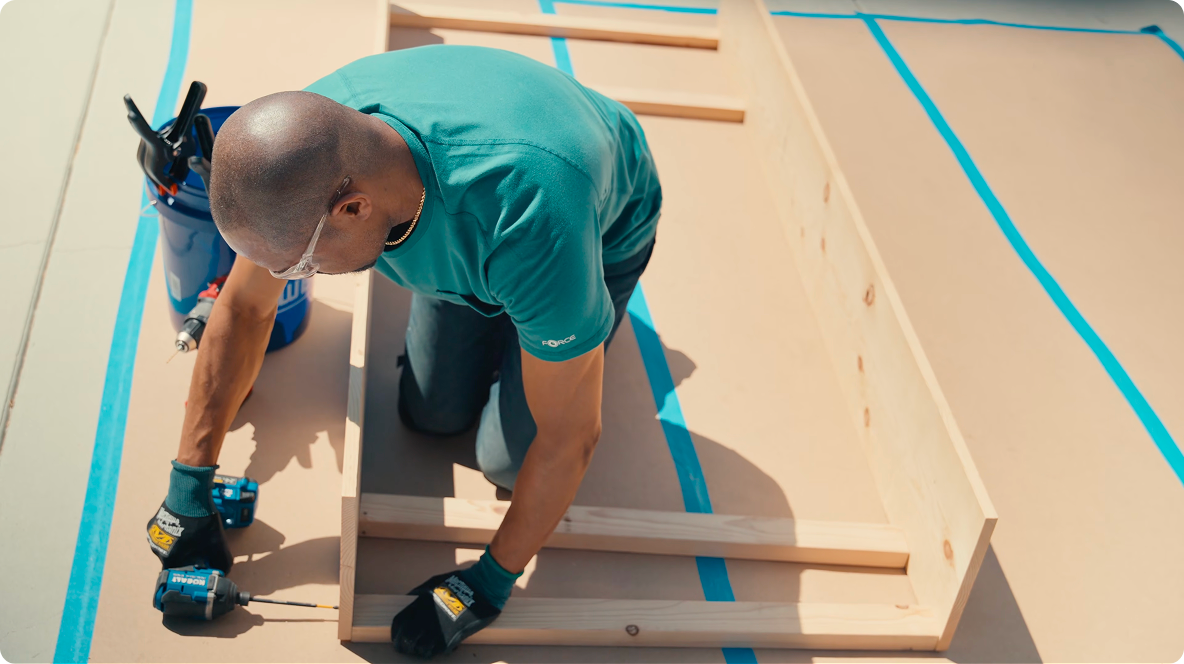
Cut 2x3 boards to span between the two 1x12 side panels. Position the 2x3s between the side panels to create the basic structural frame. Secure the 2x3 boards to the side panels using #6 2-inch screws. Make sure everything remains square and properly aligned while assembling the frame.

Add 1x6 and 1x4 boards to the top and bottom of the front of the bookshelf to create finished face plates. Slightly recess the 2x3 framing so the new face plates can sit flush with the front of the bookshelf. Use clamps to hold the pieces in alignment.
Drill pilot holes before fastening the boards. Secure the face plates to the 2x3 framing using #8 finishing screws. Repeat the process as needed on the opposite side.

The existing wall will serve as the back of the bookshelf rather than installing a separate back panel. This allows the unit to sit closer to the wall and helps create the appearance of a true built-in.
Cut a 1x12 board to fit between the bookshelf sides. Insert the board to create the bottom shelf. Because it's cut for a close fit, it may be snug. If necessary, gently use a rubber mallet to tap the shelf into position. Use clamps to temporarily support and balance the shelf while checking it for level. If your work surface isn't level, use shims underneath the bookshelf so the entire unit is level before continuing.
Rest the front of the bottom shelf on the bottom face plate. Temporarily secure the shelf with #8 screws. Don't permanently fasten the bottom shelf yet. It'll need to be removed later so you can access the lower 2x3 framing and anchor the bookshelf to the wall. Level the back of the shelf using clamps as needed. Secure the shelf through the sides using #6 1-5/8-inch screws.

Determine the desired spacing for the remaining shelves. For this project, the shelves are positioned approximately every 15 inches.
Measure carefully and mark the location of each shelf on both sides of the bookshelf. Make sure corresponding marks are level with each other.

Before installing each freestanding shelf, add a 1x1-1/2-inch backing/support strip. Position the strip where the rear edge of the shelf will sit. Check the strip for level. Clamp it in position if necessary.
Secure the support strip to the bookshelf sides using #8 finishing screws. Repeat this process for each shelf.

Cut each shelf from 1x12 material. Place the rear edge of the shelf on top of the installed support strip. Use clamps at the front to hold the shelf in alignment.
Check the shelf carefully with a level. Once properly positioned, drill pilot holes through the bookshelf sides. Secure the shelf to the sides. Repeat the same process for all remaining shelves.

Cut another 1x12 board to create the top of the bookshelf. Position it between the side panels. Attach it to the sides and the upper face plate.
If the bookshelf extends completely to the ceiling, the top shelf may need to remain removable so you can access the upper framing when anchoring the unit to the wall. If there's space between the bookshelf and the ceiling, the top can be permanently secured at this stage.

Once the bookshelf is assembled, apply primer to the unit. Allow the primer to dry according to the manufacturer's instructions before moving on to installation and finishing.

Move the assembled and primed bookshelf into its final location. Make sure the bookshelf is level and position it tightly against the wall. Remove the temporarily installed bottom shelf to expose the lower 2x3 framing.
Locate the previously marked wall studs. Drive 3-inch screws through the 2x3 framing and into the wall studs. Secure both the upper and lower framing where appropriate. Once the bookshelf has been securely anchored, reinstall and permanently secure the bottom shelf.

Measure any gaps between the bookshelf and the surrounding walls. Cut trim to fit around the bookshelf and conceal larger gaps.
Choose a trim profile that complements the existing trim and style of the room. Secure the trim using #8 finishing screws. Install additional decorative moulding to give the bookshelf more architectural character.

Use drywall compound, also called drywall mud, to fill and blend gaps between the bookshelf and the wall. This helps create a continuous transition between the built-in and the surrounding wall.
For larger gaps, use backer rod and caulk or install additional trim or moulding. Caulk remaining seams and joints as appropriate. Allow all compounds and caulk to dry before painting.

To make the bookshelf appear original to the room, continue the room's existing baseboard across the front of the bookshelf.
Find a baseboard profile that matches the existing moulding. Measure and cut the new section to fit. Fasten the baseboard across the front of the bookshelf with a finish nailer. Caulk the joints and seams for a continuous finished appearance.

After the trim, drywall compound and caulk dry, prepare the entire bookshelf for paint. Touch up the surrounding wall paint where necessary to blend the bookshelf into the wall.
Apply your selected finish paint to the bookshelf, shelves, face frame, trim, moulding and baseboard. Allow the paint to dry according to the manufacturer's directions.
Let's Get Started
By measuring carefully, creating a solid frame and securing it to the wall, you can turn an empty wall into functional storage with a custom built-in bookshelf. If you're ready to get started, shop online or visit your local Lowe's to purchase all of your tools and materials.
Built-In Bookshelf FAQs
To get that built-in look, you'll need to position the shelving flush against the wall. Then anchor it the wall studs. Trim out the shelving unit with moulding and a matching baseboard, so that it seamlessly blends it. Caulk and paint to create an integrated appearance.
Yes, it's necessary to attach the shelving to the wall studs because the unit is heavy and you don't want it to topple over. We recommend using 3-inch screws to drive into the 2x3 framing and into the studs.
We recommend using 1x12 boards for the bookshelf sides, shelves, bottom and the top. Use 2x3 lumber for structural framing. To create the finished face, use 1x6 and 1x4 boards.
Customize the shelving according to what you'd like to display. For this project, the shelves are 15 inches apart.